53
6
Acquiring Images
You can acquire images by optimizing the relevant parameters for clinical diagnosis.
6�1
Selecting a Probe and an Exam Type
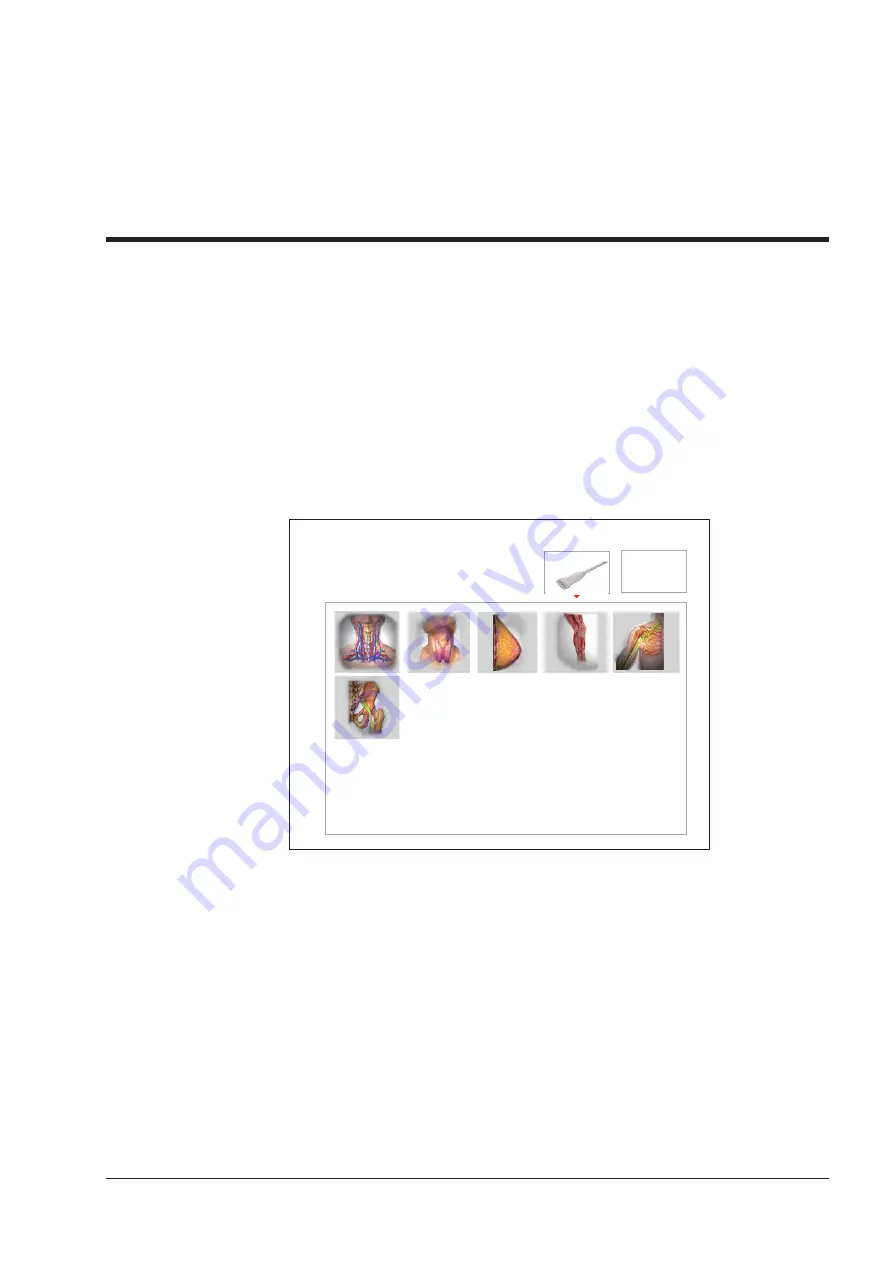
Once the ultrasound system is started up, the LCD monitor displays the available probes and the exam types (as
shown in Figure 6-1). You can select the desired probe by using the trackball. You can also select the
Exam
key to
enter the application mode screen from other screens.
NOTE:
Ensure the probe model and icon displayed on the application mode screen are consistent with the connected
probe. If a problem is found, check that the probe is connected to the system firmly. If the problem still exists,
please stop using the system immediately and contact the manufacturer.
XXX
Figure 6-1 Application Mode Screen
You can also make modifications in an exam type and save them as an application preset for future use. Moreover,
the layout of the application mode screen can be modified and factory defaults can be restored.
■
To customize a preset
1. Select the desired probe and exam type.
2. Select an imaging mode and optimize the image.
NOTE:
Parameter optimizing is only available for the current imaging mode.
3. Select the
S
key on the key panel to display the following dialogue box.
Summary of Contents for EVUS 8
Page 1: ...C d Rev 02 77000001436 EVUS 8 OWNER S MANUAL English...
Page 10: ...This page is intentionally left blank...
Page 18: ...This page is intentionally left blank...
Page 62: ...This page is intentionally left blank...
Page 88: ...This page is intentionally left blank...
Page 92: ...This page is intentionally left blank...
Page 112: ...This page is intentionally left blank...
Page 122: ...This page is intentionally left blank...
Page 149: ...139 Appendix E Acoustic Output Data Please refer to Section 4 9 2 Acoustic Output...


