9 Using 4D
92
Basic User Manual
−
If is highlighted, use the trackball to resize the ROI.
−
If is highlighted, adjust the sample line by positioning the anchor with the trackball.
7. Select the
Menu
key, set
User Mode
,
Render Mode
,
Image Quality
,
Sweep Angle
and
Stabilization
in the
pop-up menu. For details, refer to Section 8.1 Acquiring 3D Images.
8. Display the 4D imaging in the following ways.
−
Select
Dual Display
,
Full Disp�3d
or
Quad Display
by pressing the corresponding function key to activate
the corresponding display format.
−
Select
1
,
2
or
4
on the key panel to display the 4D imaging in a full, dual or quad display.
You can also select the
Freeze
key in the 3D imaging mode to enter the 4D imaging mode.
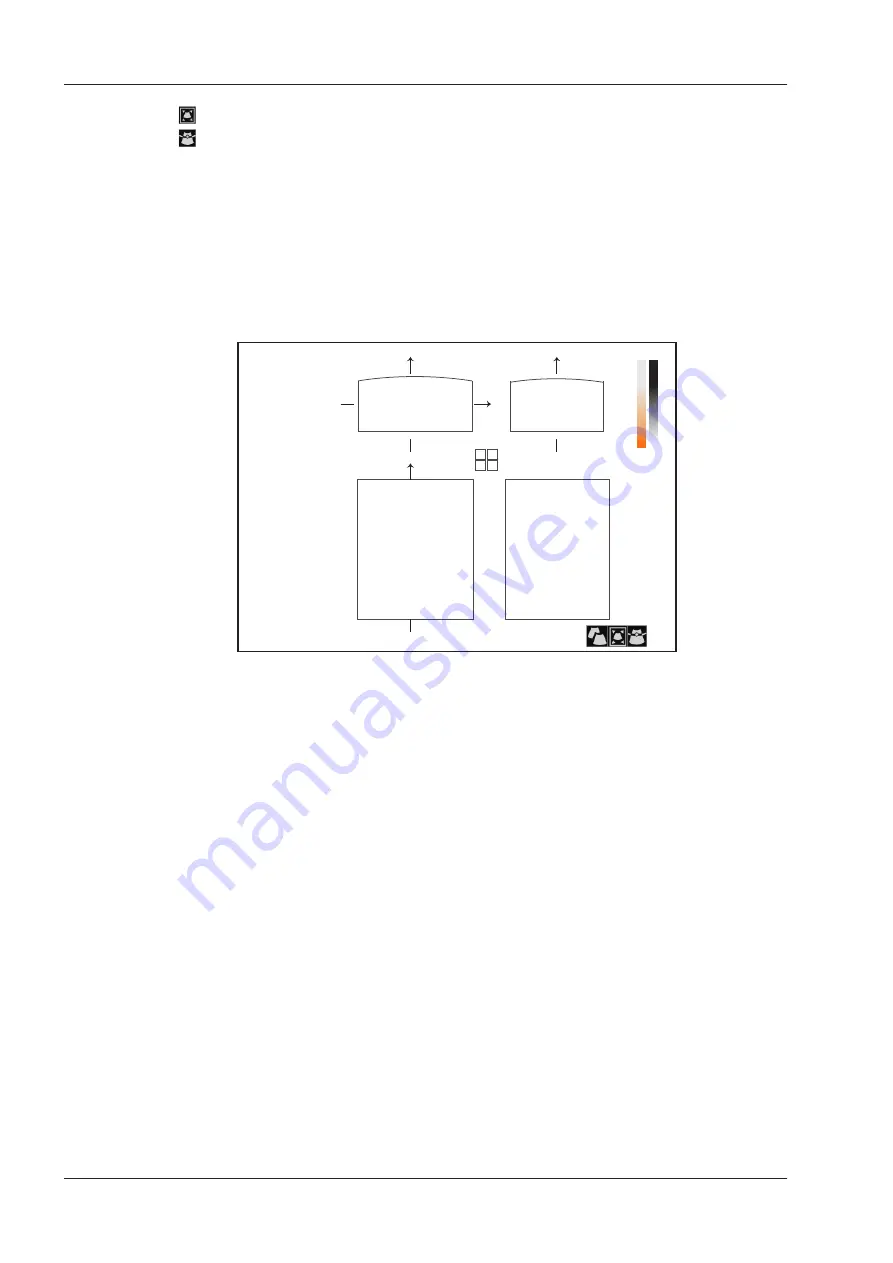
The imaging area of the screen is divided into 3 reference images and a dynamic 3D image by default.
FPS 47
D/G 3/1
GN 255
I/P 3/30
PWR 70
FRQ 3-4.8
D 16.5cm
Angle 55
Map 4
Quality H
Surface
View A
A
B
C 3D
View B
View C
3D Image
Figure 9-2 4D Imaging Screen
As the above figure shows,
−
View A on the top left shows the image on the X-axis.
−
View B on the top right shows the image on the Y-axis.
−
View C on the bottom left shows the image on the Z-axis.
−
The image on the bottom right shows the dynamic 3D image.
−
Select
Full Disp�2D
by pressing the corresponding function key to return to the 4D inactivated mode.
−
Select the
3D/4D
key on the control panel to exit the 4D imaging mode and return to a real time B mode.
9�1�2
Acquiring Dynamic 3D Image
You can acquire a dynamic 3D image of high quality by applying the features described in Section 8.2 Working
with 3D Images.
Select the
Freeze
key on the control panel to enter the cine review mode after acquiring the image. Select the
Menu
key on the control panel, select
Auto Play
on the menu, rotate the
Menu
key or press the ← or → key to
select
On
or
Off
to review/stop reviewing the cine.
9�2
Working with 4D Images
You can review, optimize or save 4D images in the frozen mode. For details, refer to Section 8.2 Working with 3D
Images.
Summary of Contents for EVUS 8
Page 1: ...C d Rev 02 77000001436 EVUS 8 OWNER S MANUAL English...
Page 10: ...This page is intentionally left blank...
Page 18: ...This page is intentionally left blank...
Page 62: ...This page is intentionally left blank...
Page 88: ...This page is intentionally left blank...
Page 92: ...This page is intentionally left blank...
Page 112: ...This page is intentionally left blank...
Page 122: ...This page is intentionally left blank...
Page 149: ...139 Appendix E Acoustic Output Data Please refer to Section 4 9 2 Acoustic Output...


