Orion XC Installation and Operation Manual
79
Extender Update
The firmware of the extenders connected to the matrix can be updated in this screen. Extender update can be
performed only in the Java Tool.
Preparation
Take the following steps in order to prepare for the extender update.
1. Save the matrix configuration externally.
2. Open
Extras > Options
in the menu bar, and enter the path to the firmware update files in the
Firmware Directory
setting. Click the Ok button to confirm the path.
3. Connect all spare extenders to the matrix.
Note:
To preserve network stability, the extender update should not be performed over a WLAN.
Performing the Update in Standard Mode (Parallel Update)
1. Select
Administration > Update EXT Firmware
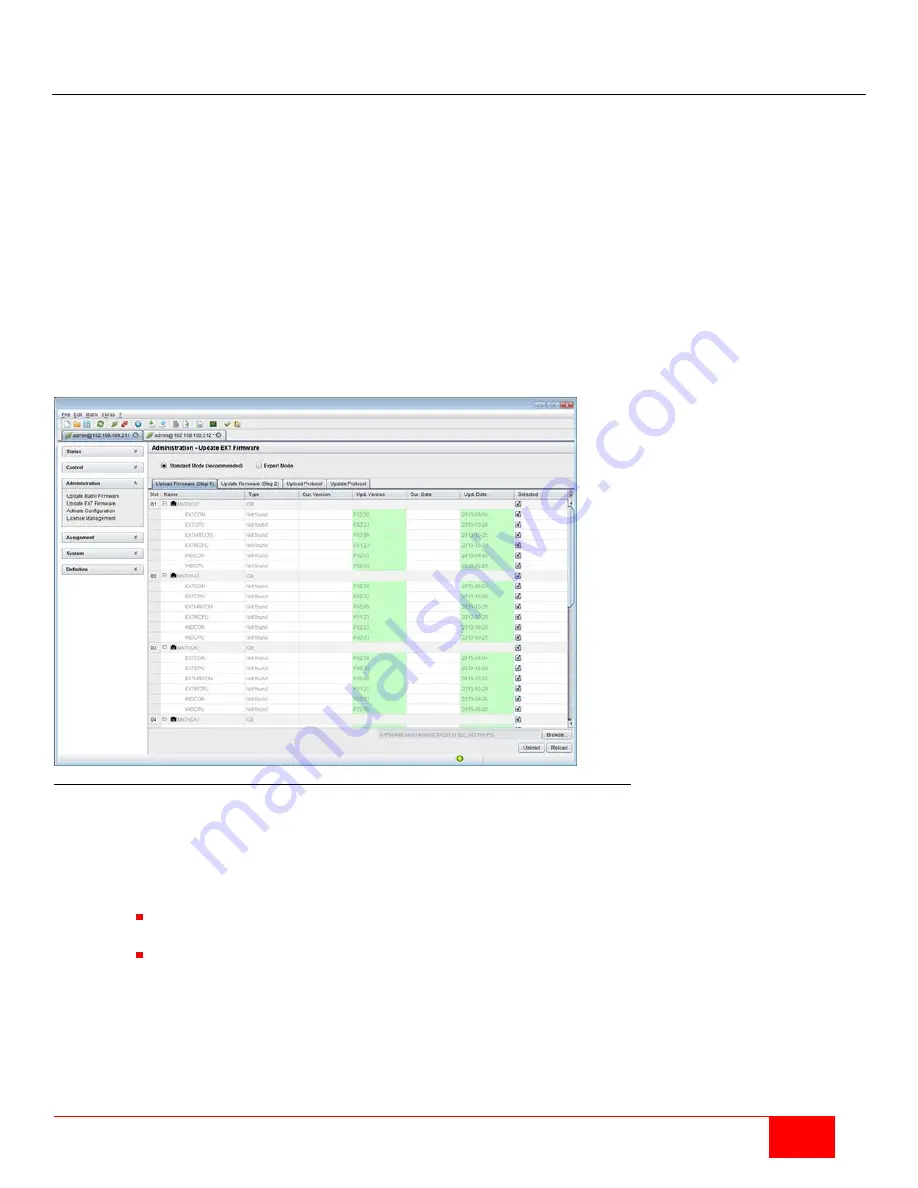
in the task area. The standard mode for parallel
update will be selected by default, and the
Upload Firmware (Step 1)
tab will be opened.
Figure 81. Extender Update in Standard Mode through the Java Tool - Step 1 (Upload Firmware)
2. Before the actual update process can begin, all firmware files have to be uploaded to the respective I/O
boards of the extenders that have to be updated. If a newer firmware is available, the appropriate I/O
boards will be automatically selected for upload in the
Selected
column and highlighted in green.
3. Start the upload and distribution of the update files by pressing the
Upload
button.
Notes:
While performing the upload process, no update files are installed. The update process is
performed after uploads are completed.
Unless all I/O cards are selected, the upload of the update files will be performed in sequence.
4. The successful completion of the upload process will be confirmed by a popup. Proceed to the actual
update process by clicking the
Yes
button. The Java Tool will automatically open the
Update Firmware
(Step 2)
tab.
Note:
To update with a firmware identical to or older than the version currently installed, enable the
Force Update
option in the lower part of the working area.


