Introduction
Getting Ready
Taking Pictures
Playback
Set Up
GB-76
Taking Still Images
|
Using Continuous Shooting Mode
|
Shooting Movies
|
Selecting Scenes to Automatically Set the Focus and Flash
|
[
k
] Using Self-Timer
|
Using Zoom (Wide-angle and
Telephoto)
|
Using Flash
|
Adjusting Brightness
|
Setting Focus
|
Displaying Information on the LCD Monitor
|
Selecting the Number of Pixels (Image Size) and the Quality
|
Adjusting Image
Colors and Other Settings
|
Switching Display Screen (Electronic Viewfinder and LCD Monitor)
|
Setting the exposure and focus during continuous shooting (Drive mode)
NEXT
BACK
Contents (Top page) Detailed Contents
Index
Nomenclature
Menus and Settings
Troubleshooting
5
Press the MENU button
K
.
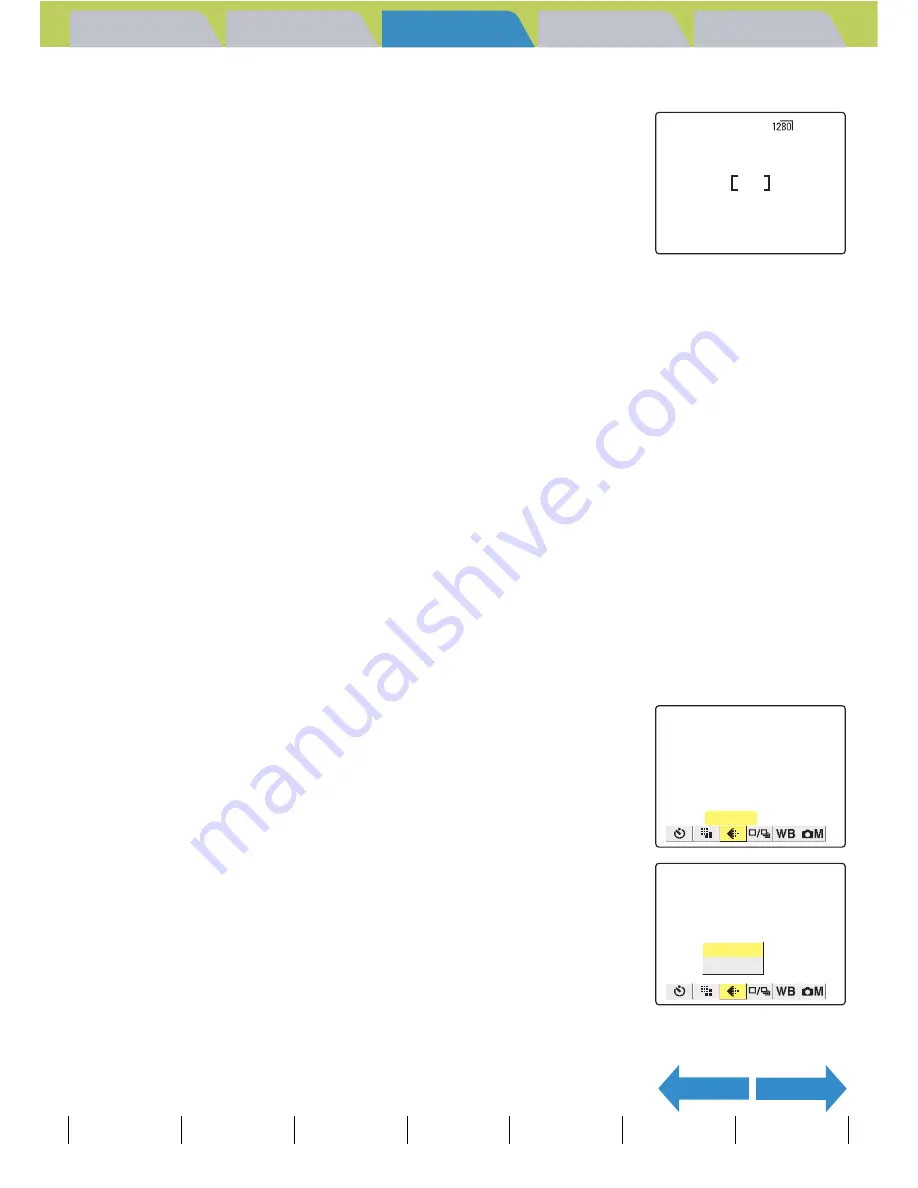
The icon for the selected image size appears on the LCD monitor.
[
S
] Selecting the Quality (Compression Ratio)
«Applicable modes:
C
/
N
/
S
/
I
»
You can select [NORMAL] (high compression) or [FINE] (low compression)
as the Quality (compression ratio) setting. While lower compression ratios
give better image quality, they also increase the file size so that fewer
images can be recorded. As with the image size, you should choose the
quality that best suits the intended use of the shot.
1
Set the mode select dial to "
C
", "
N
", "
S
" or "
I
" and turn
the camera on.
2
Press the MENU button
K
to display the menu icons.
3
Use the left
l
or right
r
button to select
[QUALITY]
S
and then press the OK
button
E
.
4
Press the up
u
or down
d
button to
select the desired compression ratio and
then press the OK button
E
.
The compression ratio is set.
[F] [FINE]
: Shoots images at a low compression ratio.
[N] [NORMAL] : Shoots images at a high compression ratio. (Default)
A
Important
This setting is retained even when the camera is switched off.
A
Important
Remove the lens cap before turning the camera on.
QUALITY
NORMAL
FINE


