Introduction
Getting Ready
Taking Pictures
Playback
Set Up
GB-139
Viewing Still Images | Viewing Movies | [
o
] Viewing Images Automatically as a Slideshow (slideshow) | [
O
] Viewing Multiple Images | [INFORMATION] Viewing Image Information | [
J
]/[
I
] Erasing Unwanted
Images | [
U
] Protecting Images from Accidental Erasing (PROTECT) | [
p
] Adding Voice Messages to Still Images (POSTRECORDING) | [
V
] Resizing and Trimming Images (RESIZE) | [
W
] Rotating an Image |
[
T
] Using DPOF to specify print settings | [
G
] Printing by Connecting the Camera Directly to a Printer (PictBridge) |
Connecting to a Windows PC
| Connecting to a Macintosh
NEXT
BACK
Contents (Top page) Detailed Contents
Index
Nomenclature
Menus and Settings
Troubleshooting
4
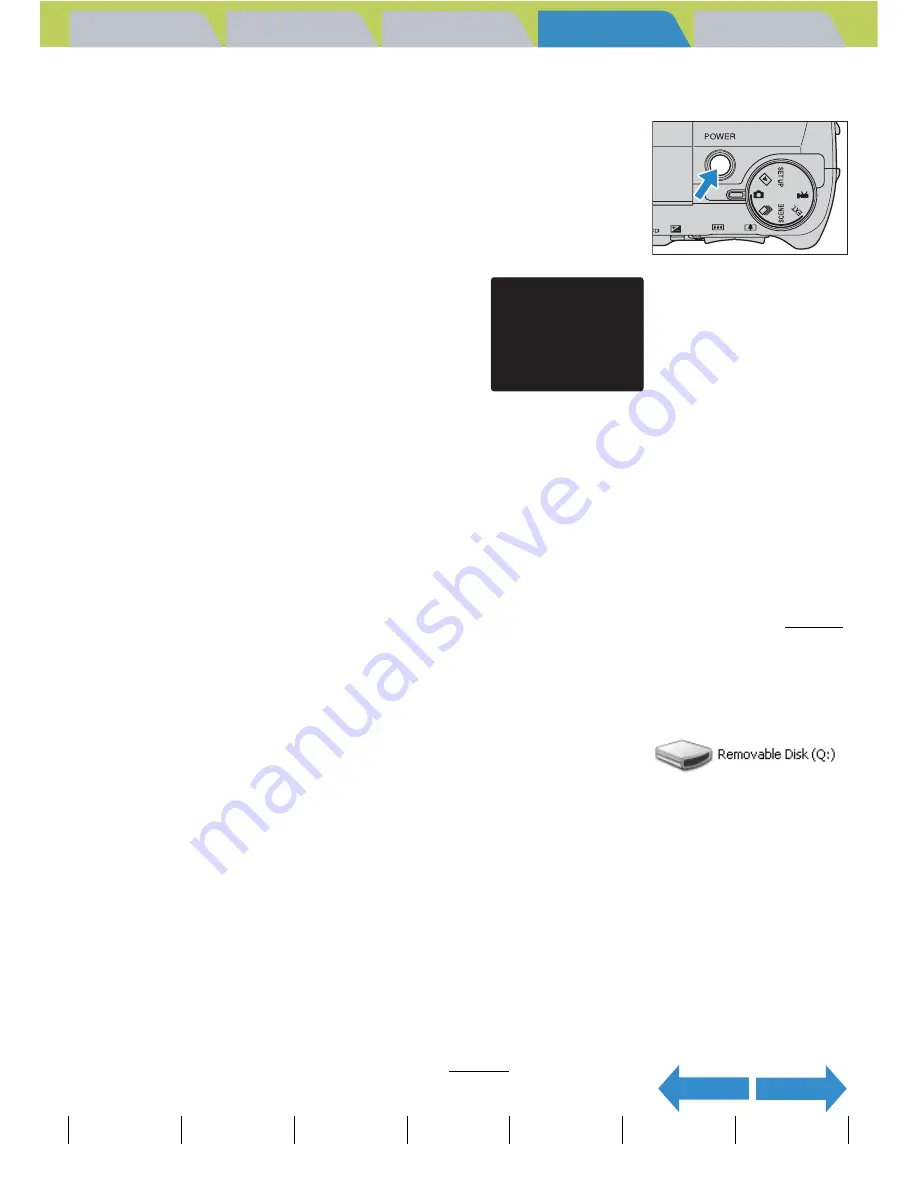
Press the POWER button
H
to turn the
camera on.
[PC MODE] appears on the LCD monitor and you can check the images
stored on the camera's memory card from your PC and copy the
images to your PC.
5
A [Removable Disk] icon appears in the
[My Computer] window. Double click the
icon to open the disk window.
6
Open the [xxxROBOX] folder or the [xxxRORSZ] resized
images folder in the DCIM folder and then select and double-
click the image file you want to view.
A
Important
• In Windows XP, the Scanner and Camera Wizard window may appear. If it does,
click the Cancel button to close the window.
• When the camera is connected to a PC and you are viewing or copying images, the
card access LED flashes. Do not disconnect the USB cable or turn the computer off
while the card access LED is flashing.
B
Note
• When the camera is connected to the PC and the two are communicating so that
data can be exchanged, the self-timer LED lights.
• The procedure for disconnecting the USB cable once the camera and PC are
communicating differs according to the version of Windows you are using. (
Æ
p.141)
• If you intend to use the camera in this way for a long period, we recommend that
you use the optional AC adapter.
A
Important
If [PC MODE] is displayed on the LCD monitor but no [Removable Disk] icon appears
in the [My Computer] window on the PC, check that the USB cable is securely
connected.
B
Note
A number between 100 and 999 is substituted for "xxx" in the [xxxROBOX] and
[xxxRORSZ] folder names. (
Æ
p.165)
PC MODE


