17
Basic Operation
Turning the Power On and Off
Once everything is properly connected (p. 14), be sure to follow the
procedure below to turn on their power. If you turn on equipment in
the wrong order, you risk causing malfunction or equipment failure.
* Before turning the unit on/off, always be sure to turn the volume
down. Even with the volume turned down, you might hear some
sound when switching the unit on/off. However, this is normal
and does not indicate a malfunction.
* Importing still images (p. 21) might result in longer startup
times, depending on the image size and the number saved.
Turning the Power On
1.
Make sure all devices are turned off.
2.
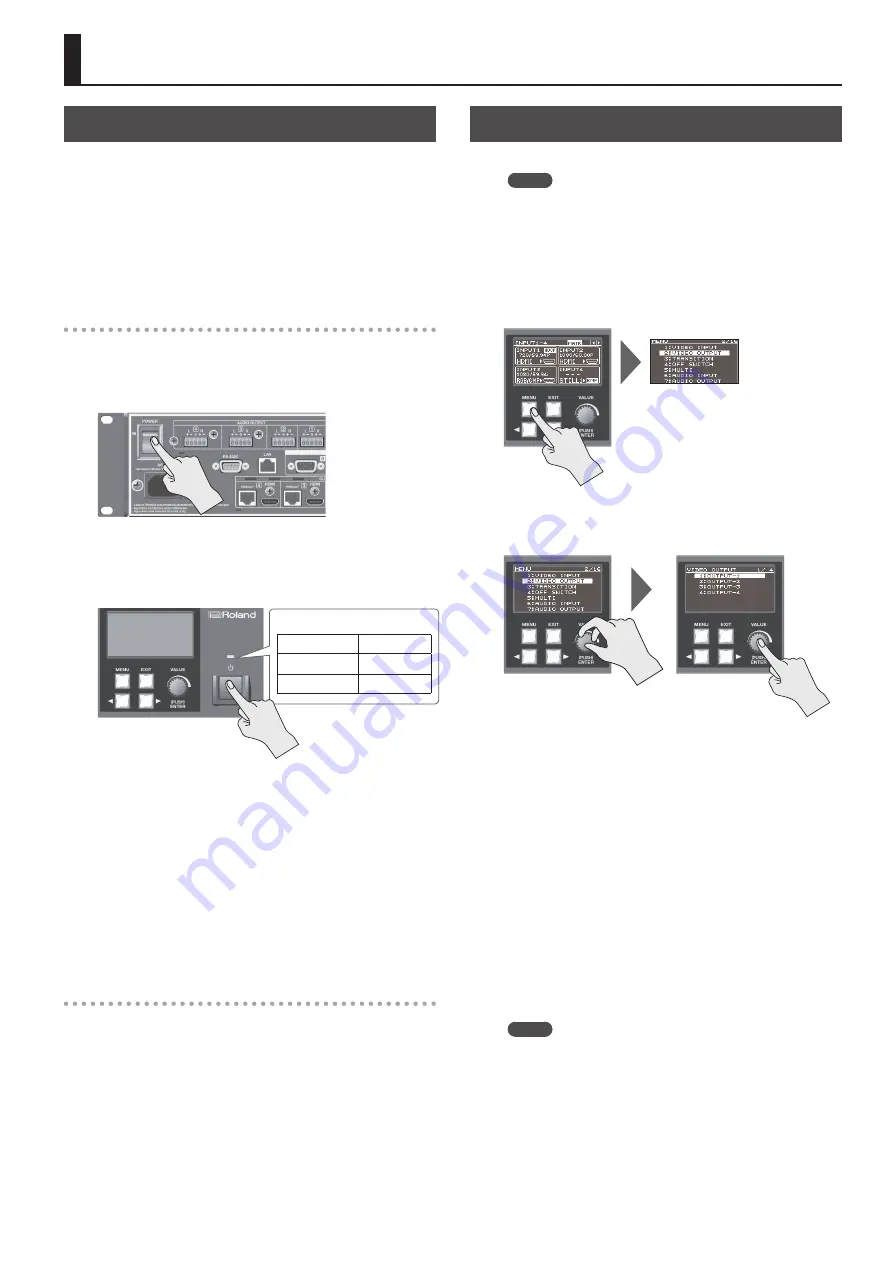
Turn on the [POWER] (main power) switch on the unit’s
rear panel.
XS-84H
The power indicator on the front panel lights up in red, and the unit
goes into standby.
3.
Press the power button on the unit’s front panel to turn
on the power.
Power indicator
Lighted in red
Standby
Lighted in green Powered
Dark
Main power off
The power comes on and the color of the lighted power indicator
changes to green.
* This unit is equipped with a protection circuit. A brief interval (a
few seconds) after turning the unit on is required before it will
operate normally.
4.
Turn on the power to the source devices.
Turn on the power to source equipment connected to input
connectors on the unit.
5.
Turn on the power to the output devices.
Turn on the power to projectors or other devices connected to
output connectors on the unit.
Turning the Power Off
1.
Turn off the power first to output equipment, and then to
source equipment.
2.
If the unit’s power is on, press the power button once more.
The color of the lighted power indicator changes from green to red,
and the unit goes into standby.
3.
Turn off the [POWER] (main power) switch on the rear panel.
The power indicator goes dark and the power is turned off.
* If you need to turn off the power completely, first turn off the
unit, then unplug the power cord from the power outlet. Refer
to “To completely turn off power to the unit, pull out the plug
Using the Menus
This explains how to display menus and make various settings
MEMO
For more information about the menus, download and refer
to the Reference Manual (PDF) for the unit from the following
Roland website.
http://proav.roland.com
1.
Press the [MENU] button to display the menu.
The menu categories are displayed.
2.
Turn the [VALUE] dial to select a category, then press the
[VALUE] dial to confirm the selection.
The menu items for the selected category are displayed.
3.
Turn the [VALUE] dial to select a menu item, then press
the [VALUE] dial to confirm the selection.
5
If the menu item is located at a deeper level, repeat step 3.
4.
Turn the [VALUE] dial to change the setting value.
5
If there is more than one setting location, use the cursor buttons
to move the cursor, then change the setting.
5
You can use the cursor buttons to jump to the setting screen for
a different channel or the like, without having to go back up one
level.
5
You can change the setting value in larger steps by holding
down the [VALUE] dial as you turn it.
5.
Press the [MENU] button to quit the menu.
Pressing the [EXIT] button once returns you to the previous screen.
MEMO
You can return the menu item you’re setting to its factory-
default value by holding down the [VALUE] knob and pressing
the [EXIT] button.
Summary of Contents for VS-82H
Page 36: ...Appendices 36 Dimensions 372 353 7 481 430 88 Unit mm...
Page 37: ...37 MEMO...
Page 39: ...39 For EU Countries For China...
Page 40: ...5 1 0 0 0 4 2 6 0 6 0 3...


