4-8
Programming
Parameter Modification
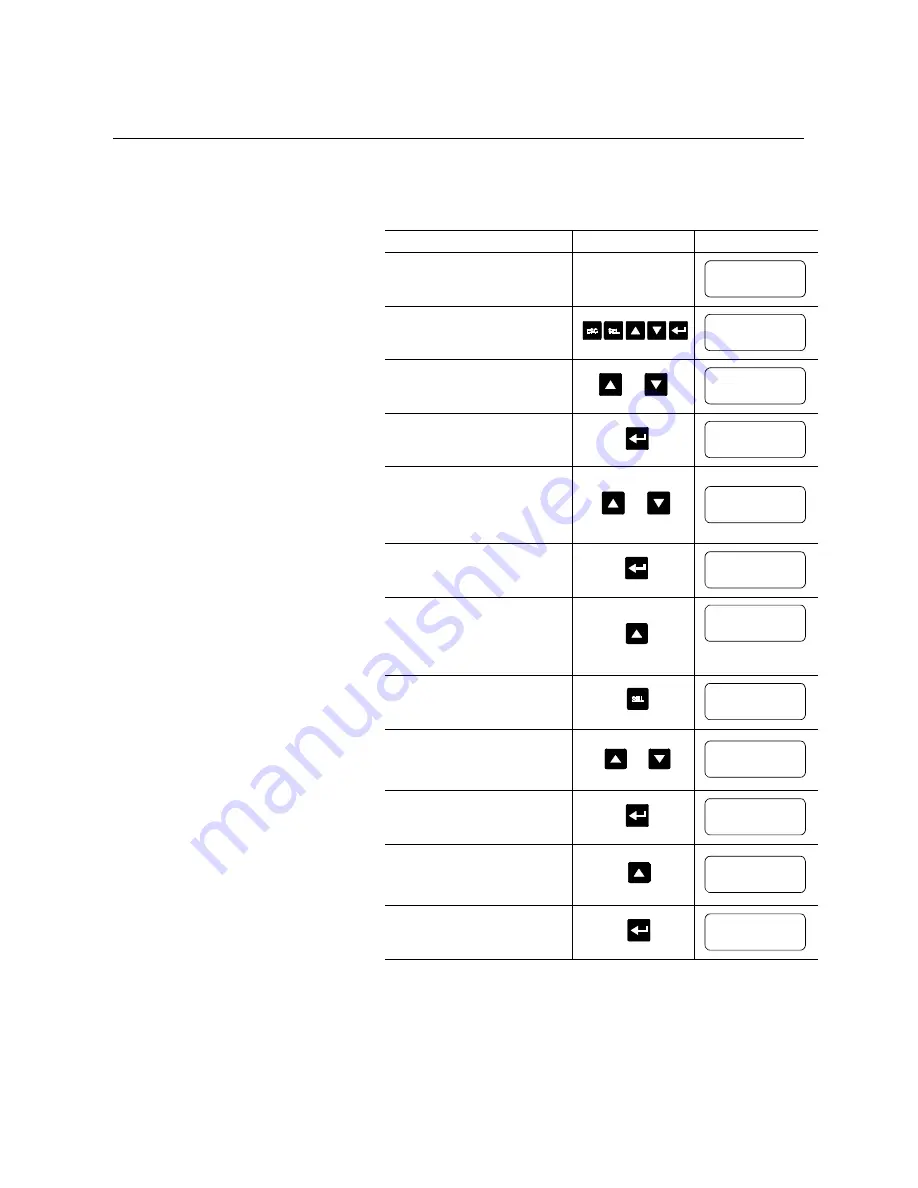
All parameters are modified using the same method. The basic steps
to performing parameter modification are described below.
Note:
Parameter values modified while the motor is operating are
not valid until the next start sequence begins.
①
If the Choose Mode menu does not provide the Program option, then you must enter your password.
②
The first parameter displayed advises the user if any control option (i.e., Pump Control) is resident.
This parameter is factory set and cannot be modified by the user.
③
The display will indicate that the second line is now active by flashing the first character. If the LCD
display does not provide a flashing cursor, then the controller is in the Display mode.
④
You will now notice that the cursor has returned to flashing the first character of the first line.
Description
Action
Display
—
—
1.
Press any key to go from the
status display to the Choose
Mode menu.
2.
Scroll with the Up/Down keys
until the Program option
appears.
3.
Press the Enter key to access
the Program menu.
4.
Scroll with the Up/Down keys
until the option you want to use
(Basic Setup, Advanced Setup,
etc.) appears. For this example,
Basic Setup will be used.
5.
Press Enter to select the Basic
Setup group.
6.
Scroll to the next parameter by
using the Up key.
7.
To modify the parameter, press
the Select button to move the
cursor to the second line.
8.
Scroll to the option of your
choice by using the Up/Down
keys. For this example, we will
choose Current Limit.
9.
Press the Enter key to accept
the new setting.
10. Scroll to the next parameter by
using the Up key. Continue the
process until all desired settings
are entered.
11. Press the Enter key to save the
new settings to EEPROM.
STOPPED
0.0 AMPS
CHOOSE MODE
DISPLAY
or
CHOOSE MODE
PROGRAM
PROGRAM
METERING
or
PROGRAM
BASIC SETUP
SMC OPTION
STANDARD
STARTING MODE
SOFT START
Options:
Soft Start,
Current Limit
STARTING MODE
SOFT START
or
STARTING MODE
CURRENT LIMIT
STARTING MODE
CURRENT LIMIT
RAMP TIME # 1
10 SEC
PARAMETER MGMT
STORE IN EE
Summary of Contents for SMC Dialog Plus
Page 46: ...2 20 Installation ...
Page 78: ...4 14 Programming ...
Page 149: ...9 6 Diagnostics ...
Page 157: ...10 8 Troubleshooting Figure 10 3 Removal of Control Module 180 360A 1 3 2 4 ...
Page 169: ...A 6 Specifications ...
Page 179: ...C 4 Renewal Parts ...


