RIGOL
User’s Guide for DSA1000 Series
2-115
2.6.5
Print Setup
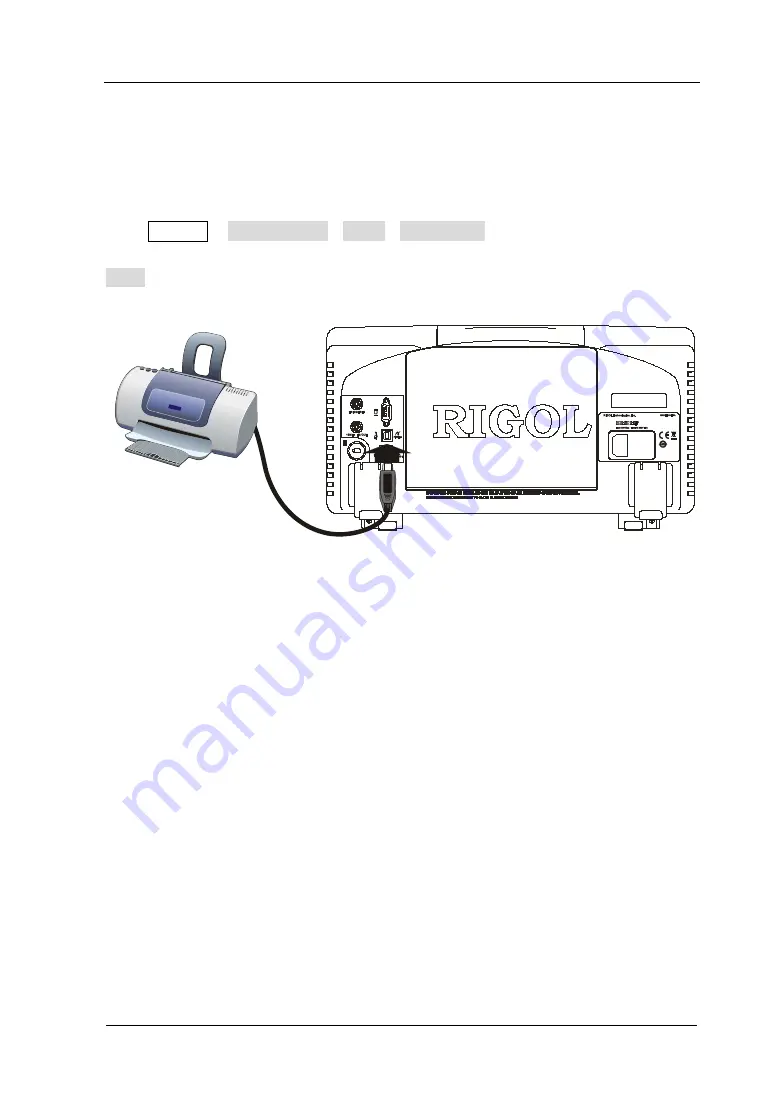
Sets the print parameters. The analyzer supports a PictBridge printer. To use the print
function, connect this printer with the analyzer as shown in the figure below, and then
press System
I/O Setting
USB
Dev Class
Printer to enable the
analyzer to be a Printer Class device and set desired print parameters; then press
Print to print out the measurement data that you want.
Figure 2-33 PictBridge printer connection
Printing Procedures:
(1)
Turns on the PictBridge printer and waits for the initialization.
(2)
Uses the USB cable provided in the accessories to connect the analyzer with the
PictBridge printer.
(3)
Then “PictBridge printer connected.” is shown on the screen to prompt you that
the instrument now is initializing the driver and the printer module.
(4)
When installation is finished, a message like “PictBridge printer installed
successfully.” will be displayed on the screen so that you can start the print job.
(5)
Before printing, the analyzer always changes the sweep mode to Single and stops
sweeping in order to save the frozen measurement result.
(6)
The printer symbol, print state and process are shown on the status bar of the
screen during printing.
(7)
You can pause and resume the printing if necessary.
(8)
The printer enters the idle state and waits for the next task after a successful
print job.
Summary of Contents for DSA1030
Page 1: ...RIGOL User s Guide DSA1000 Series Spectrum Analyzer Sept 2014 RIGOL Technologies Inc...
Page 2: ......
Page 22: ......
Page 214: ......


