2. Tray Extension
Pull this fence to prevent paper from falling off.
3. Standard tray
Output is stacked here with the print side down.
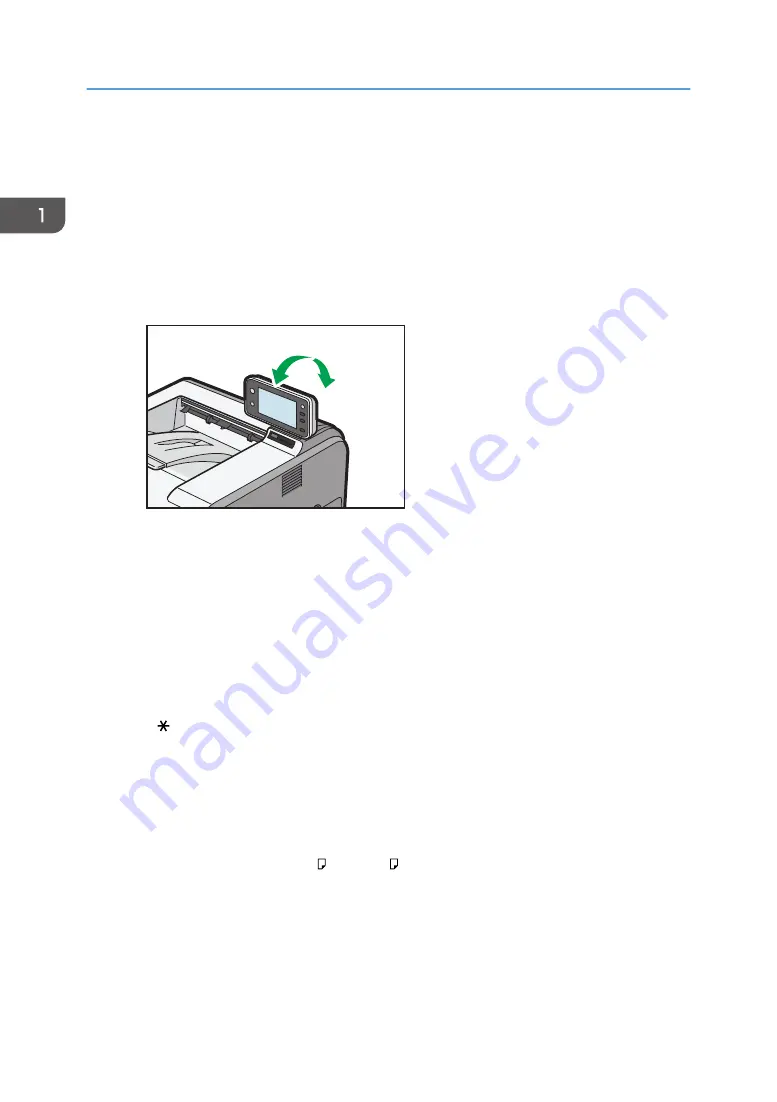
4. Control panel
For details, see page 16 "Guide to the Names and Functions of the Control Panel".
• For SP 4520DN
You can adjust the display with your hands. Adjust the angle of it to see clearly.
CYN089
5. Ventilation holes
Prevent overheating.
6. Memory cover
Remove this cover to install the optional SDRAM module and hard disk.
7. Front cover open button
Push this button to open the front cover.
8. Paper size dial
Use this dial to specify the paper size. To use a paper size that is not indicated on the paper size dial, set the
dial to " ". If this is the case, set the paper size using the control panel.
9. Bypass tray
Up to 100 sheets of plain paper can be loaded.
For details about the sizes and types of paper that can be used, see page 38 "Paper Size Specifications"
and page 41 "Paper Type Specifications".
10. Extender for the bypass tray
Pull this extender out when loading A4 , 8
1
/
2
× 11 or larger size paper in the bypass tray.
11. Paper guides
When loading paper in the bypass tray, align the paper guides flush against the paper.
12. Tray 1
Up to 500 sheets of plain paper can be loaded.
1. Getting Started
12
Summary of Contents for SP 4510 DN
Page 2: ......
Page 8: ...6...
Page 12: ...The browser unit is available for SP 4520DN only 1 Getting Started 10...
Page 38: ...1 Getting Started 36...
Page 66: ...2 Loading Paper 64...
Page 141: ...MEMO 139...
Page 142: ...MEMO 140 EN GB EN US M158 7504B...
Page 143: ...2013 2014...
Page 144: ...M158 7504B AU EN GB EN...


