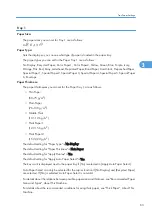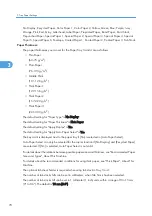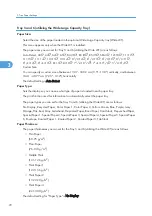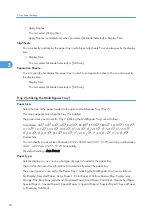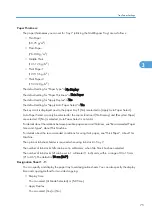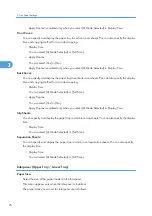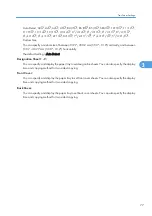
The default setting for "Paper Thickness" is Plain Paper.
The default setting for "Apply Duplex" is Yes.
The default setting for "Apply Auto Paper Select" is Yes.
The key mark is displayed next to the paper tray if [No] is selected in [Apply Auto Paper Select].
Auto Paper Select can only be selected for the copier function if [No Display] and [Recycled Paper]
are selected. If [No] is selected, Auto Paper Select is not valid.
For details about the relations between possible paper sizes and thickness, see "Recommended Paper
Sizes and Types", About This Machine.
For details about the recommended conditions for using thick paper, see "Thick Paper", About This
Machine.
The optional tab sheet holder is required when using tab stock in Tray 5 or 6.
The number of tab stock shifts can be set in millimeters, when Tab Stock has been selected.
The number of tab stock shift can be set in 1 millimeter (1 inch) units, within a range of 0 to 15 mm
(0" to 0.6"). The default is 13 mm (0.5").
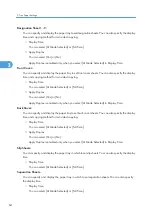
Designation Sheet 1 - 9:
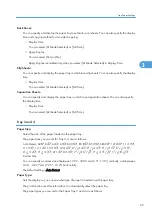
You can specify and display the paper tray to set designation sheets. You can also specify the display
time and copying method for two sided copying.
• Display Time
You can select [At Mode Selected] or [Full Time].
• Apply Duplex
You can select [Yes] or [No].
Apply Duplex is enabled only when you select [At Mode Selected] in Display Time.
Front Cover:
You can specify and display the paper tray to set front cover sheets. You can also specify the display
time and copying method for two sided copying.
• Display Time
You can select [At Mode Selected] or [Full Time].
• Apply Duplex
You can select [Yes] or [No].
Apply Duplex is enabled only when you select [At Mode Selected] in Display Time.
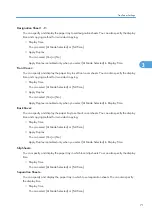
Back Cover:
You can specify and display the paper tray to set back cover sheets. You can also specify the display
time and copying method for two sided copying.
• Display Time
You can select [At Mode Selected] or [Full Time].
Tray Paper Settings
73
3
Summary of Contents for Pro C720s
Page 14: ...12...
Page 32: ...1 Connecting the Machine 30 1...
Page 40: ...p 9 Accessing User Tools 2 System Settings 38 2...
Page 62: ...2 System Settings 60 2...
Page 80: ...3 Tray Paper Settings 78 3...
Page 93: ...p 9 Accessing User Tools Edit 91 4...
Page 121: ...8 Press the User Tools key Registering Names 119 6...
Page 168: ...6 Registering Addresses and Users for Scanner Functions 166 6...
Page 174: ...7 Other User Tools 172 7...
Page 209: ...MEMO 207...
Page 210: ...MEMO 208 EN USA D016 6949...
Page 212: ...Operating Instructions General Settings Guide D016 6949 EN USA...

