


Stopping a Multi-print Run
27
1
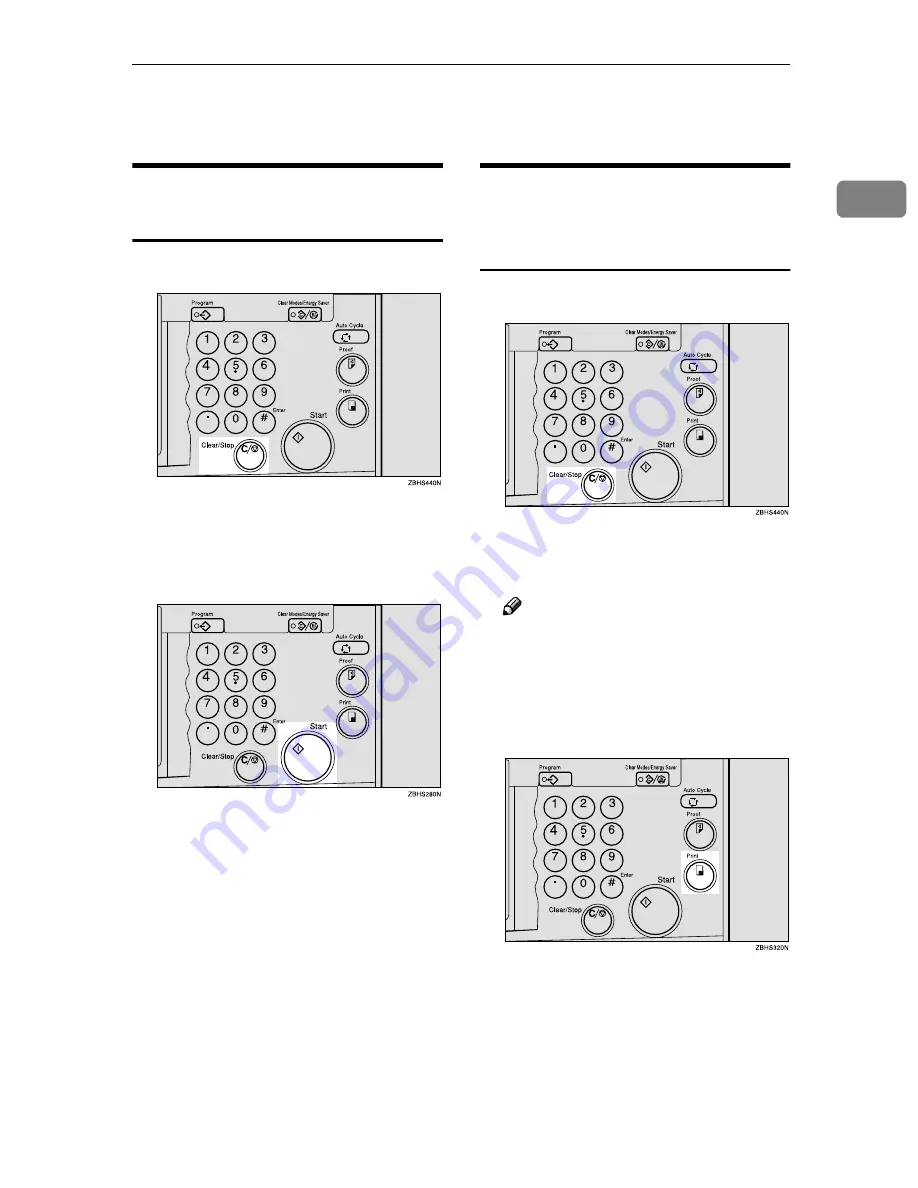
Stopping a Multi-print Run
Stopping a Multi-print Run to
Print Another Original
A
Press the
{{{{
Clear/Stop
}}}}
key.
B
Set the original.
C
Enter the number of prints and
press the
{{{{
Start
}}}}
key.
Changing the Number of
Prints Entered and Checking
Completed Prints
A
Press the
{{{{
Clear/Stop
}}}}
key.
B
Change the number of prints or
check the completed prints.
Note
❒
To change the number of prints,
press the
{
Clear/Stop
}
key, and
then re-enter the number of
prints with the number keys.
C
Press the
{{{{
}}}}
key.
Summary of Contents for Priport JP8000
Page 20: ...xvi...
Page 30: ...10...
Page 34: ...Operation 14 1 a 8mm 0 32 Original Print a...
Page 184: ...User Tools 164 4...
Page 228: ...208 UE USA C235 MEMO...
Page 230: ...Operating Instructions Type for 5499 LDD 180 JP8500 3460DNP Printed in Japan UE USA C244 8697A...
Page 248: ...xvi...
Page 258: ...10...
Page 262: ...Operation 14 1 a 8mm 0 32 Original Print a...
Page 326: ...Operation 78 1 C C C C Press the Start key The drum unit idles D D D D Make your prints...
Page 388: ...Combination Chart 140 3...
Page 418: ...User Tools 170 4...
Page 456: ...Specifications 208 7 Editing Function Type 85 Option PC Controller Option Key Counter Option...
Page 463: ...215 MEMO...
Page 464: ...216 UE USA C244 MEMO...


