


Sending Stored Scan Data by E-mail
70
6
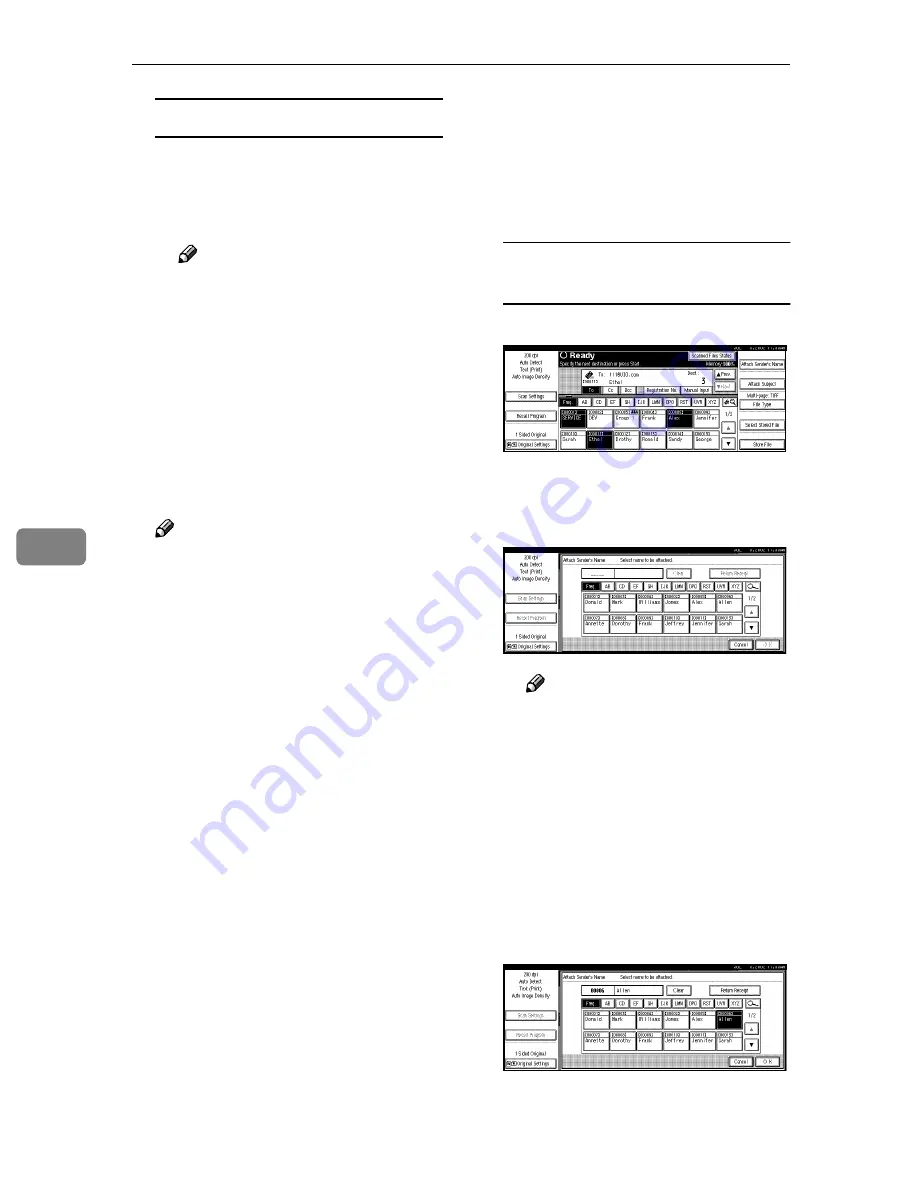
Checking selected destinations
A
Use the destination field at the
top of the scre en to check
which destinations are select-
ed.
Note
❒
When multiple destinations
are selected, the selected des-
tinations are displayed in the
order they were selected by
pressing
[
U
U
U
U
Prev.
]
or
[
T
T
T
T
Next
]
.
❒
Pressing the
{{{{
Check Modes
}}}}
key on the control panel lets
you verify the list of selected
destination(s).
IIII
Specify the sender.
Note
❒
When a sender is selected, the
sender name is automatically
placed in the “From” field of the
e-mail so that the sender can be
identified when the e-mail is re-
ceived.
❒
An example of “E-mail Informa-
tion Language” is shown below.
This e-mail has been sent from
[XXX]. The scanning time was
Y Y Y Y : M M : D D H H : M M : S S
(+0900). The administrator's e-
mail address is sent for refer-
ence.
⇒
p.24 “E-mail Informa-
tion Language”
❒
To prevent misuse of a sender
name, we recommend you set
up a password for the sender.
❒
Be sure to select or enter a send-
er’s name. Otherwise
[
Key Oper-
ator’s E-mail Address
]
is used as
the sender’s name.
⇒
General
Settings Guide
Three methods are available for se-
lecting a sender: select the sender
from the list, enter the 5-digit short
ID number of the sender with the
number keys, and search for the
sender and select it.
When selecting a sender from the
list
A
Press
[
Attach Sender’s Name
]
.
The list of senders registered in
this machine is displayed.
B
Select the sender.
Note
❒
If a password has been set, a
screen for entering the pass-
word is displayed after se-
lecting the sender.
Enter the password, and then
press
[
OK
]
.
After verification of the pass-
word, the sender name is dis-
played.
C
To verify receipt, press
[
Return
Receipt
]
.
[
Return Receipt
]
is highlighted.