


Delivery Procedure
61
5
H
Press
[
OK
]
.
The sender is displayed above
[
Attach Sender’s Name
]
.
IIII
If required, select a subject.
Select a subject from the registered
ones.
⇒
p.26 “Making Scan Data
Subject Settings”
Note
❒
When a subject has been speci-
fied, this information is added
to the scan data file.
❒
When ScanRouter V2 Profes-
sional is used to send docu-
ments using e-mail, the subject
is automatically entered as a ti-
tle in the message subject.
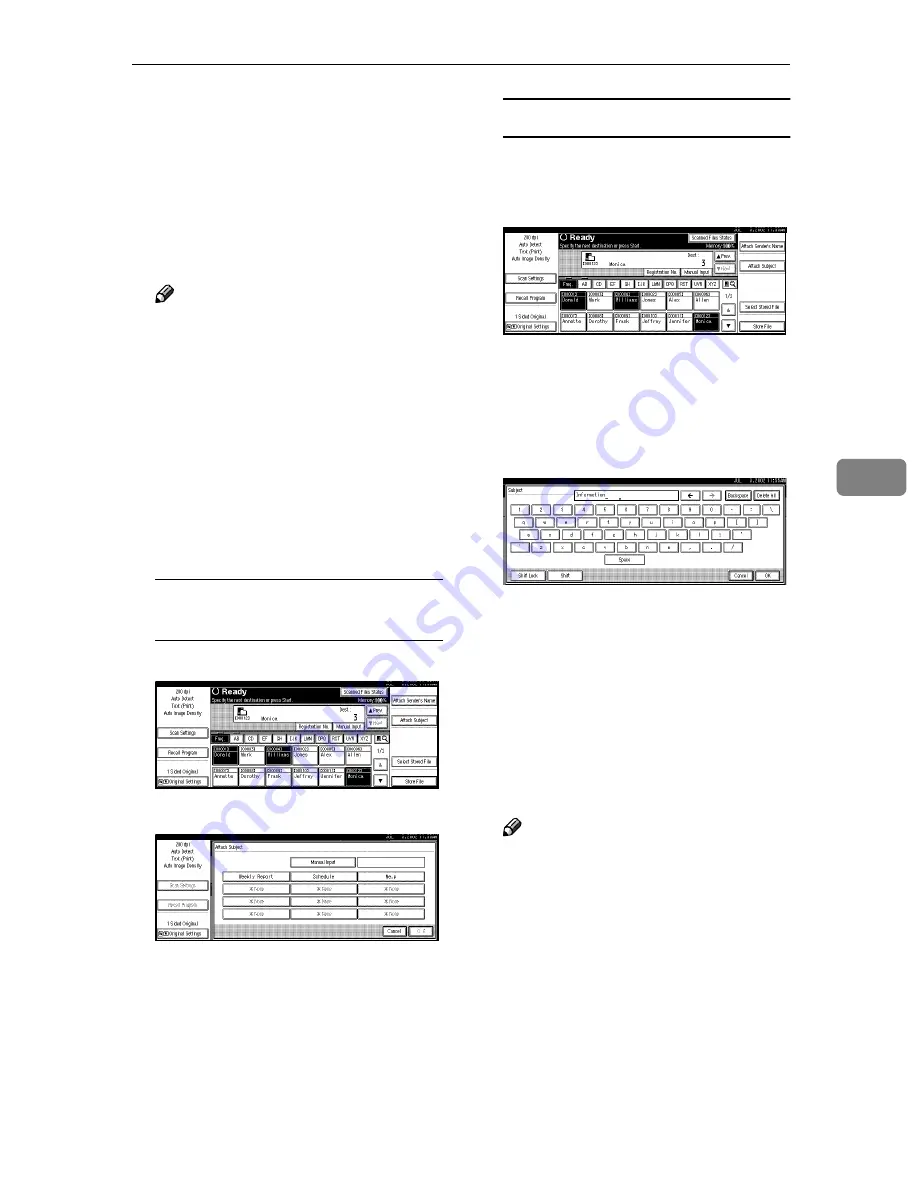
Two methods are available for se-
lecting a subject, selecting it from
the list or entering it directly.
When selecting a subject from
the list
A
Press
[
Attach Subject
]
.
B
Select a subject.
C
Press
[
OK
]
.
The name of the subject is dis-
played above
[
Attach Subject
]
.
Manual input of the subject
A
Press
[
Attach Subject
]
.
A list of registered subjects is
displayed.
B
Press
[
Manual Input
]
.
The soft keyboard is displayed
to enter a subject.
C
Enter the subject with the soft
keyboard.
D
Press
[
OK
]
.
The name of the subject is dis-
played above
[
Attach Subject
]
.
JJJJ
Press the
{{{{
Start
}}}}
key.
The original is scanned and deliv-
ered to the specified destination.
Set up the original and press the
{{{{
Start
}}}}
key.
Note
❒
To interrupt the scanning, press
the
{{{{
Clear/Stop
}}}}
key or
[
Stop
]
in
the displayed screen.
❒
To use the SADF function, set
up the next original.
⇒
p.44
“Placing the Divided Original
in the Automatic Document
Feeder (ADF)”