


53
5. Delivering Stored Scan Data by
the Network Delivery Scanner
Stored scan data can be sent to a specified destination using the network deliv-
ery scanner function. This chapter explains the various display screens, delivery
procedures, and how to check the delivery result when this function is used.
Note
❒
A delivery server in which ScanRouter V2 Lite/Professional is installed is
necessary to use the network delivery server function. Information about de-
livery destinations and senders must be registered first into the delivery serv-
er. Also, program a connected device in
[
Set I/O Device
]
of ScanRouter V2
Administration Utility. For more information, see ScanRouter V2 Adminis-
tration Utility Help.
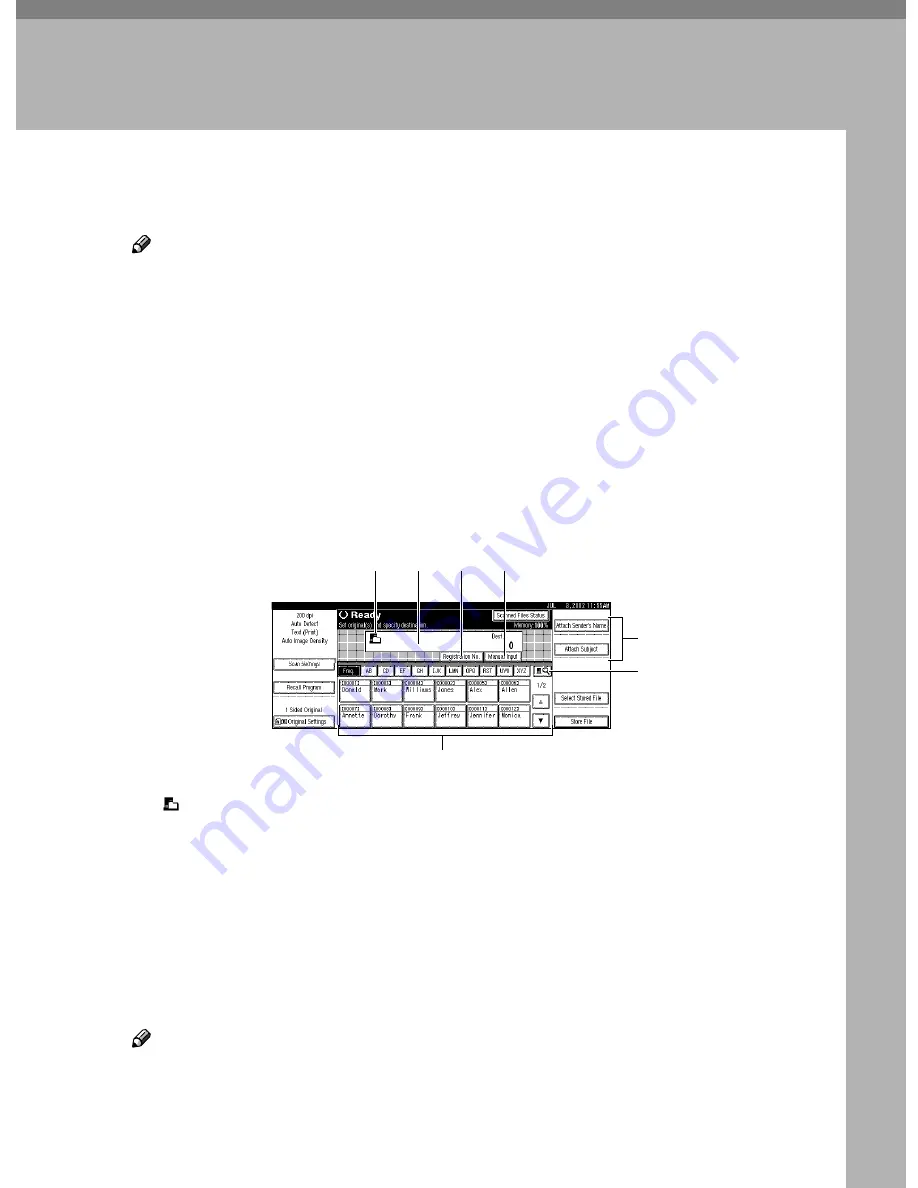
List Displays of Destinations and Senders
The screen configuration when using the machine as network delivery scanner
is as shown:
1.
[ ] Network Delivery Scanner
Icon
This icon shows that the screen for net-
work delivery scanner is displayed.
2.
Destination Display
The selected destination is shown here. If
several destinations are selected, the des-
tinations are displayed in the order they
were selected by pressing
[
U
U
U
U
Prev.
]
or
[
T
T
T
T
Next
]
.
Note
❒
Pressing the
{{{{
Check Modes
}}}}
key lets
you verify the selected destinations.
3.
[
Registration No.
]
Press this to specify a destination using a
5-digit short ID number.
4.
[
Manual Input
]
When specifying a destination that is not
listed, press
[
Manual Input
]
and enter the
destination with the soft keyboard that is
displayed. For information about send-
ing e-mail from the delivery server, see
p.2 “Manuals for This Machine”
5.
[
Attach Sender’s Name
]
[
Attach Sub-
ject
]
Set the sender and subject of the deliv-
ered document.
5
6
1
7
2
4
3