


Vessel Operation
5-23
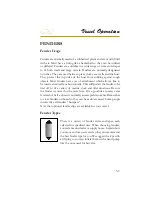
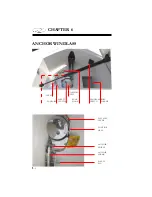
ANCHORING
Selecting the correct anchor is an important decision. The anchor
style in part depends on the usage and boat type.
Regal boats designate an anchor type and or model.
Some models incorporate chain, line with an optional
windlass. Contact an authorized Regal dealer for more
information.
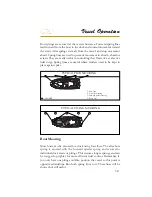
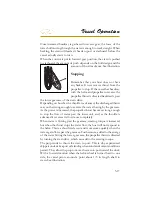
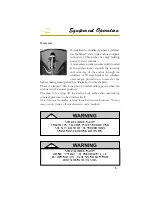
Anchoring is easier with another person on board.
First be certain that the line for the anchor is properly
attached, to avoid losing the anchor and anchor line overboard.
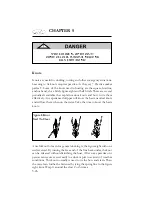
For most anchors to perform more effi ciently, you should attach 3 to
6 feet of chain. The chain will stand up to the abrasion of sand, rock,
or mud on the bottom much better than a nylon line. It should be
galvanized to reduce corrosion. Next, attach a length of nylon line to
the other end of the chain.
The nylon will stretch under a heavy strain cushioning the impact of
waves or wind on both the boat and the anchor.
To anchor, select a well protected area, preferably with a fl at bottom.
Contrary to modern belief, you do not throw the anchor over while
the boat is making headway, or moving forward. In fact, the bow of
the boat should be bought slowly backward, while easing the anchor
slowly over the side of the boat until it hits the bottom. To “snub the
line” means to stop its outward “pay” or movement. Usually the length
of anchor line used should be 5 to 10 times the depth of the water.
After you have anchored, check your position with landmarks if
possible. You need to continue to monitor these landmarks to make
sure you are not drifting. Since anchoring can also be an emergency
procedure, the anchor and line should be readily accessible.
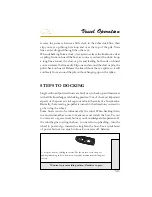
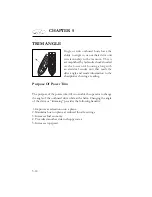
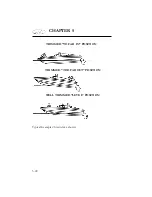
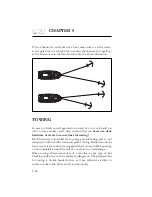
For increased holding power in windy conditions, two anchors are
sometimes set. If your primary anchor drags, you can run out your
secondary anchor without picking up the primary one. The important
thing is to lay them out at an angle. When setting two anchors, make
sure they are fastened to separate rodes or cleats. This is done in case
you need to adjust one later so the line is accessible.
Summary of Contents for 29 OBX
Page 1: ...OWNER S MANUAL OWNER S MANUAL 29 OBX 29 OBX REGAL 281760 REGAL 281760 3 2016...
Page 2: ...THIS PAGE IS LEFT INTENTIONALLY BLANK...
Page 7: ...INT 7 Introduction THIS PAGE IS LEFT INTENTIONALLY BLANK...
Page 18: ...INT 18...
Page 38: ...u v u w CHAPTER 1 NAVIGATION LIGHT RULES...
Page 41: ...Safety On Board...
Page 94: ...Engine Controls 3 27 Typical Switch Shown Above...
Page 96: ...Engine Controls 3 29...
Page 162: ...Equipment Operation X Y Z Typical Dual Battery Switch Circuitry Front View...
Page 163: ...CHAPTER 6 _ Dual Battery Switch Circuitry Rear View...
Page 171: ...CHAPTER 6 CANVAS TRAVEL COVER...
Page 182: ...Equipment Operation Depth Gauge With Functions...
Page 196: ...Equipment Operation...
Page 257: ...Cosmetic Care Maintenance 7 35 Notes...
Page 262: ...Troubleshooting 8 5...
Page 263: ...CHAPTER 8 8 6...
Page 264: ...Troubleshooting 8 7...
Page 265: ...CHAPTER 8 8 8 0 1 0 2 3 4 5 6 2 4 6 7 8 9 2 3...
Page 273: ...CHAPTER 9 Notes...
Page 294: ...Technical Information 12 3 TYPICAL LABELS LOCATIONS Power Tower...
Page 299: ...Technical Information...
Page 305: ...Technical Information Note Locate per Splash...
Page 306: ...Technical Information...
Page 310: ...Technical Information TYPICAL HULL HARNESS BREAKOUT...
Page 311: ...Technical Information TYPICAL SWITCH PANEL BREAKOUT...
Page 312: ...Technical Information TYPICAL DASH CHARTPLOTTER BREAKOUT...
Page 313: ...Technical Information TYPICAL GARMIN YAMAHA NEMA 2000 NETWORK...
Page 324: ...Technical Information...


