background image

All specifications and information are subject to changes without further notice.

12

2. Product Overview

2.3 Unpacking and inspection

Carefully unpack the computer and other accessories. If any of the items 
are found missing, please contact dealer immediately. Keep the original 
packing materials for storage and item replacement.

The package should contain the following parts & components:
    1. Laptop computer                            4. Disk on driver program
    2. Power adaptor                                 5. Battery
    3. User's manual                                   6. Warranty card

3. OPERATING YOUR COMPUTER

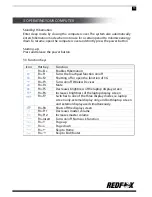
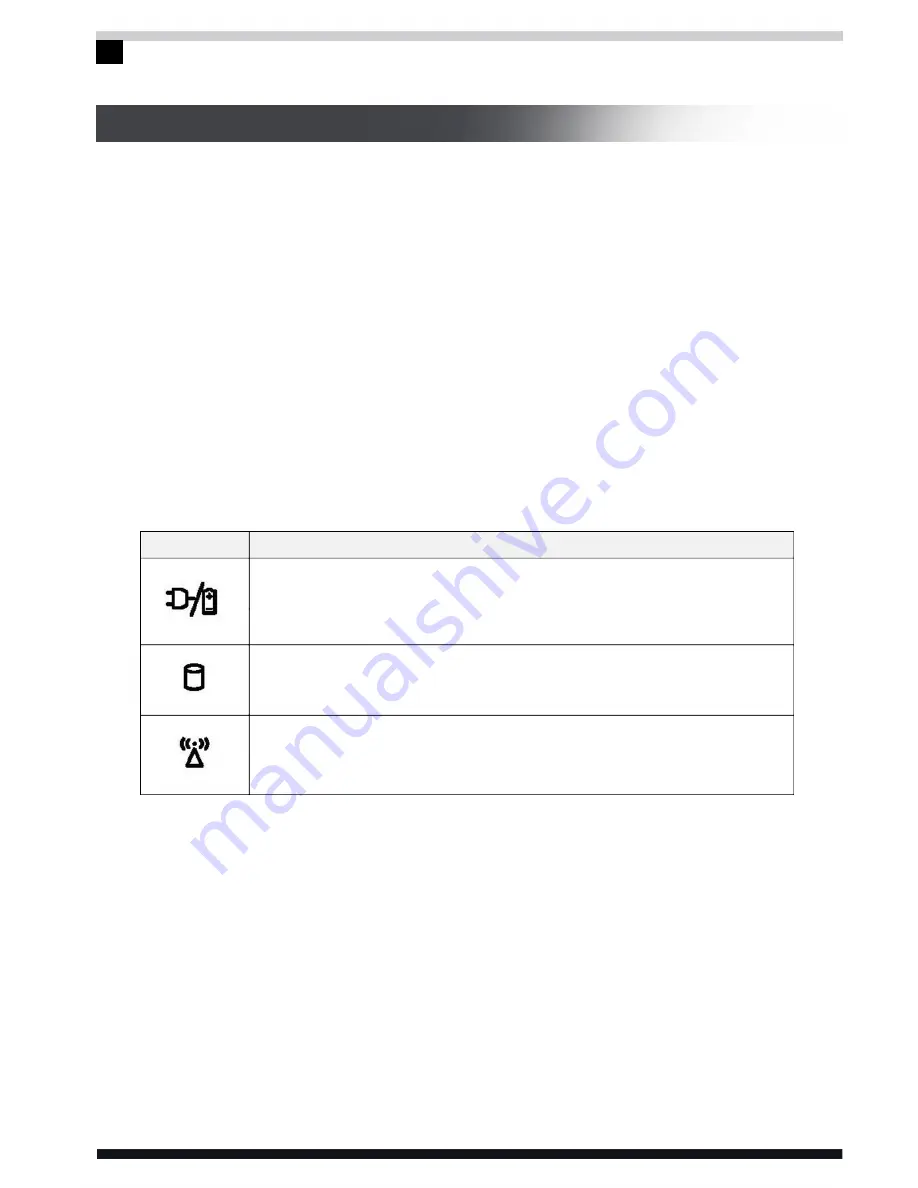
3.1 Status indicators

Function

Orange/ Green lamp:
1. Steady White Light: Indicates Full Charge
2. Flashing Red Light: Indicates Charging State

White lamp: Indicates that the system is reading the hard
drive.

White Light: Indicates that the wireless network card is
currently switched on.

LED Icon

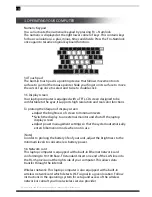
3.2 Turning the computer off

When you finish working on your computer, you may shut down the system or 
choose to go to the standby mode or hibernation.

Shutting down:

Please follow the OS instructions to safely shut down the operating system. For 
Windows users, click on Start, Turn off Computer, and select Turn Off button. By 
doing so, you can avoid data losses or damages in the software. You may also 
use the power button to shut down the system.

Summary of Contents for Wizbook

Page 1: ...w w w r e d f o x t e c h n o l o g i e s c o m USERMANUAL...

Page 2: ...jections about any content article or clause in the specifications please forward a written objection within seven 7 days after purchasing the unit Otherwise it shall be deemed that you have agreed to...

Page 3: ...ion to parts components 2 3 Unpacking and inspection 3 Operating your computer 3 1 Status indicators 3 2 Turning the computer off 3 3 Function keys 3 4 Touch pad 3 5 Display screen 3 6 Network card 4...

Page 4: ...e LCD screen Don t place heavy objects on top of the laptop computer When placed in a suitcase or backpack make sure that there aren t too much objects inside the bag that place additional pressure to...

Page 5: ...the local specifications on electric devices appear not comprehensible consult your local power supply company 7 Unplug the computer from the power supply and remove the battery before cleaning the de...

Page 6: ...nual d The product is exposed to shock causing damage to internal parts or casing e For the usage and storage temperature of this product please refer to the product specification in annex A If the pr...

Page 7: ...f the battery may be influenced by the following factors time of charging and consumption operating system brightness setting of the LCD application or programs running power management setup network...

Page 8: ...tery products of same or equivalent type recommended by manufacturers can be used for replacement Do not disassemble the battery It is advisable that the replacement and installation of the lithium io...

Page 9: ...nderstorms Disconnect all cables that connect the computer outdoors such as the telephone line network line and power line Do not touch these lines or cables during a thunderstorm Warning Do not inser...

Page 10: ...allowing the chair to fully support your weight 3 Preventing eye fatigue Put the screen in your arm s reach and comfortably sit before the screen Place screen in a position slightly below eye level I...

Page 11: ...C USB2 0 x 3 2 5 height 9 5mm SATA interface supporting 80GB 160GB 250GB 320GB 500GB HDD Stereo headphones microphone Supports HD Audio 1 microphone socket 1 earphone socket 2 USB2 0 interfaces 1 inte...

Page 12: ...l 3 Power Button 4 Keyboard 5 Built in Microphone 6 Touch Pad 7 Right Touch Pad Button 8 Left Touch Pad Button 9 DC in 10 Air Exhaust Vent 11 VGA Port 12 HDMI Port 14 USB Port 15 Kensington Lock Slot...

Page 13: ...s indicators Function Orange Green lamp 1 Steady White Light Indicates Full Charge 2 Flashing Red Light Indicates Charging State White lamp Indicates that the system is reading the hard drive White Li...

Page 14: ...ion on off Shutting off or open the function of 3G Turns on off Wireless Devices Mute Decreases brightness of the laptop display screen Increases brightness of the laptop display screen Switches to on...

Page 15: ...or functions To prolong the lifespan of display screen Adjust the brightness of screen to minimum levels Switch the display to an external monitor and shut off the laptop display screen Adjust power m...

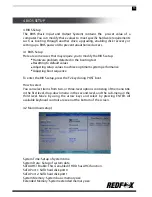
Page 16: ...ystem performance Adjusting boot sequence To enter the BIOS setup press the F2 key during POST boot How to select You can select items from two or three level options consisting of the menu title in t...

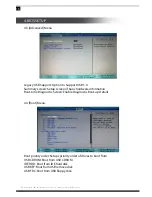
Page 17: ...Support USB 1 0 Summary screen Setup screen of basic hardware information Boot time Diagnostic Screen Enable Diagnostic Boot up Details 4 4 Boot Menu Boot priority order Setups priority order of drive...

Page 18: ...5 Exit Menu Exit Saving Changes Save changes and exit Exit Discarding Changes Exit without savings changes Load Setup Defaults Load default setup value Discard Changes Discard all changes Save Changes...

Page 19: ...hrough a complete system test and quality control before having it available in the market However in certain cases you may encounter some problems on your computer hardware or software due to incorre...

Page 20: ...tem If the HD is upgraded check if the actual disk is firmly attached and if the installation of HD is properly completed Pull off the joint re insert it firmly and restart the computer once again The...

Page 21: ...lowing conditions Ambient temperature 20 25 Light 300 lx 700 lx Distance for visual observation 35cm Angle for visual observation the visual line and the screen surface form 90 degrees 6 4 Problems on...

Page 22: ...w w w r e d f o x t e c h n o l o g i e s c o m...

Reviews: