The first
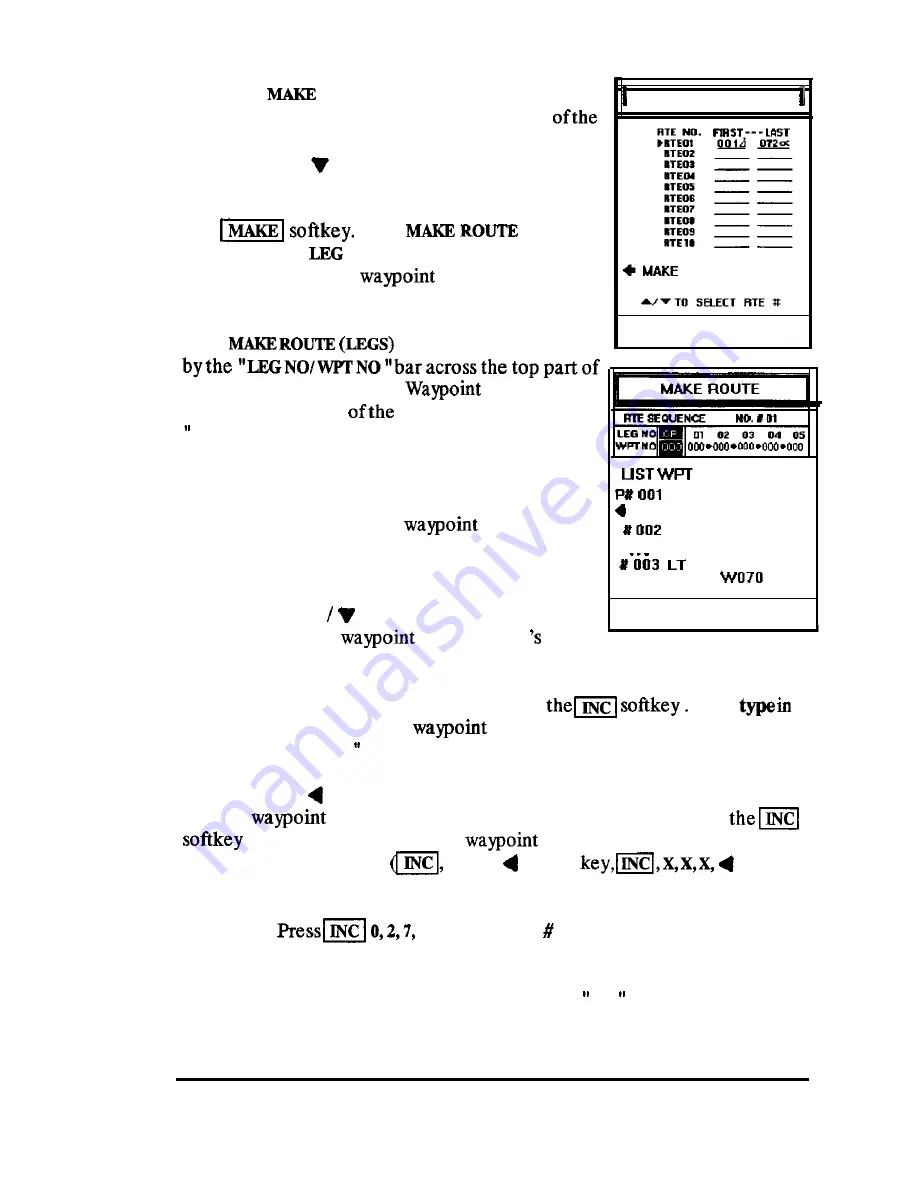
ROUTE screen appears as shown
in the figure.This screen is used to select one
empty route plans for storing the new route. Use
the A (up) or (down) direction keys to move
the cursor indicator to one of the available route
plans. When the desired number is selected, press
the
The
display
changes to the
assignment layout so you can
easily insert desired
legs into the route
plan.
The
display
can
be identified
the display, and part of the
list appearing
in the lowerportion
screen. The boxlabelled
OR” (origin)
is the entry box for typing in the
waypoints that you will insert into the route. It
works this way:
If you already know the
numbers that
you want to use for the route plan you can begin to
insert them following the procedure listed below.
If you’re not sure which waypoints to include, just
use the A (up) (down) direction keys to
scroll through the
list for the # of the
waypoints that you wish to add into the route plan.
MAKE ROUTE
PRESS MENU TO RETURN
HOME N 42 42.34
DEC
W071 25.10
q
OUY
N 42 24.43
l
INC
wo71 02.15
N 41 41.19
34.66
PRESS MENU TO RETURN
To Make the route plan, begin
by
pressing
Then
the number of the starting
(X,X,X). The number you type ap-
pears under the
“OR (origin)
leg box on the screen.
Now use the
(Left) direction key to move leg # 01 over the entry box.
The O
R
will have shifted to the left, out of view. Press
again and type in the next
number for the plan. Continue
repeatingthis sequence
X
,
X
,
X
, (Left)
(Left)
key, etc.) until all waypoints of the route have been entered.
Example:
to include wpt 27 into the route.
If you make a mistake and enter an impossible number, the unit will emit
multiple beeps and the entry box will reset to
automatically. Just
OPERATION 94


