Hardware Installation
User Manual
ApplianceStor
50
Rev. 1, November 2011
31
5.
Use the up/down arrow keys to select a drive, press <TAB> to select a Master
disk, and then press <SPACE> to select a Recovery disk. A small triangle
marks the selected drive. Press <Enter> after completing your selection.
6.
When the Sync item is selected, use the up/down arrow keys to select a sync option that you want
and press <Enter>.
7.
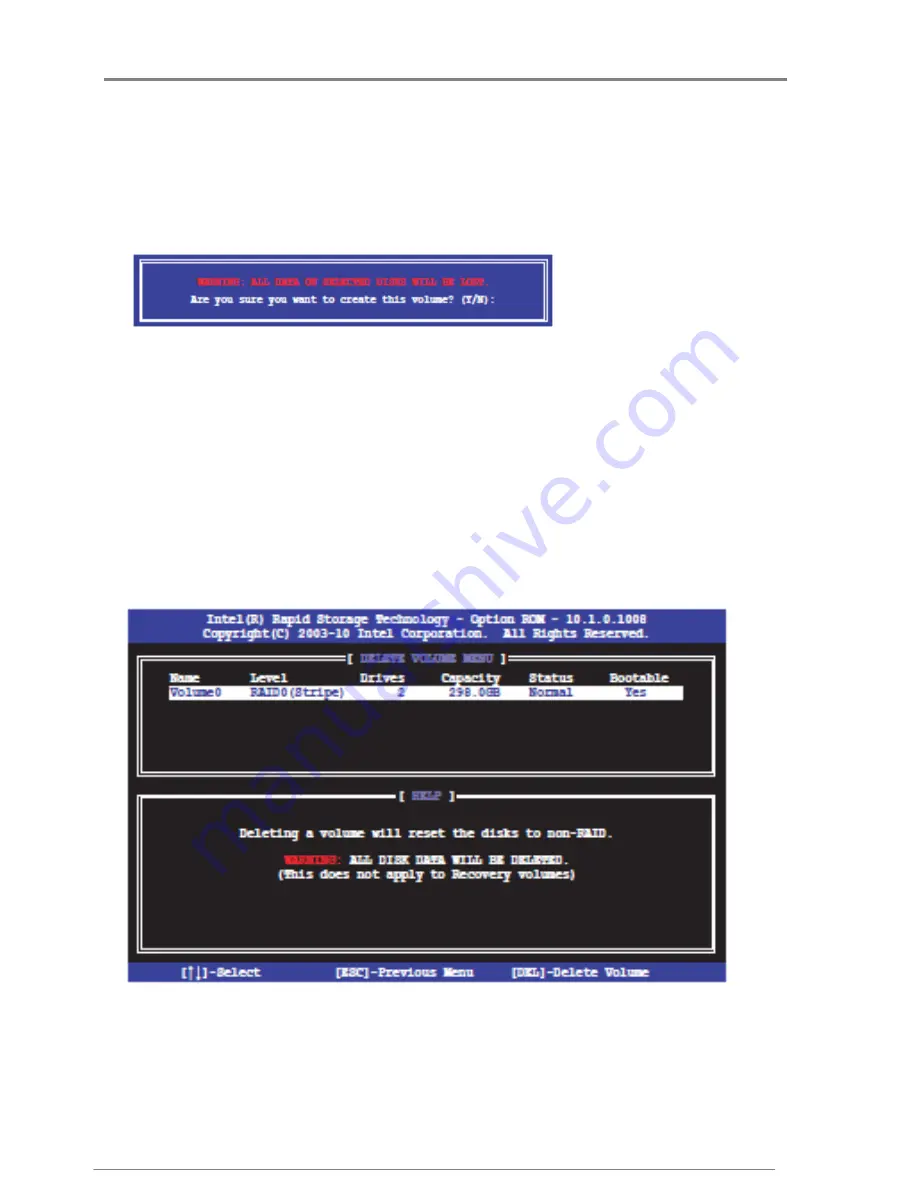
When the Create Volume item is selected, press <Enter>. The following warning message
appears.
Figure 36- Recovery Set create volume
8.
Press <Y> to create the recovery set and return to the main menu, or <N> to go back to the
CREATE VOLUME menu.
If a recovery set is created, you cannot add more RAID sets even when you have
more non-RAID disks installed in your system.
Deleting a RAID set
Take caution when deleting a RAID set. You will lose all data on the hard disk drives when you
delete a RAID set.
To delete a RAID set:
1.
From the utility main menu, select 2. Delete RAID Volume
2. Delete RAID Volume
2. Delete RAID Volume
2. Delete RAID Volume
and press <Enter>. The following
screen appears.
Figure 37- Delete RAID
2.
Use the up/down arrow keys to select the RAID set you want to delete, and then press <Del>. The
following warning message appears.


