Printing
19
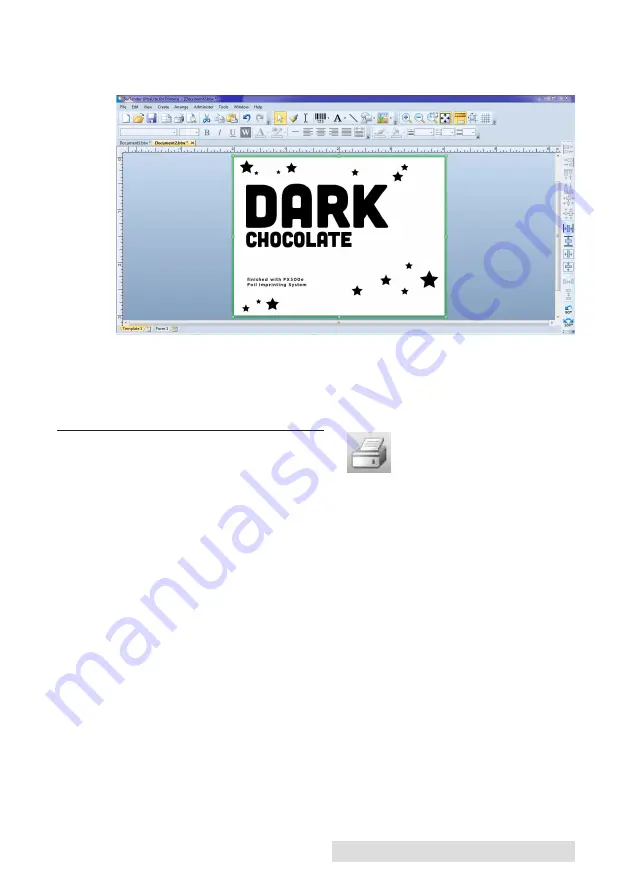
When the highlights box is covering the whole label, you can leave
the label underneath the highlights box:
If the original label is still visible you should delete it after position-
ing the details box.
You are now ready to print your label.
B. PRINTING FROM BARTENDER
1. To print, click the Print button
or go to the File Menu and
select "Print". The Print Dialog window will appear.
2. Select the FX500e.
3. Set the number of copies.
4. Click "Document Properties" to adjust darkness, speed, etc.
These settings are explained in Section 3D.
5. Click "Print".
Congratulations! You have successfully created and printed your
first label. The rest of this section will explain how to seal labels
with clear film and the printer settings. Also, you can find more tips
and hints by simply clicking Help then Contents in the main menu
NOTE:
Objects will be layered in the order they are added to your document. To
change the layering order right click on the object, choose "Arrange" and
"Order".
Summary of Contents for FX500E
Page 4: ...iv...
Page 17: ...Printing 13 3 Select FX500e Click Next 4 Select Specify Custom Settings Click Next...
Page 18: ...14 Printing 5 Select Single item per page Click Next 6 Select No it does not Click Next...
Page 38: ......
Page 39: ...P N FX500E...
Page 40: ......


