Printing
17
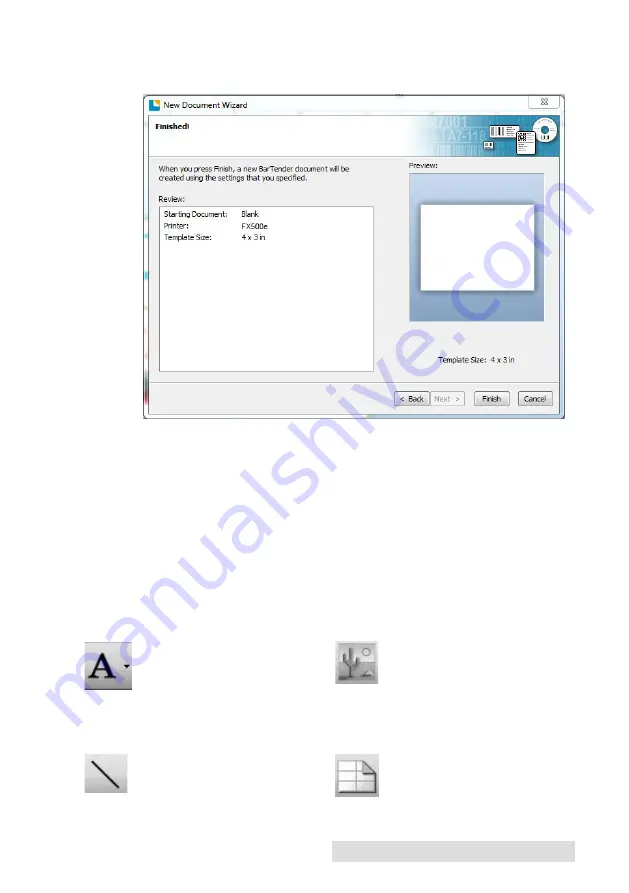
11. Review the label setup summary. If it is correct, click "Finish".
Your blank label will be displayed.
After you click Finish, you can always go back and change any of
these settings, by going to the File Menu and selecting "Page Setup".
Basic and advanced settings are available on the various tabs.
Once you have created your label size you can start to design your
label using Tools from the Tool Box/button bar. You will need to add
text, rectangles, lines and/or graphics. This can be done using one
of the buttons on the button bar at the top of the screen.
Tip!
Double-click any object to open settings for that object.
Tip!
Go to the Help menu to access the BarTender Manual and Tutorials.
Add Graphic.
Click the
Image button. Now click any-
where on your label. An Image
icon will appear. Double-click it
to open up image settings and
browse to the image/graphic
that you would like to insert.
Lines.
Click the Line button to
add a horizontal or vertical line.
Page Setup.
Click the Page Setup
button to change your label size,
adjust corner radius or change the
shape.
Add Text.
Click the Text button.
Now click anywhere on your label.
"Sample Text" will appear. Edit the
text on screen or double click it to
open up text settings to change
font, size and other settings.
Summary of Contents for FX500E
Page 4: ...iv...
Page 17: ...Printing 13 3 Select FX500e Click Next 4 Select Specify Custom Settings Click Next...
Page 18: ...14 Printing 5 Select Single item per page Click Next 6 Select No it does not Click Next...
Page 38: ......
Page 39: ...P N FX500E...
Page 40: ......


