


21
Configure the server settings
Go to the “Setup” page and click on “System”, “Server” tab and you may configure the
server settings. You may define the “Device Name” of the NVR you use, e.g.
Office@Paris.
Enable Video-Out:
Check “Enable” if you want the NVR enable the hardware VGA video-out port. You
will be able to connect a VGA monitor to the VGA port for direct viewing of all live
streams.
Note
: Channels will be streamed at lower resolution to conserve NVR system
resources. It is recommended to disable this feature when you are not using it.
Enable UPnP:
Check “Enable” if you want the NVR to act as a UPnP device. You will be able to visit
the NVR from “My Network Places”.
Click the “Save” button to save the settings.
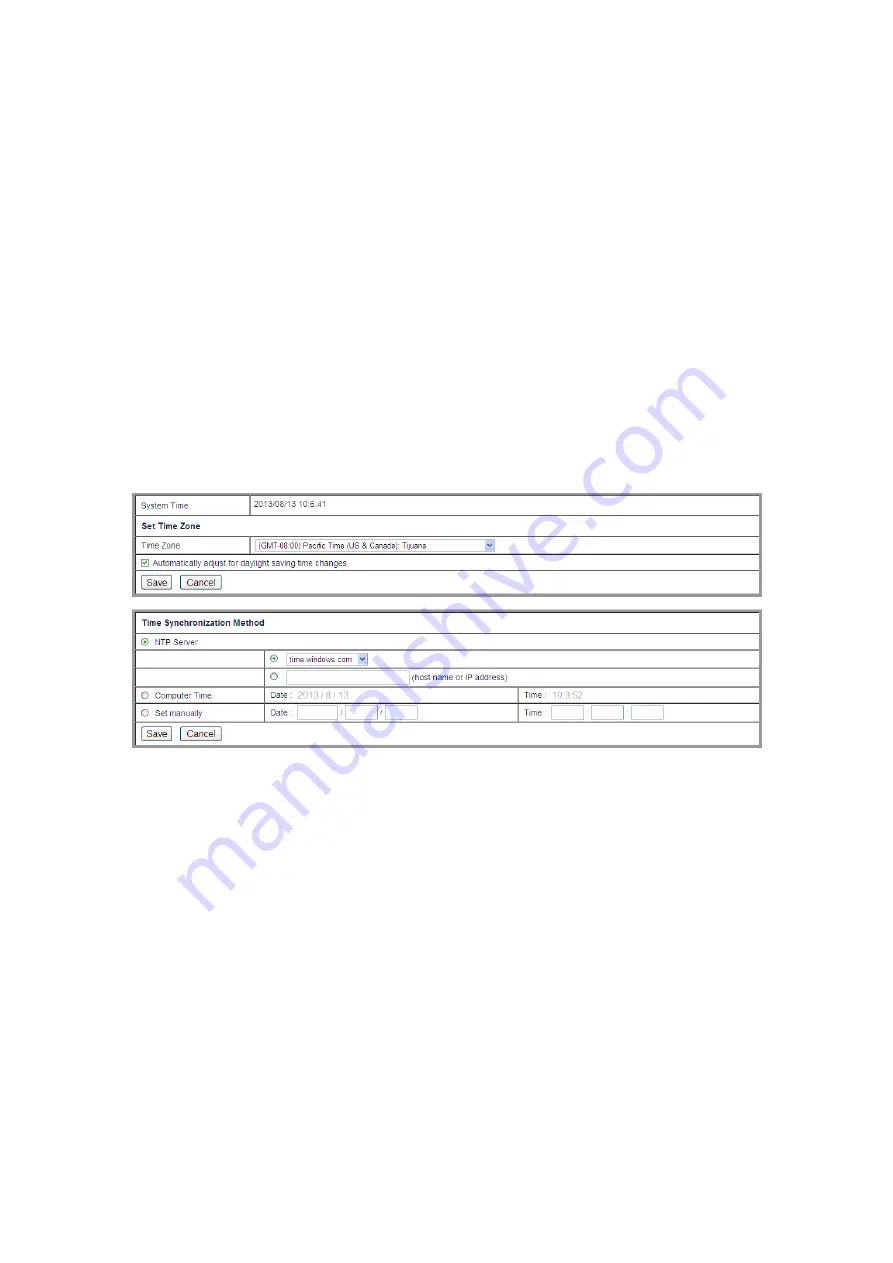
Date/Time
Set the Time Zone:
1. Go to the “Setup” page and click on “System”, “Date/Time” tab.
2. Select the desired Time Zone from the drop-down list.
3. Check the “Automatically adjust for daylight saving time changes” option if
needed.
4. Click the “Save” button to save the settings.
Set the Time Synchronization Method:
1. You may set the NVR date and time using any of the following three ways:
a. Synchronize the NVR date and time with a NTP (Network Time Protocol)
server. Select the NTP Server you want to use.
b. Synchronize the NVR with the computer time.
c. Manually set the Date and Time by entering the Date and Time in the
blanks.
2. Click the “Save” button to save the setting.


