


14
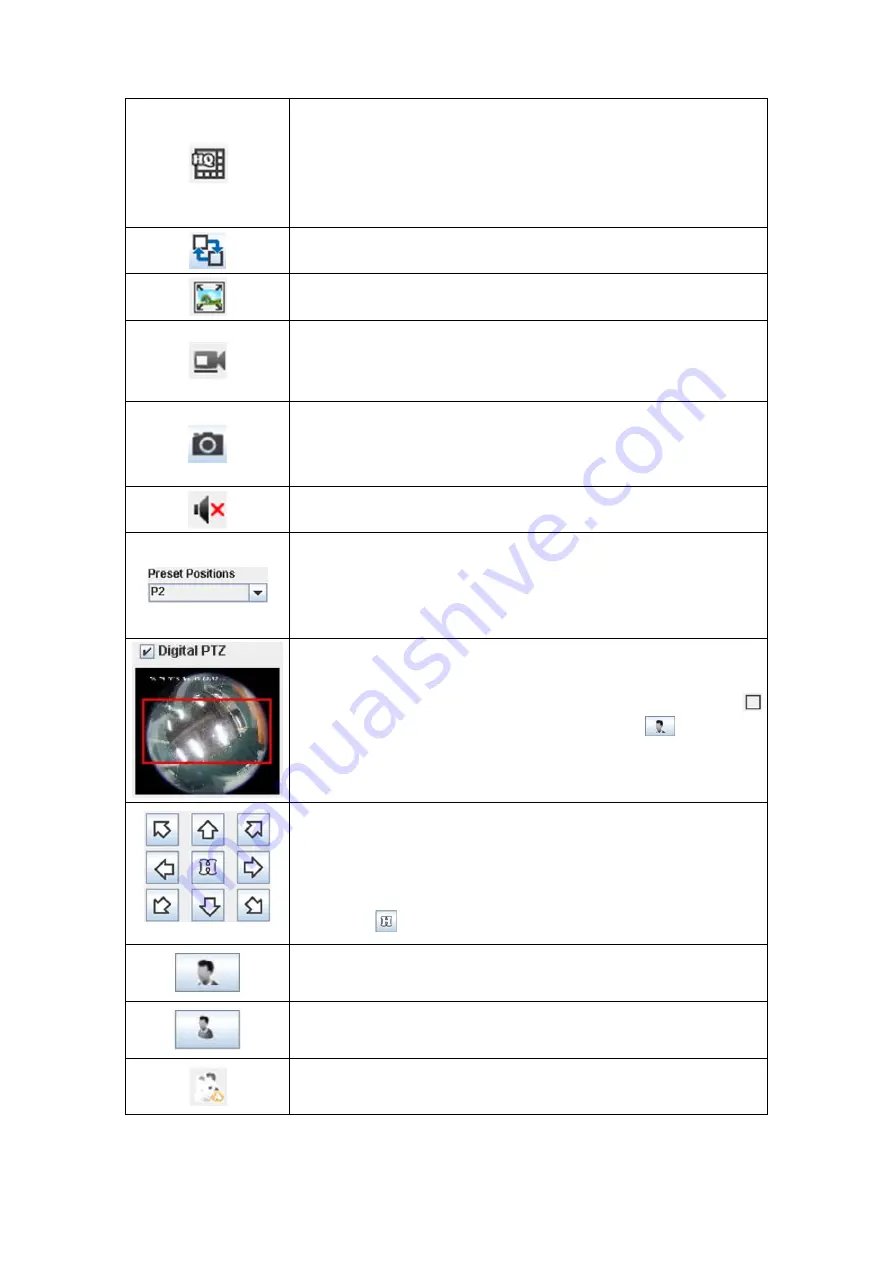
Click this button to display 8 channels at a time in a 1+7
configuration. Window 1 will be streamed at the highest
resolution, while the 7 smaller windows will be streamed at low
resolution to conserve bandwidth (This function may or may not
be available depending on the NVR model you purchase.)
Click this button to switch to the next group of channels.
Click this button to fit the video into each screen window.
If currently not recording, click this button to immediately start
the recording process. Click this button again to stop the
recording process.
Click this button to capture a snapshot of the channel. A note
will be displayed to tell you the folder and filename the
snapshot was saved under. You may open the folder and find
the snapshot image.
Click this button to
mute the selected channel.
Select the preset position from the drop-down list to move to
the predefined position of the supported camera. Please go to
the “Setup” page and click on “Camera”, “Channel” tab
to
create the drop-down list options in advance.
Tick the check box to perform pan, tilt, and zoom operations
digitally by moving the mouse pointer on the 1x1 viewer window
of the selected channel. Select the desired channel and click
to make that window the focus window. Click
to zoom in
and move the mouse pointer on the viewer window to perform
digital PTZ operations.
If you are using a PTZ network camera, the PTZ Setting button
will be activated. Click on the button to make PTZ adjustment of
the camera. By PTZ control, you may focus the network
camera to a desired position.
Click these arrow buttons to adjust the direction of the camera
lens. Click
to reset the camera to its home position.
Click this button to zoom in.
Click this button to zoom out.
Click this button to automatically adjust lens focus.


