ZX SERIES USER MANUAL
88
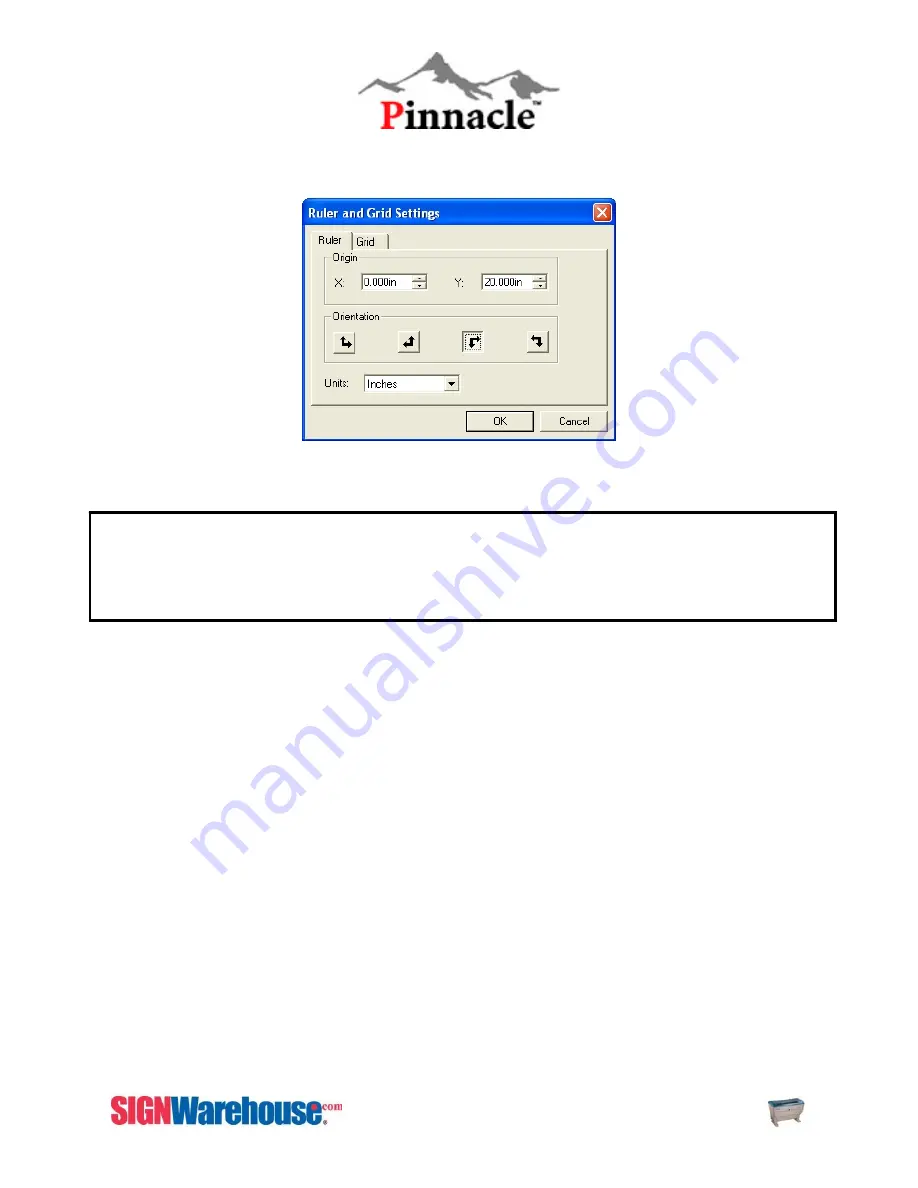
Step3
: Click the 3
rd
one from the Left (Upper Left Corner) and the Y measurement should change to 20.000in.
Then Click OK.
Step4
: Once finished Click the Right arrow again in your Design Central. Click Set as default. Close the program
down and open it back up. The page size should stay the 32x20 with the 0,0 in the upper left hand corner.
Raster vs. Vector
There are two different functions the laser can perform. Raster Engraving and Vector cutting.
Raster Engraving
is when the laser performs a printer-like function, where the head of the laser goes back and
forth, engraving out an image. Usually illustrated by the color black. In any graphics program, if an object has a
fill, it will raster engrave. In Laser Master 2 if you have text or a square, when you left click on a color it will
change the color of the fill. Changing the fill of an object allows you to set different speed/power settings for each
object. Any Scanned images are completely Raster Images. They can only be engraved.
Rasterized image file types include .bmp .jpg .psd .tif
(Grayscale is a Raster Engraving feature, see 3D mode under the Printing section)
Vector Cutting
is when the laser follows the hair line outline of an object and cuts an object out. Usually illustrated
by the color red. Only vectorized images have the ability to be given an hair line outline and be able to be cut out.
Vectorized images have the ability to be either Raster Engraved or Vector Cut. If you give a vectorized image a fill
it will engrave. If you give it a hairline outline, it can cut. If you give a vectorized image a fill and a hairline
outline, it will raster engrave first and then vector cut.
Vectorized image file types include .ai .eps .dxf .dwg .plt .prn
Vector Cutting
If laser engraver will NOT vector cut, it is because the width of the text’s outline is not set to its thinnest width
(Hairline). The MS-Windows® driver determines raster/vector cutting based on the outline width of an object. To
achieve a vector cutting, please set the text or object’s fill to invisible and its outline to its thinnest width (Hairline)
in Laser Maser 2.
Note : In some instances, the laser’s LCD panel shows a message of “Graph was clipped” or the laser
engraver is engraving at some strange location in an unpredictable way. The result engraved artwork is
scrapped.
This is caused by your software’s page size being wrong or having images sit on edge of paper. Confirm that the page
size is right and image is inside plate area. Resend image to laser.
Summary of Contents for LaserPro ZX Series
Page 1: ......
Page 22: ...ZX Series USER MANUAL 21 Fig 3 12 Red Pointer Access Red Pointer Access...
Page 32: ...ZX Series USER MANUAL 31...
Page 39: ...ZX Series USER MANUAL 38...
Page 82: ...ZX SERIES USER MANUAL 81 Firmware FPGA Back Fig 5 37 Machine Information Page 2...
Page 86: ...ZX SERIES USER MANUAL 85...


