FL SWITCH 2000
20
PHOENIX CONTACT
107065_en_01
•
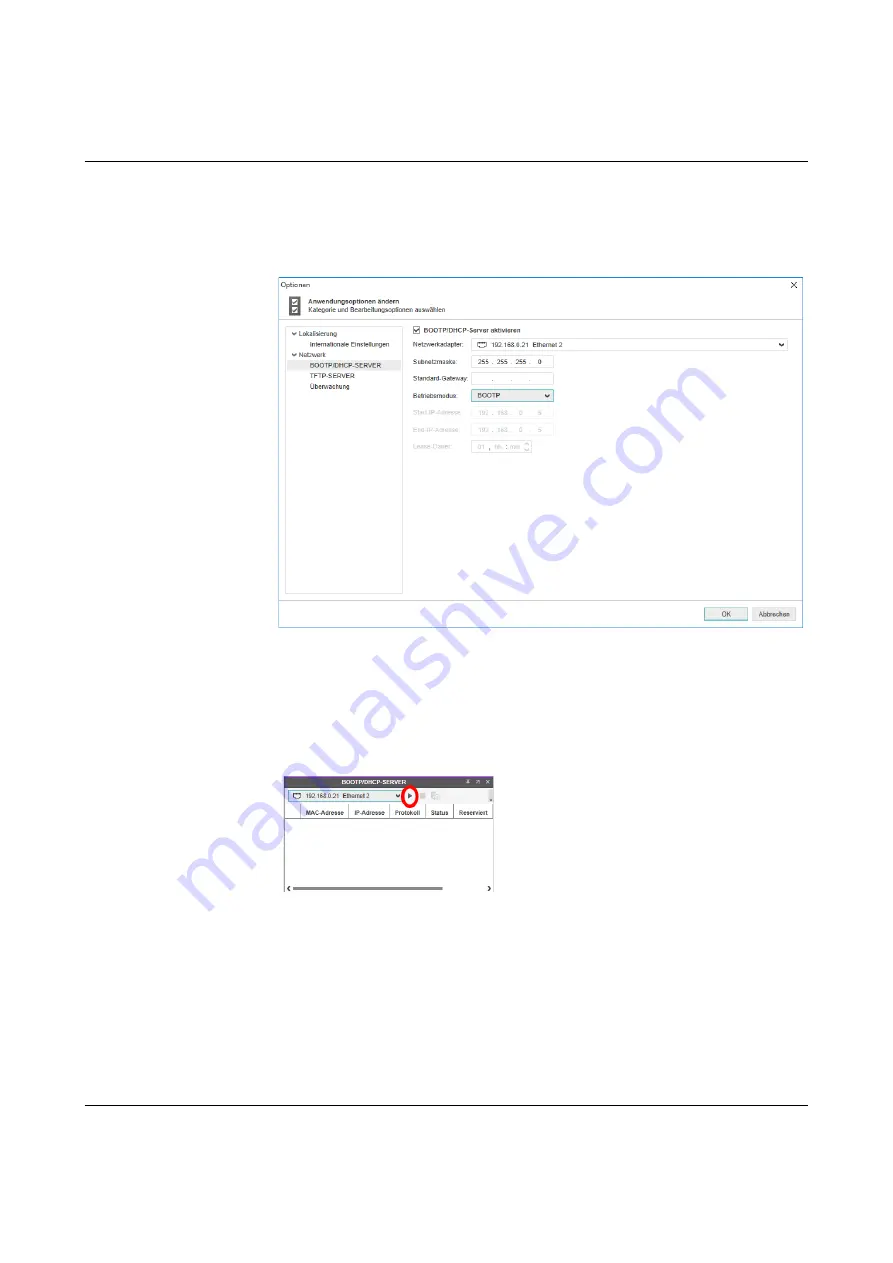
Under Tools
Options, select the
BOOTP/DHCP SERVER menu item
•
Configure the network interface on your PC to which the device is connected and select
“BootP” mode. You can also adjust the subnet mask and configure a default gateway.
•
Click “OK” to confirm the parameterization
Figure 3-1
Settings for the BootP server
Step 2: starting the BootP server
•
In your project in the BOOTP/DHCP SERVER window, click on the Play icon next to the
selected network interface. The BootP server is now activated.
•
BootP requests that are received are listed in the BOOTP/DHCP SERVER window in
table format
Figure 3-2
BootP server
Step 3: inserting incoming BootP requests in the reservation list and assigning IP
parameters
•
If you would now like to assign IP parameters to a device, such as an IP address, subnet
mask or default gateway, right-click on an incoming BootP request in the BOOTP/DH-
CP SERVER window and select “Add to BOOTP/DHCP reservations”.
•
Now enter the IP address to be assigned in the BOOTP/DHCP reservations window.
The IP parameters are immediately transferred to the device.
Summary of Contents for FL SWITCH 2005
Page 1: ...User manual FL SWITCH 2000 Order No...
Page 62: ...FL SWITCH 2000 62 PHOENIX CONTACT 107065_en_01...
Page 68: ...FL SWITCH 2000 68 PHOENIX CONTACT 107065_en_01...
Page 87: ...Technical data and ordering data 107065_en_01 PHOENIX CONTACT 87 49 5281 9 462888...
Page 88: ...FL SWITCH 2000 88 PHOENIX CONTACT 107065_en_01...
Page 92: ...FL SWITCH 2000 92 PHOENIX CONTACT 107065_en_01...
Page 94: ...FL SWITCH 2000 94 PHOENIX CONTACT 107065_en_01...
Page 98: ...FL SWITCH 2000 98 PHOENIX CONTACT 107065_en_01...


