Creating a bridge group
25
Models 3224 G.SHDSL IpDSLAM & 6081RC NAS Applications Guide
3 • Bridged data application
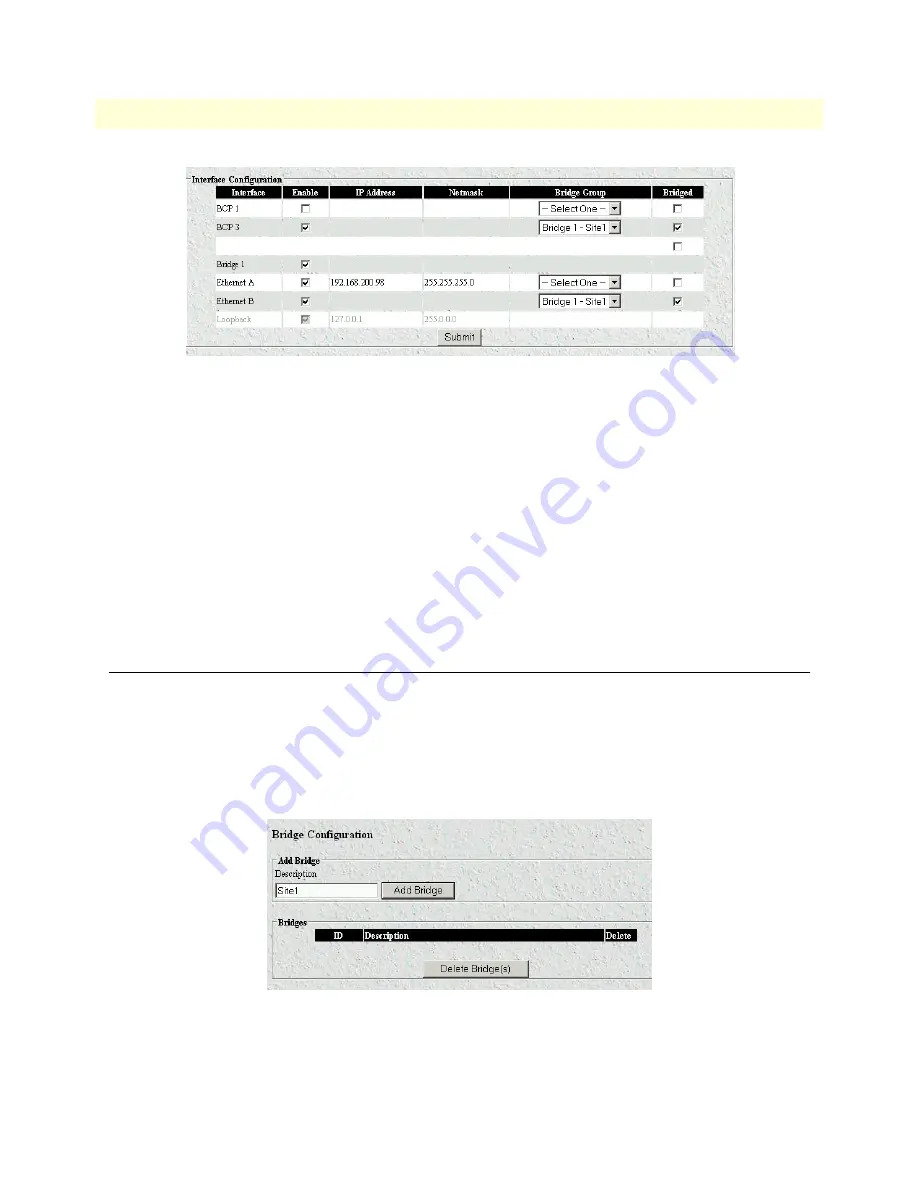
Figure 18. Interface configuration window
4. In the
Interface Configuration
table, place a checkmark in the box next to Ethernet A (see
figure 18
).
5. Click the
Submit
button (see
figure 18
).
6. To save the new values, click the configure button corresponding to Interface A (to the right of the Net-
Mask field).
Note
After re-defining the IP address for Ethernet Interface A for connec-
tion to an Ethernet LAN, your workstation will lose connection to
the Ethernet port A. Disconnect your workstation and connect Inter-
face A to the Ethernet LAN, you can then log in to the management
interface from a workstation connected to the LAN using a web
browser and the new IP address just assigned to Interface A.
Creating a bridge group
In order for the 3224 or the 6081RC to bridge data from and to several ports is necessary to create a
bridge group.
Do the following to configure bridge groups:
1. Click the Bridge link in the
Configuration Menu
pane (see figure 3 on page 6) to display the
Bridge Config-
uration
page (see figure 11).
Figure 19. Bridge Configuration page
2. Type the name of the bridge group (Site 1 in the example shown in
figure 19
) to create a new bridge that
will link DSL or H.110 ports and Ethernet port B.


