Chapter 4
Settings — [DISPLAY OPTION] menu
128 - ENGLISH
[RGB IN]
Set to match the signal to input to the <RGB 1 IN> terminal.
Setting [RGB1 INPUT SETTING]
1) Press
as
to select [RGB IN].
2) Press the <ENTER> button.
f
The
[RGB IN]
screen is displayed.
3) Press
as
to select [RGB1 INPUT SETTING].
4) Press
qw
to switch the item.
f
The items will switch each time you press the button.
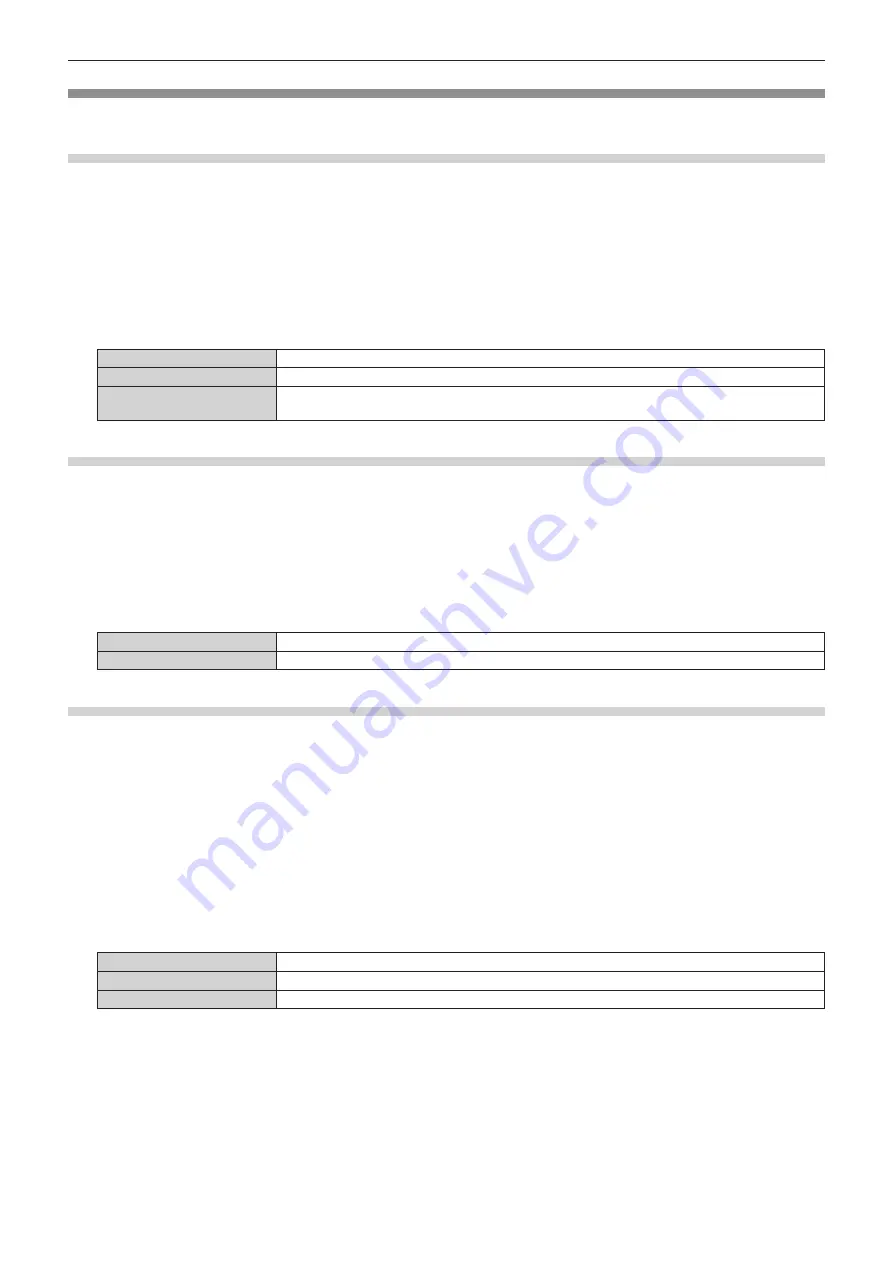
[RGB/YP
B
P
R
]
Select this item when an RGB signal or YC
B
C
R
/YP
B
P
R
signal is input to the <RGB 1 IN> terminal.
[VIDEO]
Select this item when a video signal is input to the <RGB 1 IN> (<R/P
R
/VIDEO>) terminal.
[Y/C]
Select this item when a luminance signal and color signal are input to the <RGB 1 IN> (<G/Y>, <B/P
B
/
C>) terminal.
Switching the slice level of an input sync signal
1) Press
as
to select [RGB IN].
2) Press the <ENTER> button.
f
The
[RGB IN]
screen is displayed.
3) Press
as
to select [RGB1 SYNC SLICE LEVEL] or [RGB2 SYNC SLICE LEVEL].
4) Press
qw
to switch the item.
[LOW]
Sets the slice level to [LOW].
[HIGH]
Sets the slice level to [HIGH].
Setting [RGB2 EDID MODE]
1) Press
as
to select [RGB IN].
2) Press the <ENTER> button.
f
The
[RGB IN]
screen is displayed.
3) Press
as
to select [RGB2 EDID MODE].
4) Press the <ENTER> button.
f
The
[RGB2 EDID MODE]
screen is displayed.
5) Press
qw
to switch [EDID MODE].
f
The items will switch each time you press the button.
[DEFAULT]
Standard setting.
[SCREEN FIT]
Changes EDID data according to the [SCREEN FORMAT] setting.
[USER]
Sets the [RESOLUTION] and [VERTICAL SCAN FREQUENCY] items to EDID.
f
When [DEFAULT] or [SCREEN FIT] is selected, proceed to Step
10)
.
6) Press the <ENTER> button.
f
The
[RESOLUTION]
screen is displayed.
7) Press
asqw
to select [RESOLUTION].
f
Select [1024x768p], [1280x720p], [1280x768p], [1280x800p], [1280x1024p], [1366x768p], [1400x1050p],
[1440x900p], [1600x900p], [1600x1200p], [1680x1050p], [1920x1080p], [1920x1080i], or [1920x1200p].


