


Chapter 4
Settings — [ADVANCED MENU] menu
110 - ENGLISH
Blanking correction
Item
Operation
Adjustment
Range of adjustment
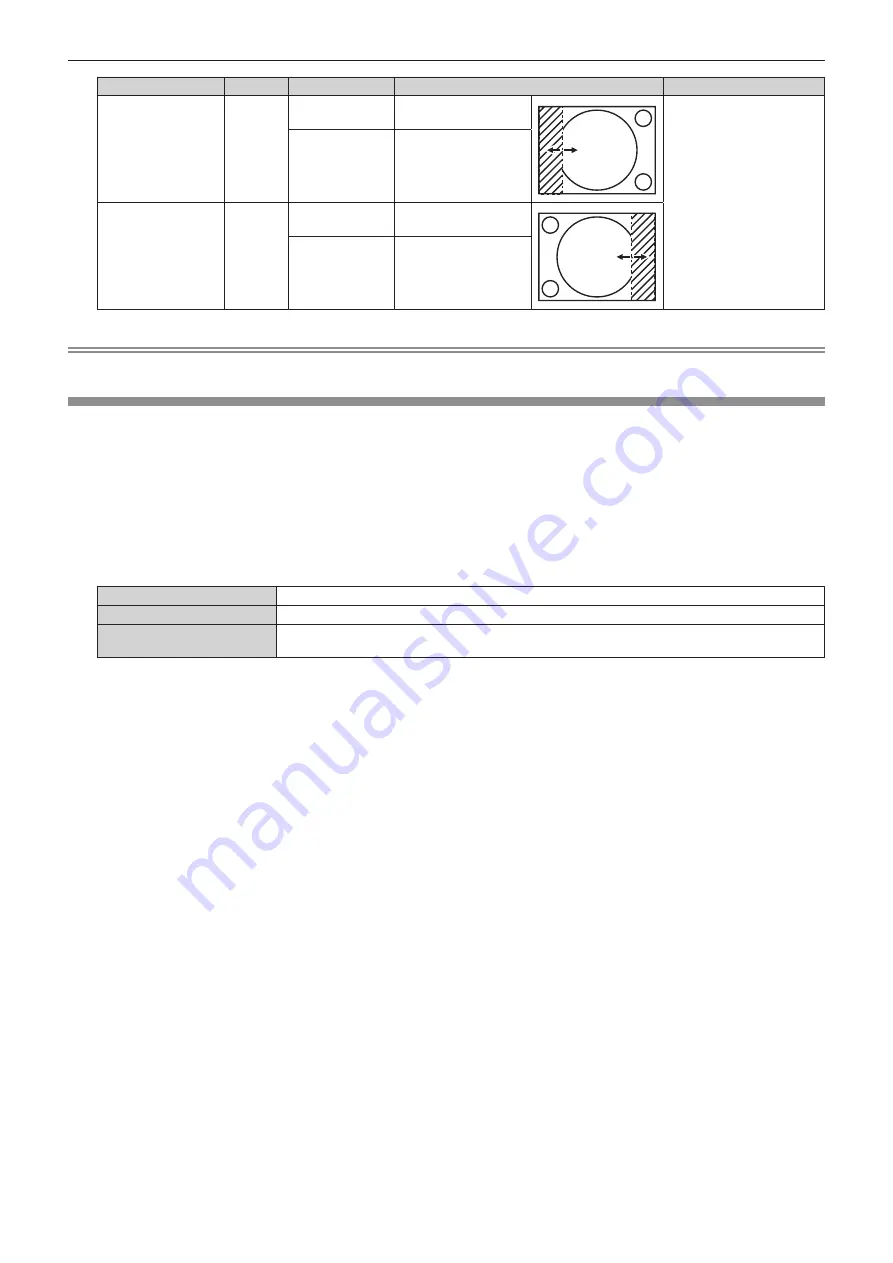
Left side of the
screen
[LEFT]
Press
w
.
The blanking zone
moves to the right.
Left and right 0 - 1 918
Press
q
.
The blanking zone
moves to the left.
Right side of the
screen
[RIGHT]
Press
q
.
The blanking zone
moves to the right.
Press
w
.
The blanking zone
moves to the left.
Note
f
The upper limit of the adjustment range may be restricted so that the entire projected image is not covered by blanking width.
[EDGE BLENDING]
The edge blending function allows multiple images to be seamlessly overlapped by using the inclination of the
brightness at the overlapped area.
It is recommended that edge blending is adjusted after an image is projected continuously for at least 30 minutes
and then the image is stable.
1) Press
as
to select [EDGE BLENDING].
2) Press
qw
to switch the item.
f
The items will switch each time you press the button.
[OFF]
Sets the edge blending function to off.
[ON]
Use the setting value preset in the projector for the inclination of the edge blending area.
[USER]
Use the user-setting value for the inclination of the edge blending area. (Configuration/registration
requires separate software. Consult your dealer.)
f
Proceed to Step
3)
when anything other than [OFF] is selected.
3) Press the <ENTER> button.
f
The
[EDGE BLENDING]
screen is displayed.
4) Press
as
to specify the location to be corrected.
f
When joining at top: Set [UPPER] to [ON]
f
When joining at bottom: Set [LOWER] to [ON]
f
When joining at left: Set [LEFT] to [ON]
f
When joining at right: Set [RIGHT] to [ON]
5) Press
qw
to switch to [ON].
6) Press
as
to select [START] or [WIDTH].
7) Press
qw
to adjust the starting position or correction width.
8) Press
as
to select [MARKER].


