Chapter 2
Getting Started — Setting up
34 - ENGLISH
Setting up
Installing the projector
This projector is used in combination with the optional Mount Bracket or Floor Stand Kit.
r
When installing on a wall or ceiling
The optional Mount Bracket (Model No.: ET-JPC200BE, ET-JPC200WE) is required to use the projector directly
installed on a wall or ceiling.
f
Be sure to use the Mount Bracket specified for this projector.
f
For installation of the projector to a wall or ceiling, refer to the Installation Instructions of the Mount Bracket.
Attention
f
To ensure projector performance and security, be sure to ask your dealer or a building electrician for installing the projector to a wall or
ceiling.
r
When standing on the floor
The optional Floor Stand Kit (Model No.: ET-JPF200BE, ET-JPF200WE) is required to use the projector set on the
floor.
f
Be sure to use the Floor Stand Kit specified for this projector.
f
For installation of the Floor Stand Kit to the projector, refer to the Operating Instructions of the Floor Stand Kit.
f
After installing the Floor Stand Kit, install the projector referencing “Projection dimensions” (
x
page 31).
Adjusting the projection position
Adjust the orientation of the main unit to determine the projection position after installing the projector.
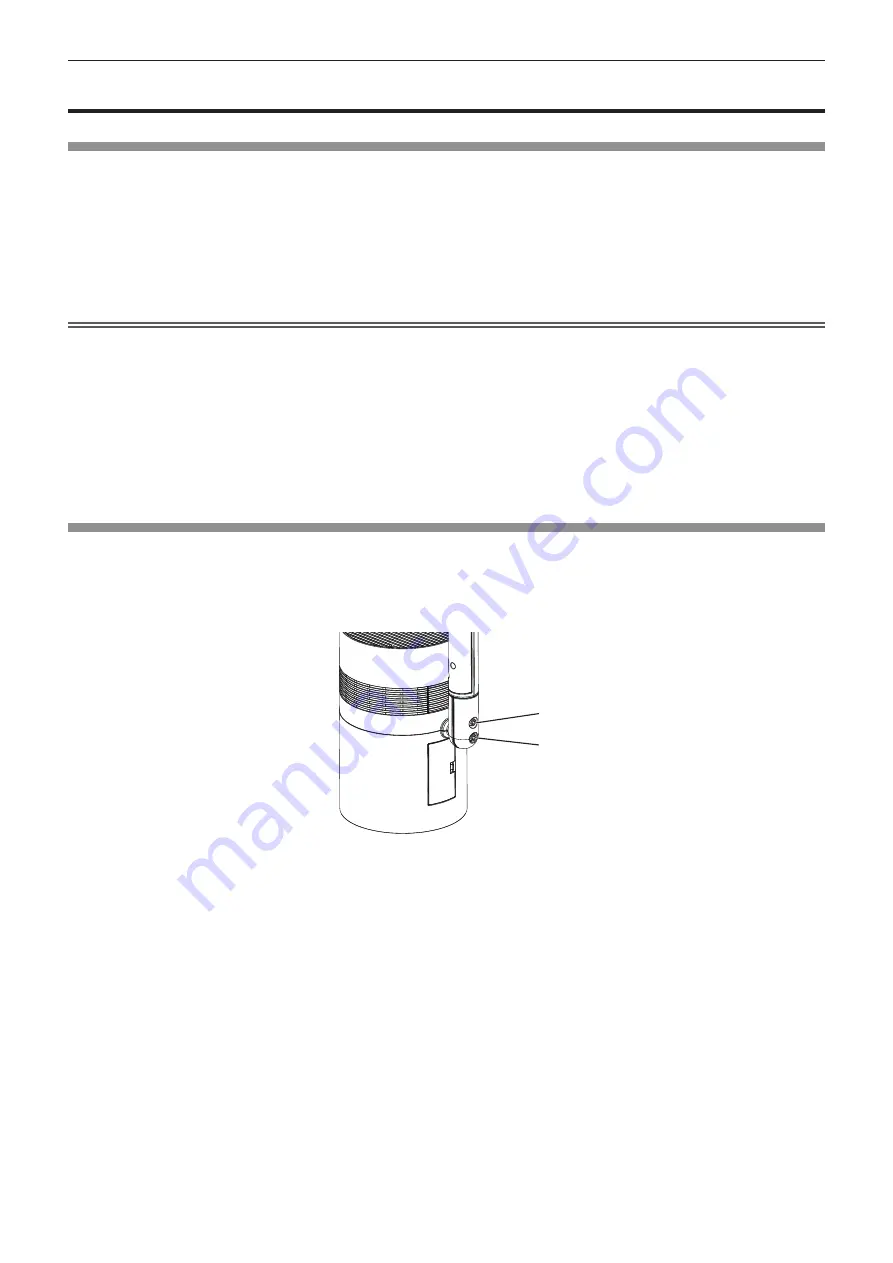
1) Loosen the ball joint fixing screw.
f
Loosen the ball joint fixing screw using the supplied Allen wrench (opposite side size 5.0 mm (3/16")).
Ball joint fixing screw
Ball joint stopper


