background image

®

C o n t e n t s

Names and Functions of  Parts ..................... 6

P e r s o n a l   C o m p u t e r

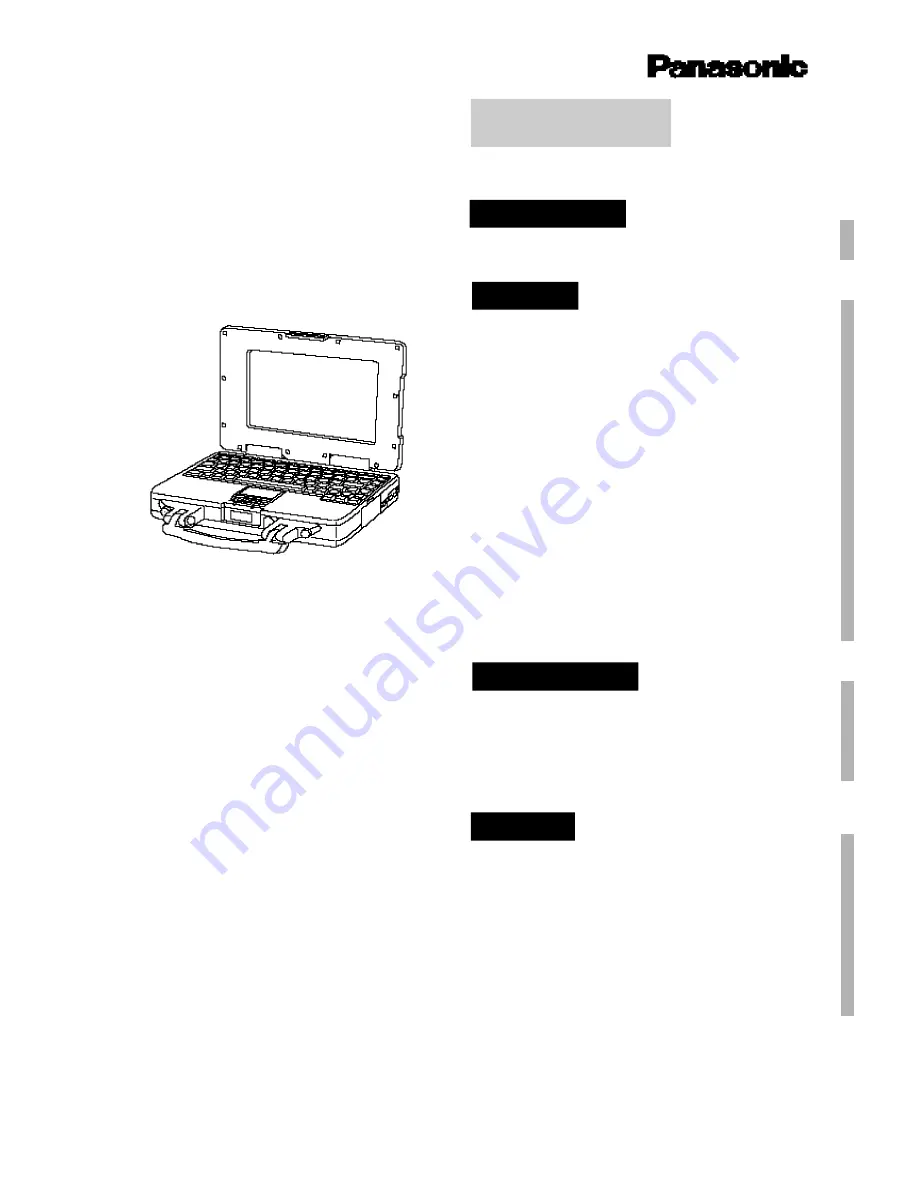
CF-25

 Series

O P E R ATING
I N S T R U C T I O N S

Startup and Shutdown .....................................8
Keyboard and Touch Pad .............................. 1 0
Battery Power ................................................... 1 2

R e p l a c i n g .......................................................... 1 5

R e c h a r g i n g ....................................................... 1 6

Refreshing ........................................................ 1 7

Hardware Expansion ...................................... 1 8

Multimedia Pocket (MP) ................................ 1 8

PC Cards .......................................................... 1 9

Memory Expansion ........................................ 2 0

Expansion Bus Port ........................................ 2 1
Hard Disk Drive
(

For technicians at your nearest  Panasonic Dealer

) .............. 2 2

Infrared Data Transfer .................................... 2 3
Setup Utility ....................................................... 2 4

Diagnostics Program 

(

DIAG25

) .............................

2 5

Error Codes ....................................................... 2 5
Dealing with Problems .................................. 2 6
Reinstalling Windows .................................... 2 8

A p p e n d i x

Floppy Disk Drive ............................................ 3 0
Hardware Technical Data .............................. 3 1
Display Properties........................................... 3 2
LIMITED USE LICENSE AGREEMENT ...... 3 3
Specifications................................................... 3 6

For LCD ............................................................ 3 8

I n d e x .................................................................... 3 9

Getting Started

O p e r a t i o n

Troubleshooting

Summary of Contents for CF-25

Page 1: ... 8 PC Cards 1 9 Memory Expansion 2 0 Expansion Bus Port 2 1 Hard Disk Drive For technicians at your nearest Panasonic Dealer 2 2 Infrared Data Transfer 23 Setup Utility 24 Diagnostics Program DIAG25 2 5 Error Codes 2 5 Dealing with Problems 2 6 Reinstalling Windows 2 8 Appendix Floppy Disk Drive 3 0 Hardware Technical Data 3 1 Display Properties 3 2 LIMITED USE LICENSE AGREEMENT 3 3 Specifications...

Page 2: ...ark and PS 2 is a trademark of International Business Machines Corporation Microsoft MS DOS and Windows are registered trademarks of Microsoft Corporation of the United States and or other countries Intel and Pentium are registered trademark or trademark of Intel Corporation CardWorks is a trademark of SystemSoft Corporation TranXit is a trademark of Puma Corporation Panasonic is a registered trad...

Page 3: ...erference by one or more of the following measures Reorient or relocate the receiving antenna Increase the separation between the equipment and receiver Connect the equipment into an outlet on a circuit different from that to which the receiver is connected Consult the Panasonic Service Center or an experienced radio TV technician for help Warning To assure continued compliance use only shielded i...

Page 4: ...g Bei falschem Gebrauch besteht Explosionsgefahr Entsorgung gebrauchter Batterien nach Angaben des Herstellers For France Avertissement concernant la pile au lithium pile de sauvegarde Pile au lithium Le micro ordinateur renferme une pile au lithium qui permet de sauvegarder certaines données comme la date et l heure notamment Elle ne devra être remplacée que par un technicien qualifié Avertisseme...

Page 5: ...e soaked in water or a neutral cleaner and wrung out thoroughly Do not use solvents like benzene and thinner nor chemical cloths Surface of the LCD Panel Soak a piece of gauze or soft cloth sufficiently in isopropyl alcohol only and wipe the panel gently Using excessive force may scratch the panel Avoid wiping with a dry cloth since this can damage the surface of the polarizing plate Also be sure ...

Page 6: ...o protect the CPU from overheating When the temperature of the CPU drops the normal processing speed is automatically restored POWER Indicator P 7 To remove the handle use a screwdriver to remove the screws When replacing the handle make sure that the screws have been firmly fastened After removing the handle please affix the two caps from the cap sheet that is supplied Use this port to connect an...

Page 7: ... device such as a modem Use this port to connect an external display Ext Display Port Parallel Port Use this port to connect a printer or some other parallel port device P 21 Expansion Bus Port Increase volume Volume adjustment Decrease volume Display brightness adjustment Increase brightness Low Middle High Decrease brightness High Middle Low When the LED indicator goes on do not turn the compute...

Page 8: ...arted only CAUTION When the power is turned on at the first time before you use software programs furnished with this product please read through LIMITED USE LICENSE AGREE MENT P 33 Then remove the seal Do not turn the computer off immediately after turning it on Also allow at least 10 seconds to elapse after you have switched off the power and want to turn the computer back on again CAUTION Power...

Page 9: ...ot switch the power off or put the com puter into the suspend or hibernation mode while the Firstaid FD etc is being created Beginning with the next time you turn on the computer this screen will be displayed as soon as power is switched on To set the user password start the Setup utility P 24 Firstaid FD Panasonic Tools Disk CardWorks TM Installation Disk TranXit Disk 1 2 Drivers Disk If you have...

Page 10: ...battery power status Powers off the hard disk drive motor and backlight of the display to conserve power The backlight goes on again when any key is pressed Power to the hard disk drive resumes when the hard disk is accessed Toggles the numeric key pad on and off When the key pad is on the correspond ing LED indicator lights and numerical values can be input Pressing the Fn key when the key pad is...

Page 11: ...t releasing your finger and drag the object Releasing the left button or lifting your finger from the pad respectively will drop the object Right Button Left Button Work Surface Keyboard and Touch Pad CAUTION Be sure never to press the POWER switch while the suspend or hibernation process is being carried out Also do not input from the keyboard or the touch pad or move the mouse The processing may...

Page 12: ...may cause system perfor mance failure Do not expose the battery pack to open frame Do not throw the battery pack into a fire or water Use the battery pack only with the computer for which it was designed Do not directly connect the negative and positive terminal on the battery pack If due to damage battery electrolyte comes in contact with skin or clothing wash it off quickly and thoroughly with w...

Page 13: ...perly Please wait until refreshing finishes Press ESC if you wish to abort Blinking green Blinking orange Blinking orange for 5 seconds after the AC adapter is connected Refreshing required Refreshing Thetemperatureisoutsidethe range ofapproximately 5 C to 35 C 41 F to 95 F Please wait until the temperature falls within the allowable range NOTE Certain applications may not run when Power Saving is...

Page 14: ...n gen erally be restored by fully charging and then discharging the battery two or three times in succession In order to fully discharge the battery in a short period of time a battery refresh tool BATTREF COM is provided P 17 Please note that the battery operating time may vary drastically depending on the types of installed op tions Battery Power Replace the battery pack if the amount of time th...

Page 15: ... number CF VZS250A Ni MH or CF VZS251 Li Ion Remove the cover Turn the computer off by pressing and holding the power switch in the ON position simultaneously Slide the battery pack toward the outside edge to remove it Battery Power NOTE Always switch the computer off and disconnect the AC adapter before replacing a battery pack The battery pack may malfunction if it is exposed to strong shocks Ca...

Page 16: ...charged low battery alarm sounds before recharging Since the battery is not pre charged be absolutely sure to charge these batteries before using the computer for the first time Charging commences automatically after the AC adapter is connected A new battery or a battery that has not been used for a prolonged period of time will not be fully charged after it has been charged recharged only once It...

Page 17: ... AC adapter plugged in until the battery indicator changes to green which indicates a complete recharge The battery indicator becomes orange charging mode quite quickly but charging is not per formed for the first one hour in order to increase the charging efficiency NOTE Press any key to start discharging of the battery The screen shown below appears during the battery refreshing Leave the comput...

Page 18: ...he position of the peripheral connector is located as shown in the illustration below Gently install remove any multimedia pocket device Do not use excessive force when in stalling Insert an MP unit into the slot Push the unit in until it snaps into place CAUTION You may use the floppy disk drive as an external unit that is connected through the parallel port by using an optional FDD cable CF VCF3...

Page 19: ...he button to displace the card NOTE Remove the card by pulling it out Type I or II Insert your PC card and slide it in until it is firmly in place As you slide the card in a button will pop out that enables you to remove the card NOTE The PC card should have an ar row indicating how it is to be inserted Hardware Expansion Button Up to three Type I II thickness 5 mm 0 197 inch or less cards can be ...

Page 20: ...e module until it snaps into place and is held firmly down by the hooks Hook Removal Pull the hooks on both sides outwards Gently remove the RAM module from the slot Replace the cover and tighten the two screws Remove the cover Do not add or remove additional memory while the computer is in the suspend or hibernation mode Doing so could damage the unit or prevent the module from being properly rec...

Page 21: ...uction manuals for the port replicator for details on installation Hardware Expansion Turn the computer over MEMO The port replicator CF VEB251 is equipped with the same connection terminals as the com puter with the exception of the headphone con nector and infrared communication port By connecting your peripheral devices to the port replicator you can save yourself the trouble of having to conne...

Page 22: ...NOTE Do not remove the hard disk while the computer is in the suspend or hibernation mode In this case data may be lost when the hard disk is removed Hardware Expansion Remove the dampers protective cover Turn the computer over Use a screwdriver to loosen the two screws located toward the front of the computer Remove the outer cover Turn the computer off by pressing and holding the power switch in...

Page 23: ...fer may be affected if there is a TV VCR wireless headphone set incandescent bulb or stove nearby or if the computers are in direct sunlight TranXit can be used to perform data synchronization updating the file and data information on both computers to the latest version and to transfer files between two computers NOTE TranXit must be installed on both computers for data transfer Also it is necess...

Page 24: ...When this function is enabled all data is saved even when no power is being supplied to the computer When the computer is turned on its previous state i e when the power was last turned off is displayed Hibernation Function The password when you leave your desk for a short period After Alt Ctrl F9 F10 F11 or F12 set by Key Combination are pressed only by inputting the coffee break password can the...

Page 25: ... Hard Disk Error Fixed disk 0 failure 1800 PCI Error No more IRQs available 1801 PCI Error No more room for optional ROM 1802 PCI Error No more I O space available 1803 PCI Error No more memory above 1 MB available 1804 PCI Error No more memory below 1 MB available 1805 PCI Error Checksum error or 0 size optional ROM 8601 Pointing Device Error Pointing device failure I9990301 Hard disk failure I99...

Page 26: ...he processing speed to increase During operation Date or time display is in correct Use Control Panel in Windows 95 or the DATE and TIME commands in the MS DOS mode to set the date time to their proper values If problems persist consult your nearest Panasonic dealer The clock battery lithium battery may be running low on power Consult your nearest Panasonic dealer Computer stops working Red batter...

Page 27: ...oes not work Is the cable connected properly Is the mouse s device driver running Refer to the manual accompanying your mouse Is the mouse connected to both the serial port and the ext mouse keyboard port Has the Setup utility been used to set Internal Pointing Device to Disable Peripheral equipment External mouse or trackball connected to the serial port does not work PC cards cannot be used Chec...

Page 28: ... a restart select option 2 For Advanced Users Returning drive C to its default condition 1 2 3 4 This is possible when the hard disk is partitioned If the hard disk is compressed please uncompress it CAUTION Select option 3 When your computer asks you to insert the Panasonic Tools FD Please do so It will then ask you to reinsert the Firstaid FD simply follow the instructions Insert the Windows95 C...

Page 29: ...he sound driver following the instructions of step 9 Start from Next Other Locations Remove the floppy disk Click Start Settings Control Panel Display Setting Advanced Properties Monitor Change Check Show all devices and set Models to Super VGA 1024 X 768 Click OK Close OK to return to Control Panel Click Start Settings Control Panel System Hardware Profiles Delete Undocked and rename zvok to Undo...

Page 30: ...itten accidentally Write enable Write disable Removal Inserting and removing floppy disks Floppy Disk Drive F l o p p y D i s k Eject Button Handling a disk in the following ways can cause data to become corrupted or can result in the disk becoming stuck in the drive Sliding the shutter on the disk manually Exposing the disk to a magnetic field Storing the disk in locations prone to high temperatu...

Page 31: ...Properties Displaying an address map 1 3 2 Select Start Settings Control Panel System Select Device Manager Click Print Click the System Summary box and then click OK 4 An X at the beginning of an address indicates that the address cannot be used regardless of its value 0000H 00FFH System Board x1F0H x1F7H Hard disk drive x220H x22FH Sound controller x2F8H x2FFH Infrared communication port x378H x...

Page 32: ...mber of colors etc can be set as followings Select Start Settings Control Panel Select Display Select Settings 2 3 1 Set Color palette Desktop area and Font size and click OK 4 The monitor setting can be changed by selecting Advanced Properties NOTE ...

Page 33: ...ITED LICENSE TO USE the Programs and related documentation and that you shall obtain no title ownership nor any other rights in or to the Programs and related documentation nor in or to the algorithms concepts designs and ideas represented by or incorporated in the Programs and related documentation all of which title ownership and rights shall remain with MEI B You may use the Programs only on th...

Page 34: ...eder modifizieren noch solche Modifikationen versuchen E Der Käufer darf die Programme und eine diesbezügliche Benutzerlizenz nur zusammen mit der Übergabe genau des Produktes zu dessen Lieferumfang die Programme gehören an einen Dritten übergeben Zur Zeitpunkt einer solchen Übergabe ist der Käufer verpflichtet sämtliche von ihm erstellten Kopien sowohl in gedruckter als auch in Maschinensprache a...

Page 35: ...de tous les Logiciels ainsi que de la documentation les accompagnant à la même partie ou détruire les copies non cédées F Vous ne pouvez retirer aucune marque de droits d auteur marque ou autre ni aucune identification de produit des Logiciels et vous devez reproduire et inclure toutes ces notices ou identifications de produit sur toutes les copies des Logiciels Vous ne pouvez assembler en sens in...

Page 36: ...er 4 mW impedance 32 Ω X 2 DC IN Connector Mini jack Infrared Communication Port IrDA compliant Speed 115 200 bit sec Battery Battery Pack Ni MH Nickel Metal Hydride rechargeable battery pack 9 6 V 3600 mAh Operating Time 2 0 3 2 hours Depending on the conditions Charging Time Power on approx 4 5 hours 3 Power off approx 2 2 hours 3 Clock Battery Coin type lithium battery 3 0 V Operating Time appr...

Page 37: ... 3 5 DIA Impedance 32 Ω Output power 4 mW impedance 32 Ω X 2 DC IN Connector Mini jack Infrared Communication Port IrDA compliant Speed 115 200 bit sec Battery Battery Pack Ni MH Nickel Metal Hydride rechargeable battery pack 9 6 V 3600 mAh Operating Time 2 0 3 2 hours Depending on the conditions Charging Time Power on approx 4 5 hours 3 Power off approx 2 2 hours 3 Clock Battery Coin type lithium...

Page 38: ... screen Part of the display may exceed the boundaries The screen can be scrolled by moving the cursor to the edges of the display CRT is also displayed as the same size as LCD Color LCD 256 640 x 480 High Color 16 bits True Color 24 bits 256 800 x 600 High Color 16 bits 85 True Color 24 bits 256 1024 x 768 High Color 16 bits ...

Page 39: ...irstaid FD 9 Floppy Disk Drive 30 F I Infrared Communication Port IrDA Compliant 6 23 Infrared Data Transfer 23 E Error Codes 25 Expansion Bus Port 7 21 Ext Mouse Keyboard Port 6 Ext Display Port 7 L License Agreement 8 33 P Parallel Port 7 PC Card Slots 6 19 Port Replicator 21 Power Indicator 6 Power Switch 6 8 Precautions 5 M Multimedia Pocket 7 18 Memory Expansion 20 MP Release 7 18 MS DOS Mode...

Page 40: ...duce energy consumption It is an open system in which business proprietors can participate voluntarily The targeted products are office equipment such as computers displays printers facsimiles and copiers Their standards and logos are uniform among participating nations Outline of the International ENERGY STAR Office Equipment Program As an ENERGY STAR Partner Panasonic has determined that this pr...

Page 41: ...jack Infrared Communication Port IrDA compliant Speed 115 200 bit sec Battery Battery Pack Ni MH Nickel Metal Hydride rechargeable battery pack 9 6 V 3600 mAh Operating Time 2 0 3 2 hours Depending on the conditions Charging Time Power on approx 4 5 hours 3 Power off approx 2 2 hours 3 Clock Battery Coin type lithium battery 3 0 V Operating Time approx 10 years Power Saving Suspend function Hibern...

Page 42: ...ing functions are added For CF 25FVF4DAM model only Display contrast adjustment Display brightness adjustment Adjust brightness Low Middle High Increase contrast Decrease contrast Keyboard and Touch Pad Operating Instructions P 10 For CF 25FVF4DAM model only Decrease contrast Please affix the function seal that is supplied Increase contrast Please affix the function seal that is supplied Adjust br...

Page 43: ...echarge due to violation of temperature limits P 3 Refreshing Refreshing required O r a n g e G r e e n R e d Blinking red Blinking orange for 5 seconds after the AC adapter is connected Blinking orange Blinking green When the AC adapter is connected you must wait a few seconds before the LED indicator turns on Only using the Ni MH battery pack CF VZS250A or CF VZS252 NOTE When using the optional ...

Page 44: ...become in any way different from normal remove it from the unit or charger and discontinue use If the battery pack will not be used for a long period of time a month or more charge the battery pack until the remaining battery level becomes 30 to 50 and store it in a cool dry place Precautions NOTE The battery pack may become warm during recharging or normal use This is completely normal Recharging...

Page 45: ...r plugged in until the battery indicator changes to green which indicates a complete recharge The battery indicator becomes orange charging mode quite quickly but charging is not performed for the first one hour in order to increase the charging efficiency When the charge provided by your battery pack is supplied for only a short period of time even after fully charging according to the instructio...

Page 46: ...e 32 Ω Output power 4 mW impedance 32 Ω X 2 DC IN Connector Mini jack Infrared Communication Port IrDA compliant Speed 115 200 bit sec Battery Battery Pack Li Ion Lithium Ion rechargeable battery pack 10 8 V 2300 mAh Operating Time 1 5 2 7 hours Depending on the conditions Charging Time Power on approx 3 5 hours 3 Power off approx 2 hours 3 Clock Battery Coin type lithium battery 3 0 V Operating T...

Page 47: ...sor to the edges of the display 16 60 75 85 256 60 75 85 High Color 60 75 85 True Color 60 75 85 16 56 60 75 85 256 56 60 75 85 High Color 56 60 75 85 True Color 56 60 16 60 75 85 256 60 75 85 High Color 60 640 x 480 800 x 600 1024 x 768 Resolution Pixels SIM LCD 16 256 High Color CRT Refresh Rate Hz 16 60 75 85 256 60 75 85 High Color 60 75 85 True Color 60 75 85 16 56 60 75 85 256 56 60 75 85 Hi...

Reviews: