


DVQP1812TA
W1118YM6032 -FJ
ENGLISH
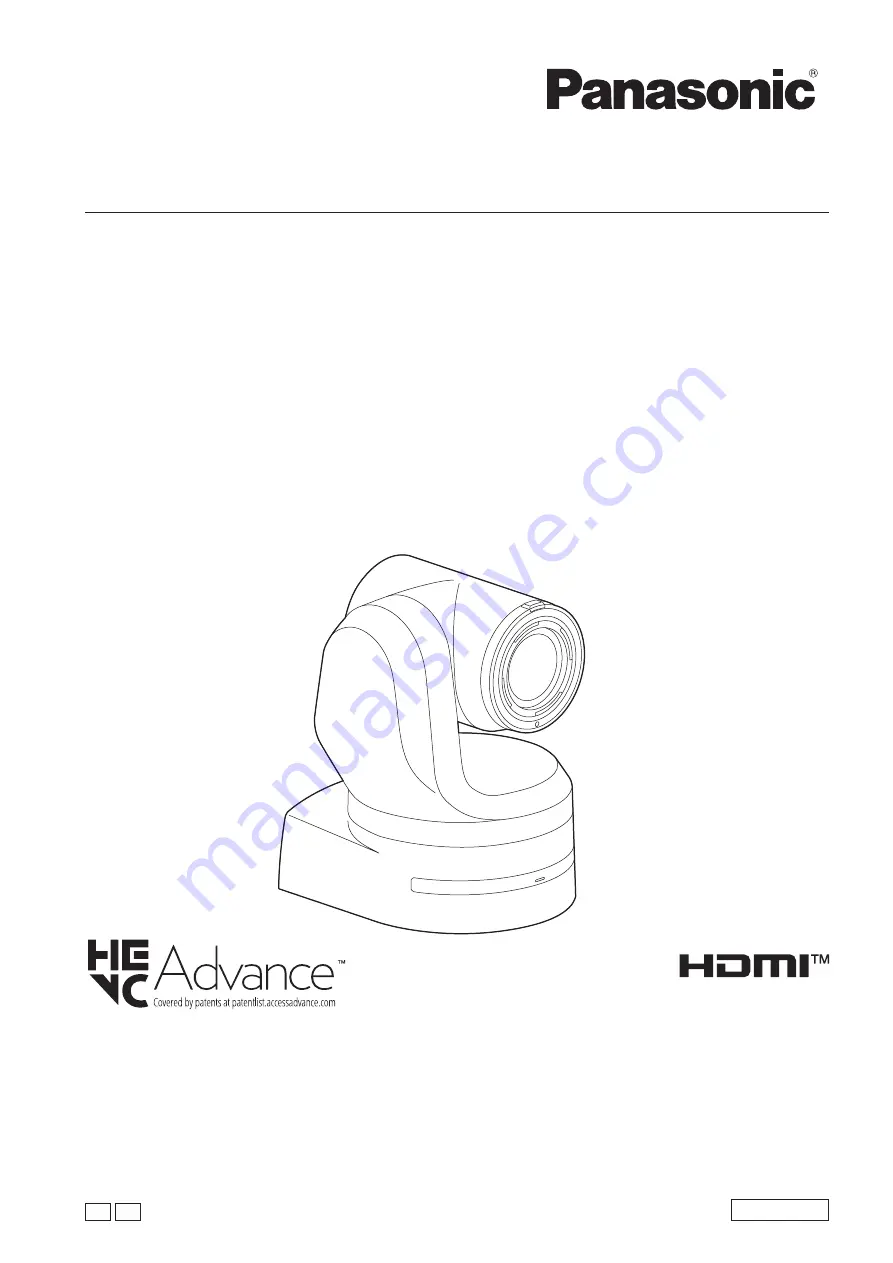
Model No.
AW‑UE150WP
Model No.
AW‑UE150KP
Model No.
AW‑UE150WE
Model No.
AW‑UE150KE
Operating Instructions
4K Integrated Camera
Before operating this product, please read the instructions carefully and save this manual for future use.
Please carefully read the “Read this first!” (pages 2 to 5) of this Manual before use.
PJ EJ


