Sending and receiving email :: 65
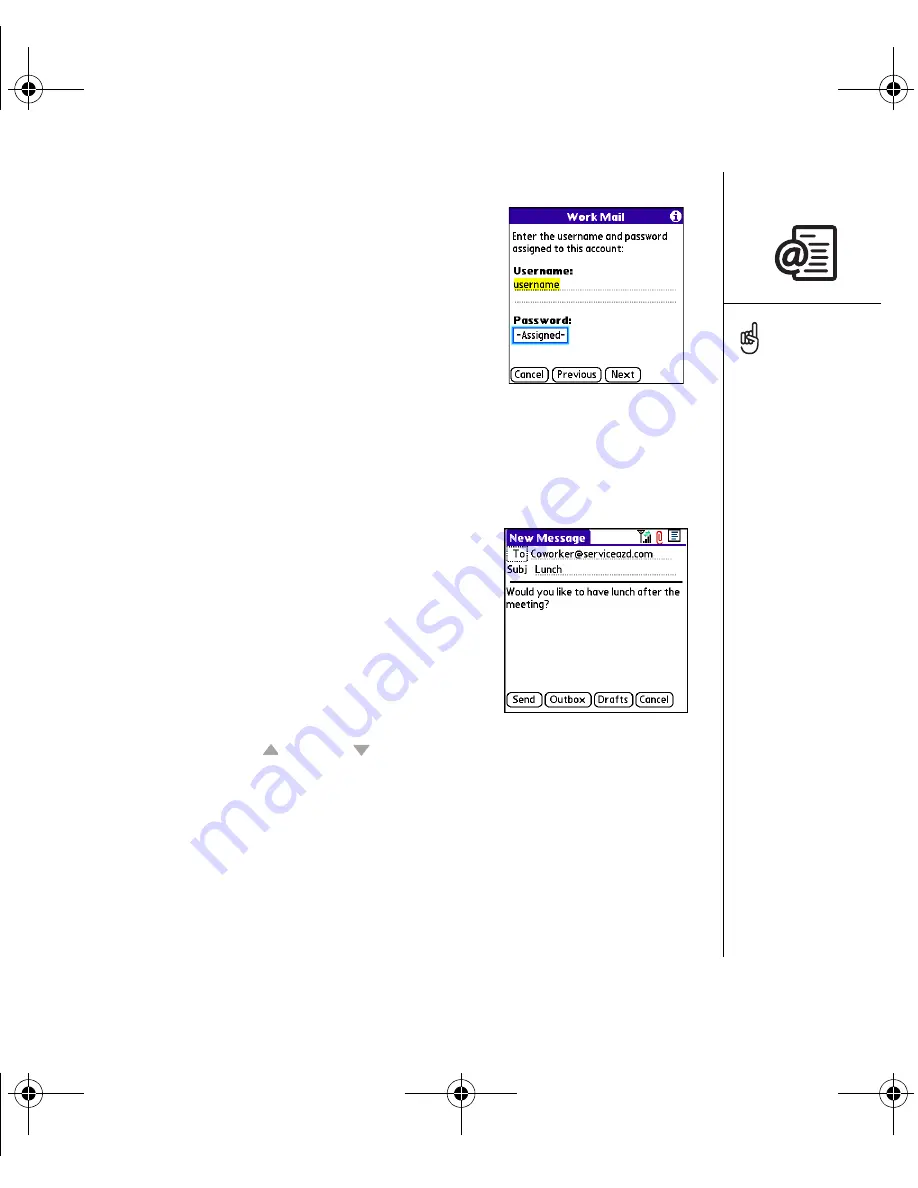
6. Enter your identifying information:.
• Enter the username you use to access your email.
• Select the Password box, enter your email
account password, and then select OK.
• Select Next.
7. If you chose an email provider from the Mail Services
pick list on the Account Setup screen, the mail server
screen is already filled in. If you chose Other, enter
your email address and the names of the incoming and outgoing mail servers.
8. Select Next, and then select Done.
Creating and sending messages
1. From the Inbox, select New.
2. Begin entering the addressee’s email address, first
name, or last name. If the information you are
entering matches one or more entries in Contacts,
VersaMail displays the matching contacts. To accept
a suggestion, select the correct contact. To send to
a different address, keep entering the email address
or name.
3. Enter the subject and message text. To move
between fields, press Up or Down .
4. Select one of the following:
• Send: Connects and sends all messages immediately.
• Outbox: Puts the message in the Outbox to send later.
• Drafts: Saves the message and so you can continue working on it at another
time.
If you select Send and the message cannot be sent for any reason, the message
is stored in your Outbox. VersaMail continues
To send a copy or blind
copy, select Cc or Bcc
and enter the address(es)
in those fields. See
“Customizing your email
settings” on page 70 for
details on displaying the
Bcc field.
You can mark outgoing
messages as high priority.
Open the Options menu
and select Set Priority
To High.
If you can receive email
messages, but cannot send
them, contact your wireless
service provider or email
provider to obtain settings
that let you access their
mail server from a
mobile device.
OutkastUG.book Page 65 Wednesday, March 2, 2005 1:25 PM


