2F. Personal Information
127
Org
a
niz
e
r
5.
Tap fields to add or change information (see “Enter
Information in a Field” on page 56).
6.
To copy a contact, open the application menu and
tap
Copy All
.
The contents of the contact entry is copied as plain
text, with carriage returns between each element.
7.
To delete a piece of contact information, such as a
phone number, throw the item off the side of the
screen, and tap
Delete
.
8.
Tap
Done
.
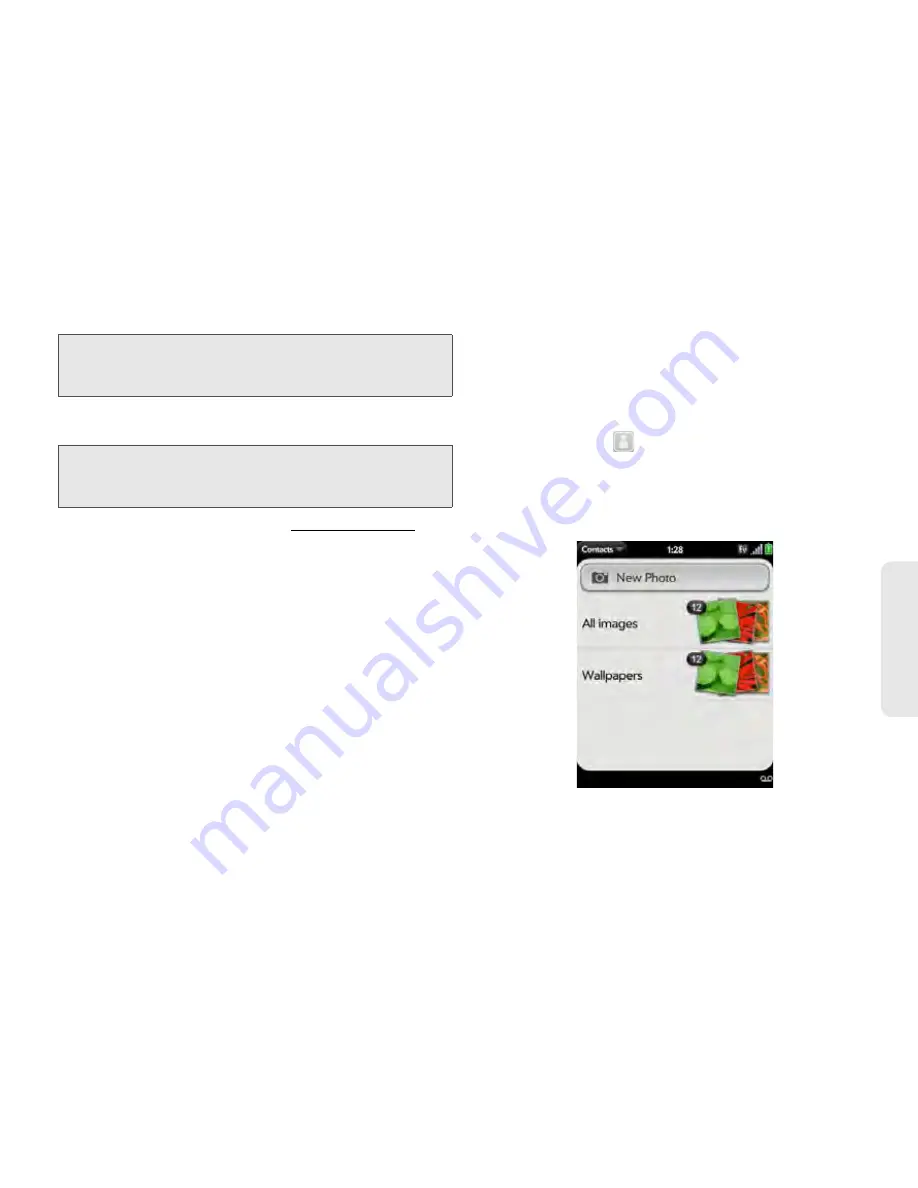
Add a Photo to a Contact
The photo you add appears onscreen when this
contact calls you.
1.
While creating (see “Create a Contact” on
page 124) or editing (see “View, Edit, Copy, or
Delete Contact Information” on page 126) a
contact, do one of the following:
䡲
To add or change the photo in the default
account, tap
.
䡲
In a linked contact, to add or change the photo of
another account, tap the account button in the
upper-right corner and tap the other account (see
“Linked Contacts” on page 122).
Note:
The fields that make up the contact header (name,
photo, job title, company) are unique to each account.
You must open a specific account to enter these fields.
Note:
In a linked contact, when you enter info in a field for the
first time, you can assign that info to any account by
tapping the account button in the field.
Summary of Contents for Pixi Plus
Page 4: ......
Page 8: ......
Page 14: ...14 ...
Page 15: ...Your Setup Section 1 ...
Page 25: ...Your Palm PixiTM Phone Section 2 ...
Page 181: ...Web and Data Services and Other Wireless Connections Section 3 ...
Page 230: ...230 3C Web and Wireless Connections ...
Page 231: ...Your Resources Section 4 ...


