background image

1

R

ISK


OF


ELECTRIC


SHOCK

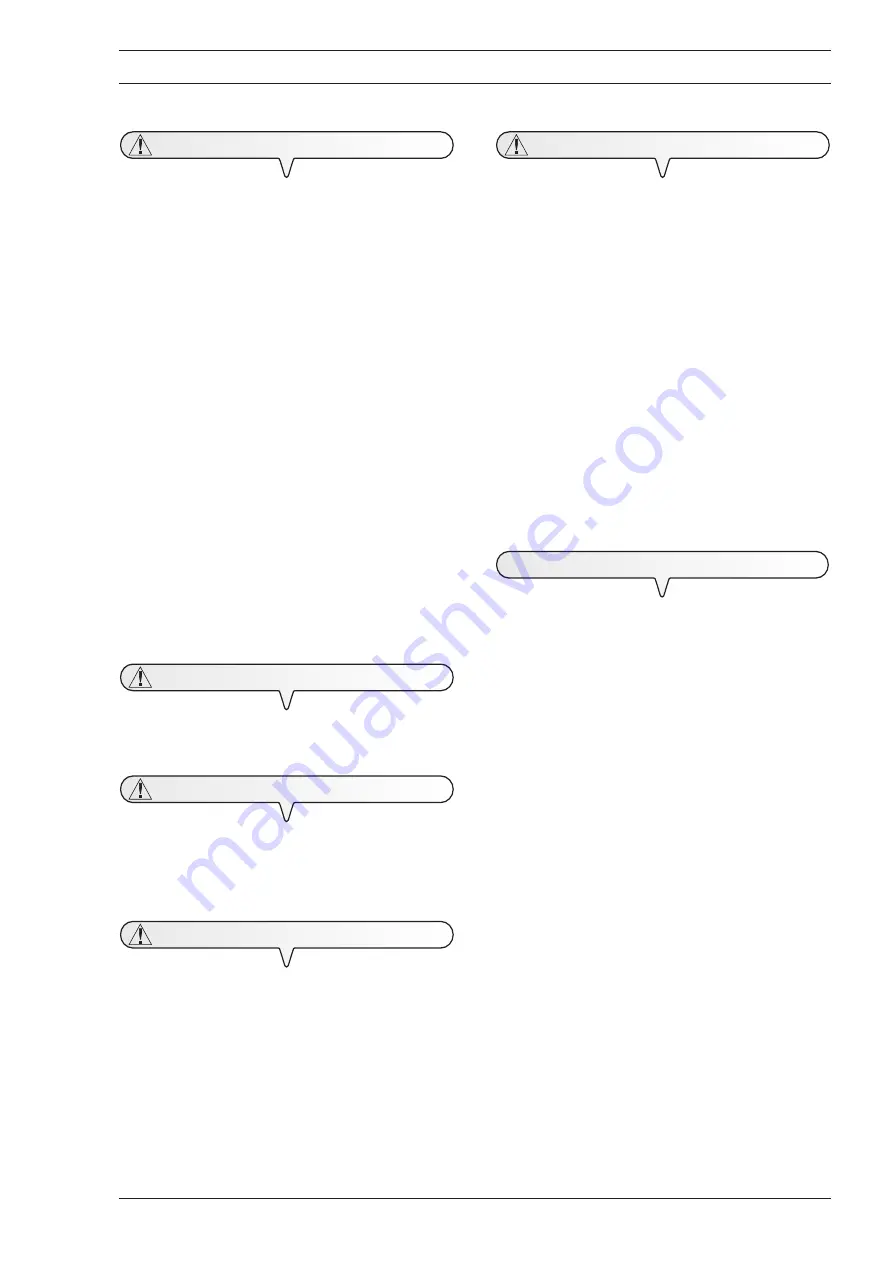
• Never attempt to repair the fax machine yourself.  If you remove

the outer casing, you could receive an electric shock or suffer some

other kind of injury. Only qualified personnel may open or otherwise

repair the fax machine.

• During storms we recommend you unplug the fax machine from

both the power outlet and the telephone line. This eliminates all

risk of electric shock or damage to the unit.

• No fluids or vapour may enter the fax machine. If fluid does find its

way into the fax machine, however, immediately unplug the mains

cable from its socket and have the unit repaired by qualified

personnel before using it again.

• The fax machine may not be operated outside.

• Operate the fax machine only on a mains socket (220 – 240 V AC,

50 – 60 Hz) earthed in accordance with regulations.

• Always pull on the mains plug, never on the mains cable.

• Never touch the mains cable or the mains plug with wet or damp

hands.

• Do not bend or squeeze the mains cable and route it such that it

does not come into contact with hot surfaces.

• Before cleaning, remove the mains plug from the mains socket.

• Only use the fax machine when it is working properly, is not

damaged and has not been dropped. If the fax machine, the mains

plug or the mains cable is damaged, you must not operate the

machine. Have the unit checked by qualified personnel and repaired

if necessary.

• Do not insert any objects into interior of the fax machine through

the airflow slots.

R

ISK


OF


SUFFOCATION

• The fax machine and associated parts are packed in plastic foil.

Never let children play unattended with the fax machine or the foil.

R

ISK


OF


FIRE

• If you are to leave the fax machine unused for a long period of

time, you should disconnect it from the power supply. In this way, it

will be protected against the risk of damage due to interference or

sudden power surges.

R

ISK


OF


ACCIDENT

• Place the fax machine on a stable, flat surface free of vibration.

This prevents it from falling and being damaged.

• Route the mains cable such that no-one can step on it or stumble

over it.

• Never let unattended children operate the fax machine or play with

it.

A

TTENTION

Observe the following notes. Otherwise the fax machine may be

damaged:

• Keep the fax machine in a dust-free place away from excessive

heat. Do not expose the fax machine to direct sunlight.

• Keep the necessary distance between the fax machine and any

objects or walls for proper ventilation of the machine.

• Operate the fax machine only at a temperature of between 5 °C

and 35°C and a relative humidity of between 15% and 85%.

• Keep the fax machine away from other electrical or electronic

appliances which may generate interference, e.g. radio, television,

etc.

• In case of a voltage drop or power failure, it will not be possible to

make or receive telephone calls as the keypad will be disabled.

• If it is essential that you make a call in this situation, you must use

an emergency telephone approved by the telephone company. You

may plug this directly into the wall telephone line socket.

• Leave enough room in front of the outlet for the unloading of

originals and received/copied documents. These may otherwise

fall to the ground.

O

PERATING


PRECAUTIONS

This fax machine is only meant for transmission and reception of faxes

and for photocopying of paper documents in private households and

indoors. In addition, the fax machine may be used as a telephone or

answering machine. Any other usage is not allowed, particularly direct

operation on an ISDN connection or use in the open. In this case the

warranty becomes invalid.

E

SSENTIAL


SAFETY


NOTES

All manuals and user guides at all-guides.com

Summary of Contents for Fax-Lab 275

Page 1: ...User Manual Ink Jet Fax Fax Lab 275 All manuals and user guides at all guides com a l l g u i d e s c o m...

Page 2: ...ication of the mark to the product Network compatibility declaration This product has been designed and developed to operate in the networks of all European Community countries and in those of Switzer...

Page 3: ...89012123456789012345678901234567890121234567890123456789012345678901 12345678901234567890123456789012123456789012345678901234567890121234567890123456789012345678901 12345678901234567890123456789012123...

Page 4: ...45678901234567890123456789012123456789012345678901234567890121234567890123456789012345678901212345678901234 12345678901234567890123456789012123456789012345678901234567890121234567890123456789012345678...

Page 5: ...RS 25 MAKING A COPY 26 WHAT DOCUMENTS CAN BE COPIED 26 COPYING 26 THE TELEPHONE ANSWERING DEVICE TAD 27 THE TAD CONSOLE 27 CHANGING DELETING AND ACTIVATING THE ACCESS CODE 27 OUTGOING MESSAGES AND MEM...

Page 6: ...ii CONTENTS MANUFACTURER AND SERVICE 49 DISPOSAL 50 TECHNICAL DATA 51 All manuals and user guides at all guides com a l l g u i d e s c o m...

Page 7: ...t it from the power supply In this way it will be protected against the risk of damage due to interference or sudden power surges RISK OF ACCIDENT Place the fax machine on a stable flat surface free o...

Page 8: ...regulations in force in your country The fax machine is set up for connection to the public telephone line If you want to connect it to a private line and you also want to use it on a public line see...

Page 9: ...TANT PREDETERMINED SETTINGS For the fax machine to work properly set your language and your country Once the fax is connected to the mains it automatically runs a short function test to check that its...

Page 10: ...NZL AUSTRALIA Austria STERREICH Belgium BELGIUM Brazil BRASIL Chile AMERICA LATINA China CHINA Colombia AMERICA LATINA Czech Republic CZECH Denmark DANMARK Finland FINLAND France FRANCE Germany DEUTS...

Page 11: ...sh it until it clicks into position 3 Open the ASF panel as indicated by the arrow 2 4 Grip the sheets you want to insert by the upper edge 3 5 Let them drop loosely into the ASF without bending them...

Page 12: ...e end of the manual CHANGING THE DATE AND TIME If the date and time shown on the display are not correct you can change them at any time 1 Press the key until the display shows FAX SET UP 2 To confirm...

Page 13: ...R Until you have selected the letter A 10 To confirm the name press the key The display shows PHONE NUMBER Now enter the fax number as indicated below ENTERING YOUR FAX NUMBER 1 Press the key The dis...

Page 14: ...e dialling mode tone or pulse as the one used by the private telephone exchange that manages the line to which you have connected the fax machine If in doubt about the choice to be made ask the compan...

Page 15: ...the display SIMULTANEOUS CHANGING OF DIALLING MODE You can change the dialling mode for a single dialling operation without having to change the setup 1 Press the key before entering the fax or teleph...

Page 16: ...es received Paper adjusting lever Plain paper automatic sheet feeder ASF Adjustable to the following paper sizes A4 Letter and Legal Maximum capacity 100 sheets 80gr m2 Automatic feeder for original d...

Page 17: ...perating fault during transmission or reception Lit indicates that there are messages or memos in the memory that have already been played Blinking indicates that the memory contains documents that ha...

Page 18: ...r fax numbers Cancels incorrect settings Inserts a pause during the dialling of the telephone or fax number Displays a list of the last 10 fax or telephone numbers dialled outgoing calls or the last 2...

Page 19: ...ndition and do not contain staples paper clips adhesive tape correcting liquid or glue that has not yet dried In all such cases photocopy the document and transmit the copy or use a transparency cover...

Page 20: ...return the fax machine to the stand by mode press the key Choose the type of contrast on the basis of the following criteria NORMAL if the document is neither too light nor too dark NORMAL appears on...

Page 21: ...he display shows DELAYED TX 2 Lift the handset to engage the line The display shows OFF HOOK and the length of the transmission in minutes and seconds in the top right hand corner 3 To select the reci...

Page 22: ...reviously set up transmission setting press the keys The message CANCEL SETTING appears on the display 4 To confirm the deletion press the key The fax machine automatically returns to the stand by mod...

Page 23: ...send the document to more than one correspondent repeat the previous two steps for each extra recipient 8 To terminate the procedure press the key 9 If you want to send the document to one correspond...

Page 24: ...e display shows some information about the reception in progress including your correspondent s fax number or if programmed his name Once the document has been received the display shows the message R...

Page 25: ...e key until the display shows ONE TOUCH DIAL 4 Press the key The display shows TYPE ONE TOUCH KEY 0 9 5 Press the numeric key to which you want to assign the telephone number or the fax number The dis...

Page 26: ...e top line DOCUMENT READY and on the bottom line the default contrast value NORMAL The initial resolution value even if it is not shown on the display is standard If necessary change the contrast and...

Page 27: ...s memory It is printed automatically after the thirty second transaction and subsequent deletion of the stored data or on request Last transmission report contains information about the last transmiss...

Page 28: ...ATIC PRINTING OF BROADCAST TRANSMISSION REPORTS 1 Press the key until the display shows FAX SET UP 2 Press the key The display shows DATE AND TIME 3 Press the key The display shows VARIOUS SETTINGS 4...

Page 29: ...E SET UP 3 Press the key until the display shows PRINT LIST 4 Press the key The display shows PRINT INSTALL 5 To view the other available options PRINT BLACK LIST and MENU EXIT press the key 6 To conf...

Page 30: ...ft the handset and start talking The display shows the length of the call in minutes and seconds in the top right hand corner TELEPHONING WITH SPEED DIALLING Place the original document in the ADF 1 L...

Page 31: ...NCOMING CALLS 3 To program the other OUTGOING CALLS option press the key 4 To confirm the selection press the key 5 You can find the telephone number or name of the correspondent you wish to call on t...

Page 32: ...ion press the key The display shows ZOOM 100 7 To select the other available options 140 70 or 50 press the key 8 To confirm the selection press the key The display shows CONTRAST NORM 9 To display th...

Page 33: ...mos that you have not heard the procedure starts with the first unheard memo In addition by pressing this key you can momentarily stop playing messages and memos By pressing the key again you resume l...

Page 34: ...utton on your fax machine if you want to send a fax Thanks OGM 2 which has a maximum length of 10 seconds may be recorded if you are out and have selected the TAD FAX reception mode to inform the call...

Page 35: ...s than 20 seconds there are three ways of ending the recording The recording was completed as soon as you stop speaking and hang up the handset by pressing the key by pressing the key If you press the...

Page 36: ...03 01 03 04 10 32 At this point you can listen to all the messages including the memos recorded in the memory The messages not yet listened to are numbered progressively up to a maximum of 49 Whenever...

Page 37: ...2 Press the key 3 Press the key until the display shows FORWARD MESSAGES 4 Press the key The display shows FORWARDING OFF 5 To select the other FORWARD ONE TIME or FORWARD DAILY options press the key...

Page 38: ...ons available are enabled by another numeric code consisting of one or two digits see the table below If the code has two digits it is advisable to wait for the confirmation signal between one digit a...

Page 39: ...DED 7 To change the outgoing message recorded previously or to record a new one lift the handset The display shows TO RECORD 8 To start recording press the key The display shows RECORDING 20 SILENT RE...

Page 40: ...In PHONE FAX mode when an incoming call is received the fax machine will not ring if the caller is another fax machine If the call is a telephone call the fax machine will emit an acoustic signal in p...

Page 41: ...n the fax machine If this occurs contact technical support for your country The fax machine is set up to display the caller ID You may however set it up not to display it as follows 1 Press the key un...

Page 42: ...to the stand by mode press the key 3 Press the key The display shows VARIOUS SETTINGS 4 Press the key until the display shows RING VOLUME HIGH You can choose from three further options RING VOLUME LO...

Page 43: ...use tone dialling Type in the code for remote fax operation on the remote telephone This operation has the same effect as pressing the key on the fax machine You can replace the second asterisk of th...

Page 44: ...DOCUMENT TRANSMISSION FROM MEMORY 1 Press the key until the display shows FAX SET UP 2 Press the key The display shows DATE AND TIME 3 Press the key The display shows VARIOUS SETTINGS 4 Press the key...

Page 45: ...bits per second A transmission speed of 9600 or 4800 bps is recommended on telephone lines with interference 1 Press the key until the display shows FAX SET UP 2 Press the key The display shows DATE...

Page 46: ...s the key The display shows TYPE TIME HH MM You can confirm the current time or overwrite with a new one for example 06 20 PM 3 To overwrite the current time press the keys 4 To confirm the entry or t...

Page 47: ...he display is standard If necessary change the contrast and resolution values see Setting contrast and resolution chapter Basic transmission and reception operations 2 Press the key until the display...

Page 48: ...s chapter If transmission is unsuccessful due to errors on the line or fax machine the error LED lights up and a short beep is emitted in this case the fax machine automatically prints the transmissio...

Page 49: ...he user aborted the transmission The fax machine found a reception error Printing error during reception Reception continued in memory and this has become full before the end of transmission The corre...

Page 50: ...e the print head compartment cover close it DOC IN MEMORY The document received was saved because an error occurred during the reception phase preventing it from being printed immediately check the ty...

Page 51: ...sion was completed successfully LIFT HANDSET The correspondent has made a talk request lift the handset to start the conversation LINE ON HOLD MEMORY TX You have set transmission from the memory NEW P...

Page 52: ...lacing print head in chapter Delivery contents connecting up and first time operation RE ENABLING THE PRINT HEAD AND CHECKING THE NOZZLES If when using the fax machine normally you notice a deteriorat...

Page 53: ...present on the nozzles If this is the case gently remove the foreign material without touching the electrical contacts Finally reinstall the print head Remove the print head and clean the electrical c...

Page 54: ...ten the cloth with a neutral detergent diluted in water CLEARING JAMMED DOCUMENTS During transmission or copying a document may become jammed this condition is signalled by the display showing the mes...

Page 55: ...ERVICE If the fax machine does not function as expected or if you have questions for the manufacturer please call the appropriate telephone number for example 0800 1950131 for the United Kingdom or 18...

Page 56: ...ecologically friendly and professional disposal possibilities Observe the regulations in force The cardboard box the plastic present in the package and the parts that make up the fax machine may be re...

Page 57: ...lution Horizontal 8 pixel mm Vertical STANDARD 3 85 lines mm Vertical FINE 7 7 lines mm TRANSMISSION SPECIFICATIONS Transmission time ca 7 secs 14400 bps ADF capacity Manual feeding A4 Letter and Lega...

Page 58: ...s audible 38 listening 38 Contrast settings 14 Copying contrast resolution settings and copy type 26 Country changing 4 setting 3 D Date changing 6 entering 4 Delayed transmission automatic printing 2...

Page 59: ...ead cleaning electrical contacts 47 re enabling 46 replacing 6 Print position changing 7 fax number 7 name 7 Printing blacklisted numbers 23 installation parameters 23 one touch dialling configuration...

Page 60: ...coming calls 25 outgoing calls 25 viewing 25 Telephoning to an incoming number 25 to an outgoing number 25 Test sheet 6 Time changing 6 entering 4 Time format 5 To set the contrast 13 To set the resol...

Page 61: ...Monochrome print head order number Disposable print head P N B0336F All manuals and user guides at all guides com a l l g u i d e s c o m...

Page 62: ...All manuals and user guides at all guides com...

Page 63: ...All manuals and user guides at all guides com...

Page 64: ...255907F 01 All manuals and user guides at all guides com...

Reviews: