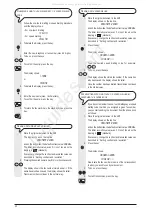
5
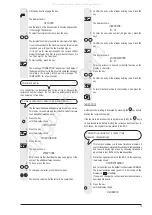
10. To confirm the setting, press the key:
The date and time setting procedure has been completed.
The new date and time will be updated automatically and
will be printed on each page sent.
11. To return the fax machine to the initial stand-by mode, press
the key:
Remember that the stand-by mode is the status in which it
is idle and that it is the mode from which the machine can
be programmed.
NOTE
If you have chosen the 12-hour time format, the display will show the
letter P (post meridian) or the letter A (ante meridian). The time
format can be changed in this way
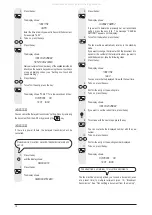
1. Press the cursor keys
t
/
u
, to position the cursor under the
character to be changed.
2. Press the key .
The setting is changed.
3. Press the key
if you have made a mistake or the procedure
was interrupted.
I
NSERTING
PAPER
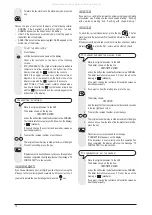
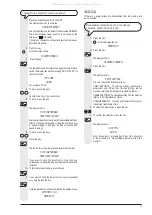
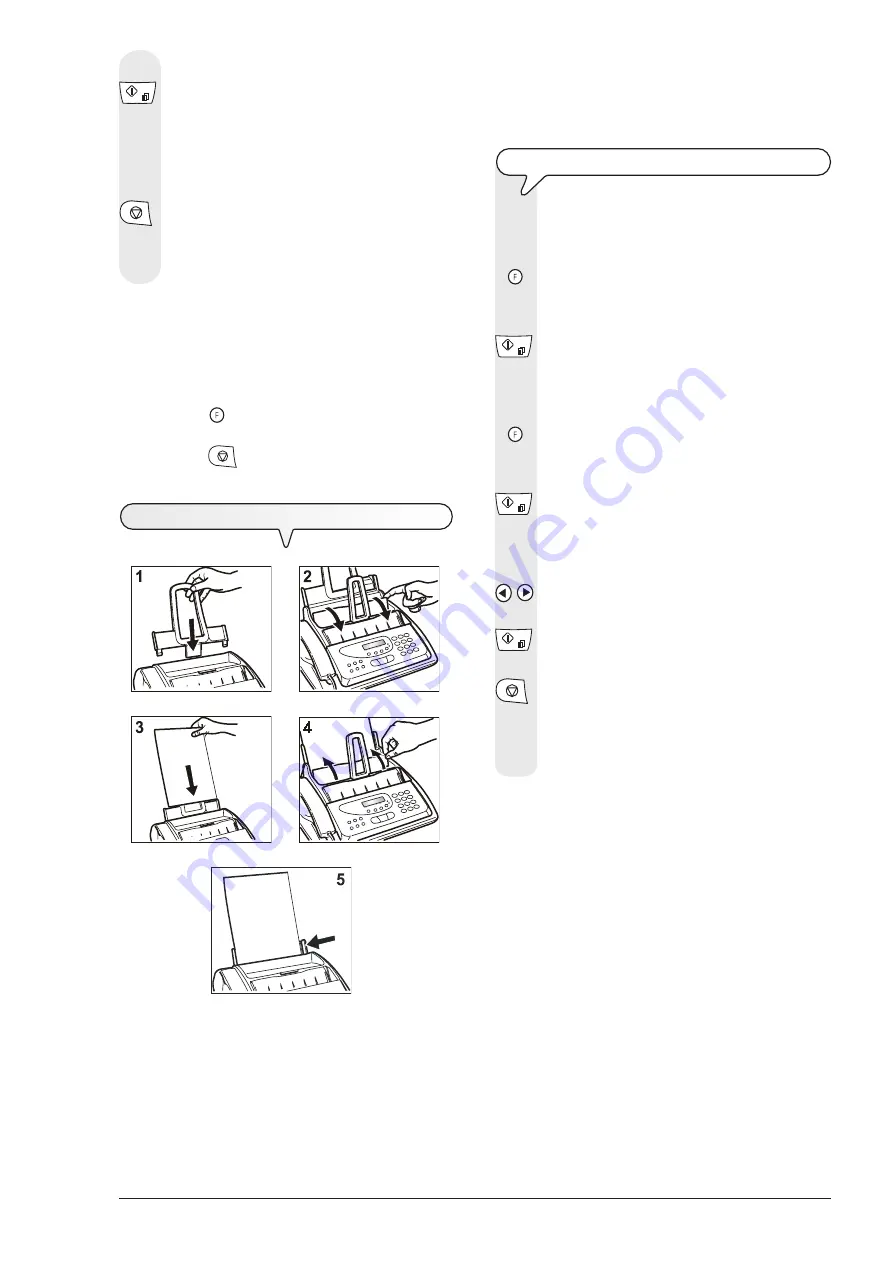
1. Push the automatic sheet feeder (ASF) into the slots on the unit
(1).
2. Push it until it clicks into position.
3. Open the ASF panel as indicated by the arrow (2).
4. Grip the sheets you want to insert by the upper
edge (3).
5. Let them drop loosely into the ASF without bending them.
6. Close the ASF panel as indicated by the arrow (4).
7. Push the sheets against the left side of the ASF using the adjusting
lever (5).
NOTE
When refilling the ASF, place new sheets
under
and not on top of
sheets already present.
C
HECKING
STANDARD
PRINTING
FORMAT
ON
FAX
MACHINE
Check the printing format set matches the format of the paper
to be used. If this is not so, correct performance of the fax
machine is not guaranteed.
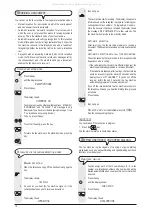
1. Press the key
until the display shows:
FAX SET-UP
2. Press the key:
The display shows:
DATE AND TIME
3. Press the key
until the display shows:
PRINTER PARAMET.
4. Press the key:
The display shows:
FORMAT:A4
5. Press the key
/
until the desired paper format appears on the display.
6. To confirm the setting, press the key:
7. Press the key:
The display shows:
AUTOMATIC
CHECK PRINT HEAD
All manuals and user guides at all-guides.com
all-guides.com


