40496501TH Draft Version
83
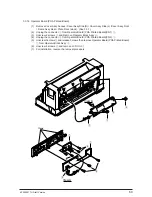
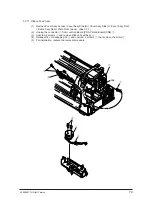
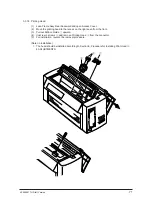
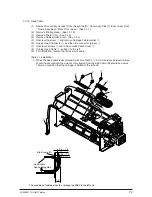
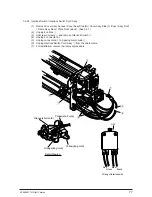
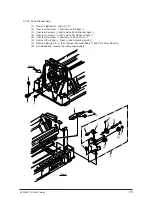
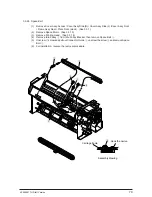
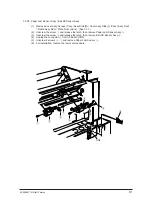
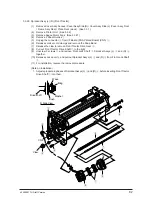
3.3.30 Sheet Feeder Assy (L) Rear / Sheet Feeder Assy (R) Rear
(1)
Remove Cover Assy Access / Cover Assy Side (R) / Cover Assy Side (L) /Cover Assy Front
/ Frame Assy Rear / Plate Front (stuck). (See 3.3.1)
(2)
Remove Printer Unit. (See 3.3.2)
(3)
Remove PG Cooling Fan. (See 3.3.5)
(4)
Remove Mini Pitch Belt. (See 3.3.9)
(5)
Remove I/F Board (PHA Printed Board). (See 3.3.6)
(6)
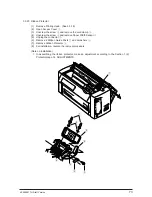
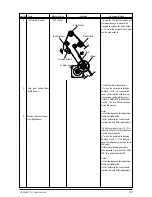
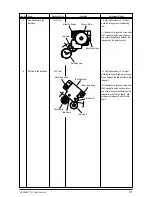
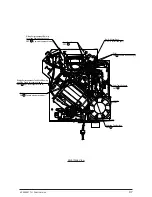
Remove Center Guide Lower
1
.
(7)
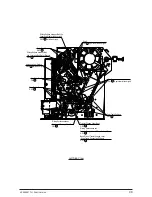
Open the clamp of Drive Gear
2
to the arrow direction and remove the gear, then pull out Rear
Tractor Drive Shaft
3
.
(8)
Open the clamp of Rear Tractor Drive Gear
4
to the arrow direction and remove the gear,
then pull out Rear Tractor Drive Shaft
5
. At this time, Center Guide Upper
6
and Friction
Piece
7
come off together.
(9)
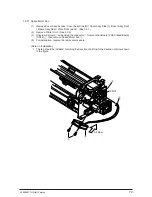
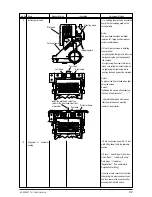
Remove 2 Snap Bands
0
fastening Micro Switch Connecting Cord
9
on Sheet Feeder Assy
(L) Rear
8
, from Main Frame Assy
A
. Then release the cords from the clamps on the cord
route.
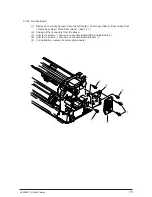
(10) Unscrew 2 screws
B
on the right and left then remove Lock Shaft
D
with Sheet Feeder Assy
(L) Rear
8
and Sheet Feeder Assy Rear (R)
C
on.
(11) Release Lock Lever
E
and remove Sheet Feeder Assy (L) Rear
8
and Sheet Feeder Assy
Rear (R)
C
from Lock Shaft
D
.
(12) For installation, reverse the removal procedure.
(Note on Installation)
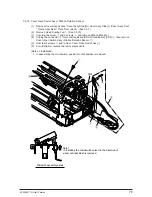
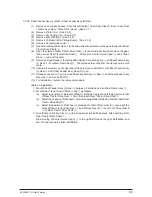
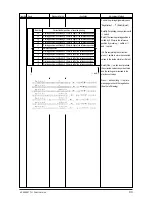
1. Mount Sheet Feeder Assy (L) Rear
8
between 2 protrusions B on Main Frame Assy
A
.
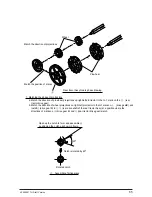
2. Mount Rear Tractor Drive Shafts
3
and
5
as follows:
(a)
Adjust the position of Sprocket Wheel
D
protrusion at right and left pin tractors to that
of Rear Tractor Drive Gear
4
hole, then insert Rear Tractor Drive Shaft
5
.
(b)
Adjust the position of Pin Wheel
F
protrusion at right and left pin tractors then insert Rear
Tractor Drive Shaft
3
.
(c)
Adjust the position of Pin Wheel
F
protrusion to that of Drive Gear B
2
hole, align the
holes at Rear Tractor Drive Gear
4
and at Drive Gear B
2
then mount Drive Gear B
2
on Rear Tractor Drive Shaft
3
.
3. Give friction to Friction Piece
7
with a screwdriver turned 45 degrees, after inserting it into
Rear Tractor Drive Shaft
5
.
Slow moving of Center Guide Upper
6
to the right/left means the right installation, and
smooth one means the false installation.
Summary of Contents for PACEMARK 4410
Page 1: ...PACEMARK 4410 PRINTER SERVICE HANDBOOK...
Page 52: ...40496501TH Draft Version 52 Figure 3 1 3 2 Parts Layout...
Page 95: ...40496501TH Draft Version 95...
Page 168: ...XXXXXXXXTH Draft Version 8 5 Fig 8 5 45 38 38 40 42 39 44 44 122 41...
Page 169: ...XXXXXXXXTH Draft Version 8 6 142 141 11 119 Fig 8 6...
Page 170: ...XXXXXXXXTH Draft Version 8 7 Fig 8 7 105 102 61 33 104 100 101...

