40496501TH Draft Version
87
4.
ADJUSTMENTS
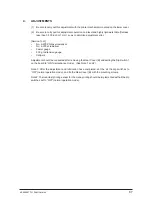
(1)
Be sure to carry out this adjustment with the printer mechanism mounted on the lower cover.
(2)
Be sure to carry out this adjustment operation on a level and highly rigid work table (flatness:
less than 0.039 inch or 1 mm) so as to minimize adjustment error.
[Service Tool]
•
No. 2-200 Philips screwdriver
•
No. 2-200 screwdriver
•
Feeler gauge
•
500 g rod tension gauge
•
Calipers
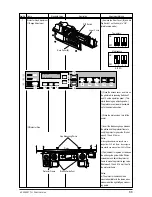
Adjustment should be conducted after removing the Rear Cover (B) and setting the Dip Switch 1
on the board to “ON”(maintenance mode). (See Note 1 and 2)
Note 1: After the adjustment and lubrication have completed, set the all the dip switches to
“OFF”(normal operation mode), and fix the Rear Cover (B) with the mounting screws.
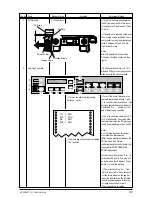
Note 2: The local test printing except for the menu printing should be implemented with all the dip
switches set to “OFF”(normal operation mode).
Summary of Contents for PACEMARK 4410
Page 1: ...PACEMARK 4410 PRINTER SERVICE HANDBOOK...
Page 52: ...40496501TH Draft Version 52 Figure 3 1 3 2 Parts Layout...
Page 95: ...40496501TH Draft Version 95...
Page 168: ...XXXXXXXXTH Draft Version 8 5 Fig 8 5 45 38 38 40 42 39 44 44 122 41...
Page 169: ...XXXXXXXXTH Draft Version 8 6 142 141 11 119 Fig 8 6...
Page 170: ...XXXXXXXXTH Draft Version 8 7 Fig 8 7 105 102 61 33 104 100 101...

