40496501TH Draft Version
60
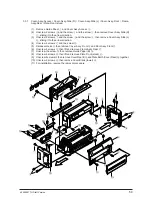
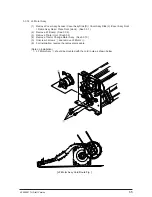
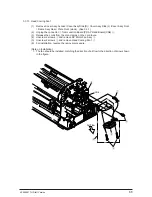
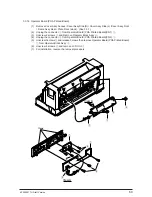
3.3.7
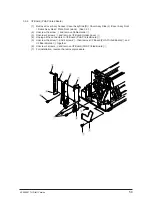
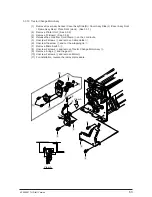
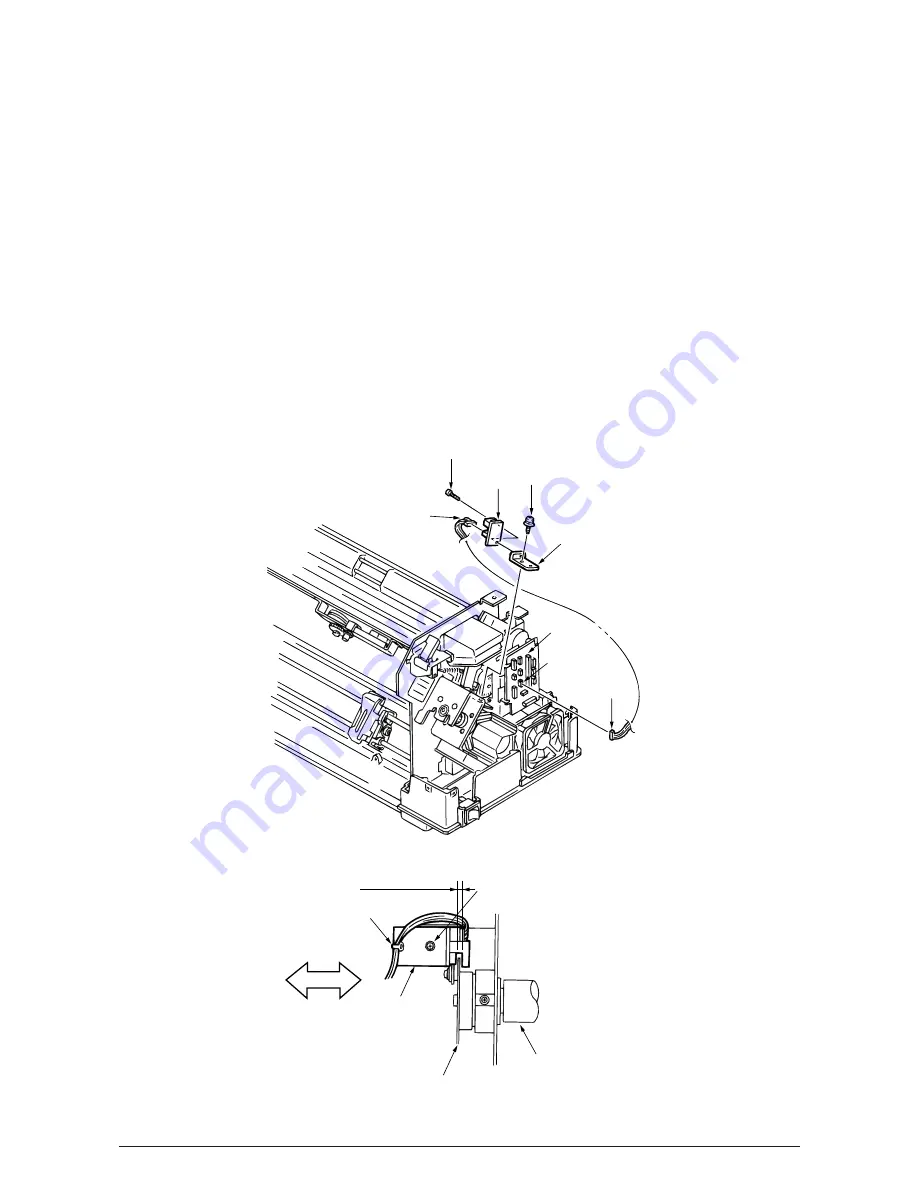
AG Board (PGA Printed Board) / Connector Cord
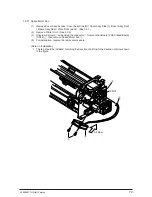
(1)
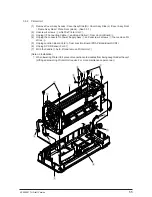
Remove Cover Assy Access / Cover Assy Side (R) / Cover Assy Side (L) /Cover Assy Front
/ Frame Assy Rear / Plate Front (stuck). (See 3.3.1)
(2)
Unplug the connectors
0
to Junction Board (PRA Printed Board)(CN3)
9
.
(3)
Unscrew the screw
1
.
(4)
Remove AG Board Holder A
2
, AG Board (PGA Printed Board)
3
and AG Slit Sensor Cord
4
together.
(5)
Unscrew the screw
5
and release the wrapping tie
6
, then remove AG Board (PGA Printed
Board)
3
and unplug AG Slit Sensor Cord
4
.
(6)
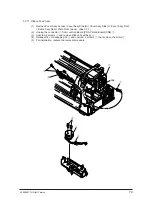
For installation, reverse the removal procedure.
(Note on Installation)
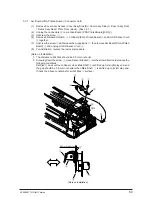
1. The distance to Slit Disk should be 0.5 mm or shorter.
2. Screwing down the screw
1
, move Sensor Bracket
2
into the arrow direction to produce the
following conditions:
Slit Disk
8
does not touch Sensor when Main Shaft
7
is shifted up to its right play end, and
the gap should be 0.5 mm or shorter when Main Shaft
7
is shifted up to its left play end.
(Check the above conditions for all Slit Disk
8
surface.)
5
4
3
2
9
1
0
1
2
6
7
8
[Note on installation]
0.5mm or shorter
CN3
Summary of Contents for PACEMARK 4410
Page 1: ...PACEMARK 4410 PRINTER SERVICE HANDBOOK...
Page 52: ...40496501TH Draft Version 52 Figure 3 1 3 2 Parts Layout...
Page 95: ...40496501TH Draft Version 95...
Page 168: ...XXXXXXXXTH Draft Version 8 5 Fig 8 5 45 38 38 40 42 39 44 44 122 41...
Page 169: ...XXXXXXXXTH Draft Version 8 6 142 141 11 119 Fig 8 6...
Page 170: ...XXXXXXXXTH Draft Version 8 7 Fig 8 7 105 102 61 33 104 100 101...


