


Maintaining and Servicing the NVIDIA DGX Station
DGX Station
DU-08255-001 _v4.6 | 55
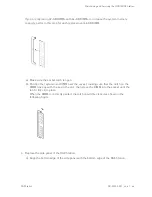
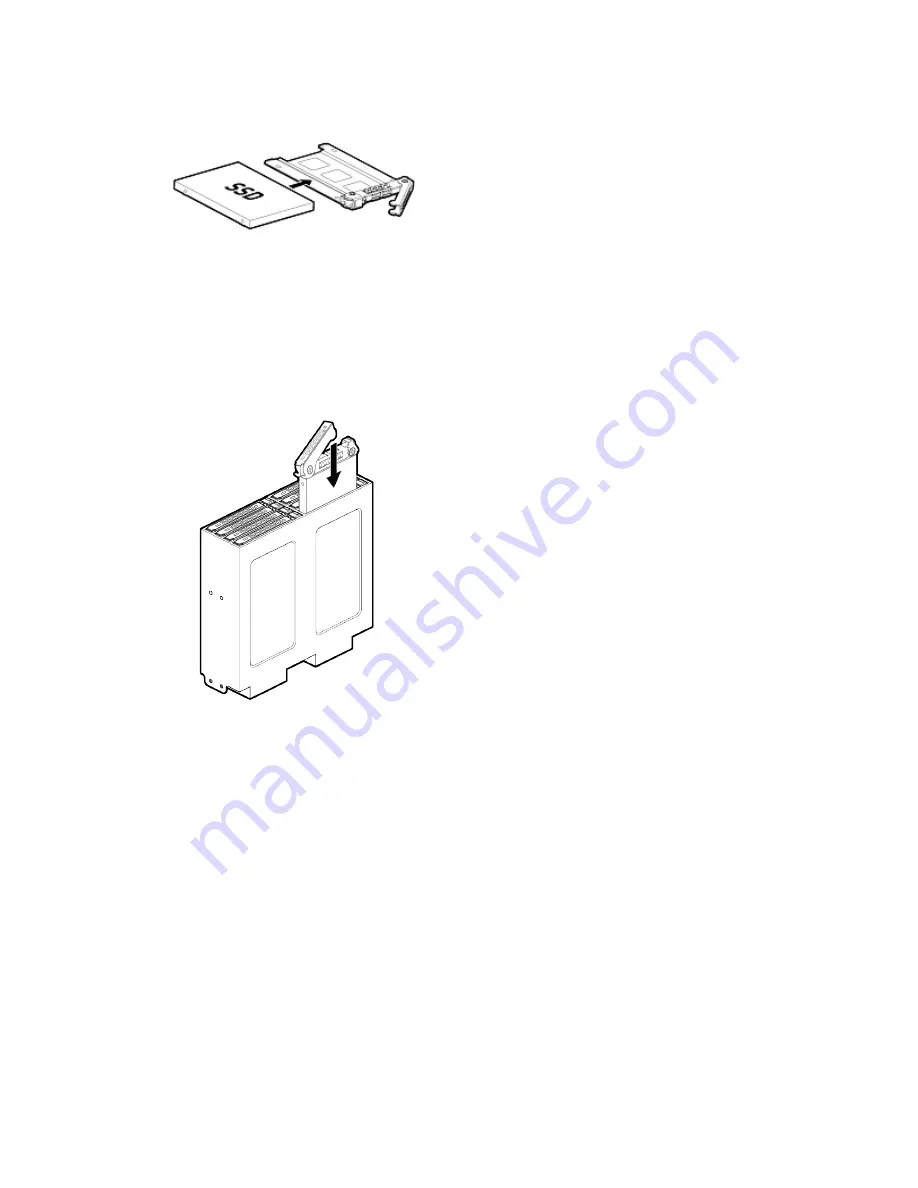
7. Secure the new or replacement SSD to the drive tray using the four screws that were
supplied with the new SSD or secured the failed SSD.
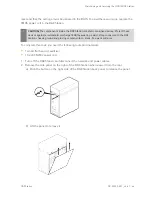
8. With the drive-tray eject button at the right, insert the drive tray into the appropriate drive
bay, then slide the drive tray all the way into the drive bay.
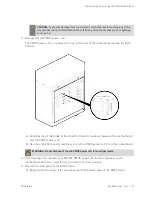
9. Press the drive-try latch downwards until you hear a click to completely seat the drive tray.
Summary of Contents for DGX Station
Page 1: ...DU 08255 001 _v4 6 July 2020 DGX Station User Guide ...
Page 6: ...About this Guide DGX Station DU 08255 001 _v4 6 vi ...
Page 83: ...Maintaining and Servicing the NVIDIA DGX Station DGX Station DU 08255 001 _v4 6 77 ...
Page 92: ...Connections Controls and Indicators DGX Station DU 08255 001 _v4 6 86 ...
Page 95: ...Compliance DGX Station DU 08255 001 _v4 6 89 C 6 China RoHS Material Content ...
Page 99: ...Compliance DGX Station DU 08255 001 _v4 6 93 C 13 South Korea KC C 14 Taiwan BSMI ...


