Saving a Document
40
Chapter 3
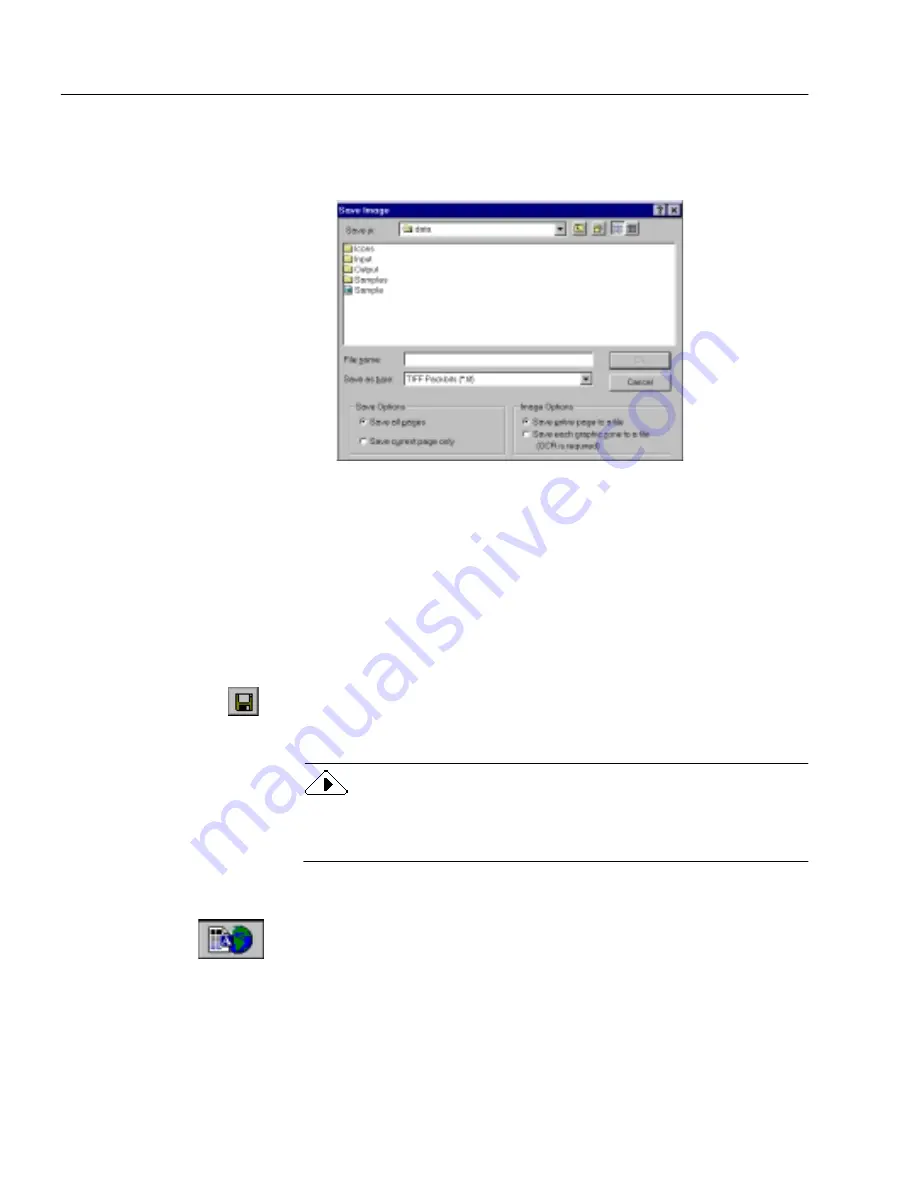
To save original images:
1
Choose
Save Image...
in the File menu.
The Save Image dialog box appears.
2
Select a folder location and file type for your document.
See “Supported File-Format Types” on page 77 for a complete
list of supported file types.
3
Type in a file name and select
Save
and
Image
options.
4
Click
OK
.
The image is saved to disk as specified. (Zones and recognized
text are not saved with the file.)
To save your document as you work:
Click the Save button in the Standard toolbar or choose
Save
in
the File menu to save changes to the current document as you
work.
The Save As dialog box appears the first time you choose
Save
if a
document has not been saved as an OmniPage Web Document or
HTML file.
To save and launch your Web browser:
1
Set Save and Launch as the command in the Export button’s
drop-down list.
2
Click the Export button or choose
Save and Launch...
in the File
menu to automatically launch your Web browser or HTML
editor whenever you save changes to the current HTML
document.
Summary of Contents for OMNIPAGE WEB
Page 1: ...OmniPage Web User s Manual...
Page 6: ...vi...
Page 16: ...10 Chapter 1...
Page 26: ...20 Chapter 2...


