©2005 Nordic ID Oy
Nordic ID PL3000 user manual, v. 2.4, March 2006
16
2.2.4 Installing the charger
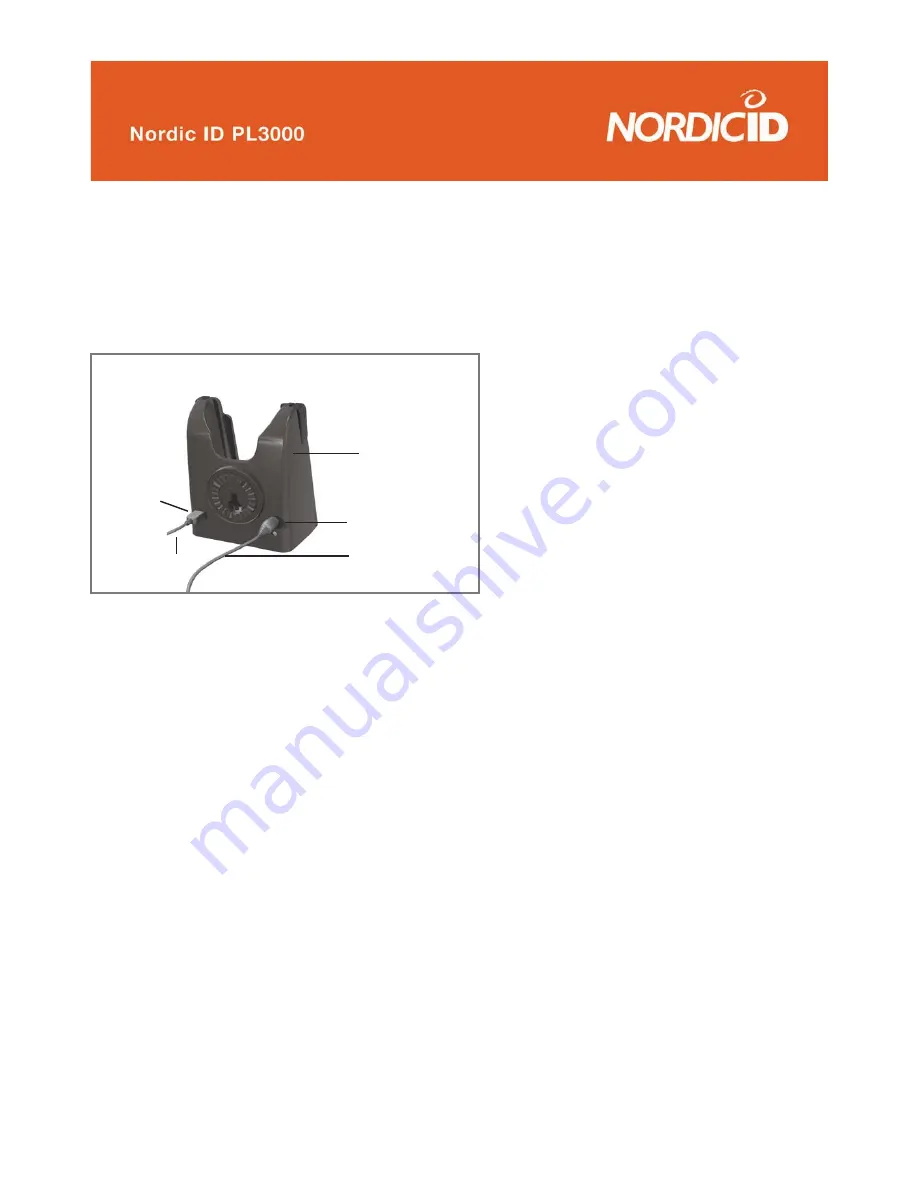
Follow the instructions from the Charger Quick Guide to assemble the swivel to the charger body. Connect
the power cord to the power supply unit. Connect the power supply to the charger body. There are power
cords with different plugs available. Use only a power supply supplied by Nordic Power AB. See the figure
14.
2.2.5 Charging the unit
Place the device into the charger as shown in figures 15. - 17. An indicator light on the top right corner
of the keyboard shows the charging status. When the battery is less than 90% capacity the light is red,
when there is 90-100% capacity the light is orange. When the battery is full the light changes to green. The
minimum charging time for the initial charging is approximately 8 hours. Normal charging time is about 2½
hours to 90% of the capacity and about 5 hours to full capacity.
Remove the PL3000 from the charger by pressing the release buttons on the side of the charger. The
indicator light illuminates only when the unit is switched on or is on suspend mode. If the power level is very
low (below about 5%) the red indicator light remains illuminated when the unit is removed from charger. In
this case charging should be continued.
Fig.14 Connect the power supply to the charger body
Charger body
Power connector
Power supply cabel
Mini USB-
Connector
Mini USB-cable


