AG 5500
System Administration
225
Enabling the Bridge Mode Option {Bridge Mode}
Bridge Mode
allows complete and unconditional access to devices on the subscriber side of the
AG 5500. When the
Bridge Mode
option is enabled, the AG 5500 is effectively transparent to
the network in which it is located, allowing clusters of switches (especially Cisco Systems
switch clusters) to be managed using the STP (Spanning Tree Protocol), or any other
algorithm/protocol. The AG 5500 forwards any and all packets (except those addressed to the
AG 5500 network interface). The packets are unmodified and can be forwarded in both
directions. This
is a very useful feature when troubleshooting your entire network as it allows
administrators to effectively “remove” the AG 5500 from the network without physically
disconnecting the unit.
You can still manage the AG 5500 when
Bridge Mode
is enabled, but you have no other
functionality. If you enable the
Bridge Mode
option and then plug the AG 5500 into a network,
all you need to do is assign it routable IP addresses. You can then set up all other features and
disable the
Bridge Mode
option whenever you want to start using the AG 5500 in that network.
This procedure shows you how to enable the
Bridge Mode
option.
1.
From the Web Management Interface, click on
System
, then
Bridge Mode
.
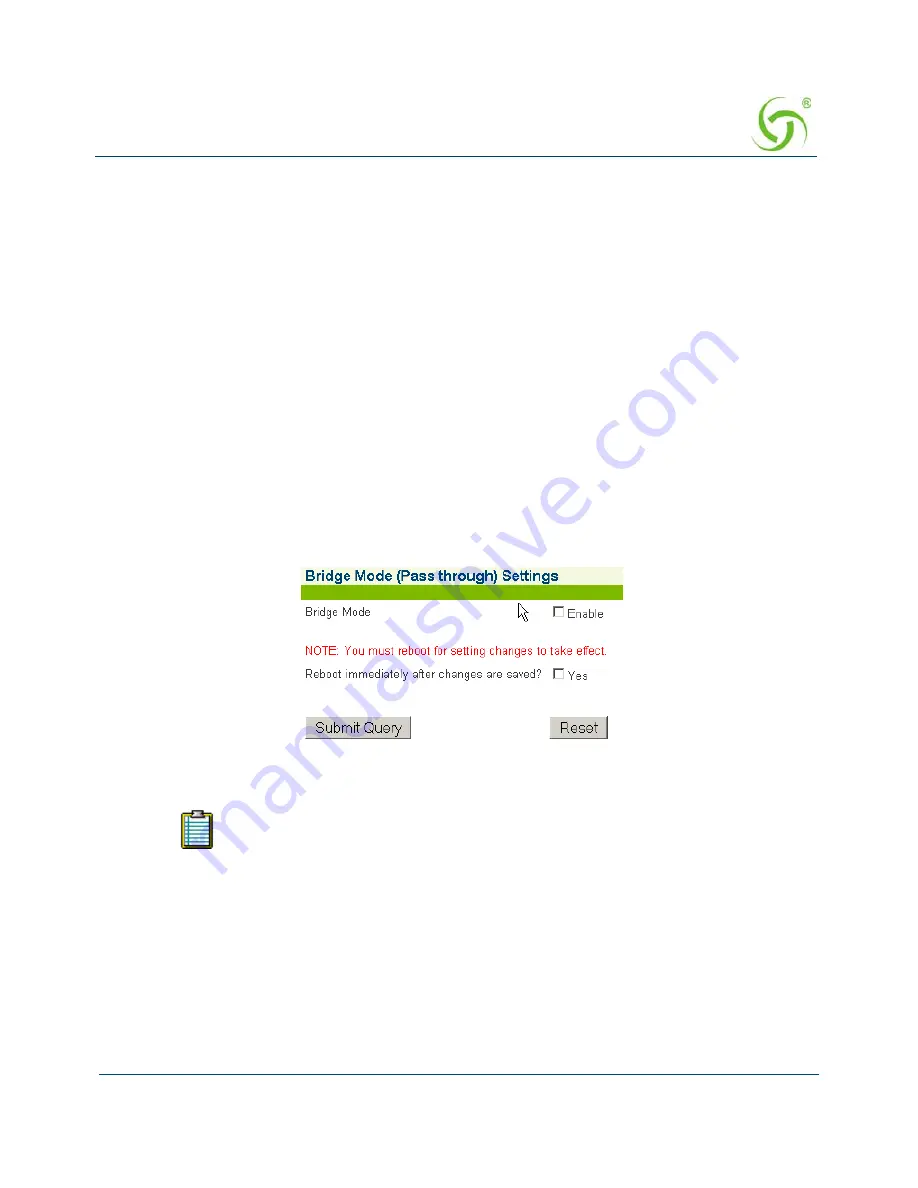
The
Bridge
Mode (Passthrough) Settings
screen appears:
2.
Click on the check box for
Bridge Mode
to enable this feature.
3.
Click on the
Submit
button to save your changes, or click on the
Reset
button if you want
to reset the “Enable” option to its previous state.
The AG 5500 will be rebooted if this setting is changed.
ag5500_userguide.book Page 225 Tuesday, June 5, 2007 7:31 PM
Summary of Contents for AG 5500
Page 1: ......
Page 6: ...This page intentionally left blank AG 5500 vi...
Page 40: ...This page intentionally left blank AG 5500 28 Introduction...
Page 46: ...AG 5500 34 Installing the AG 5500...
Page 68: ...This page intentionally left blank AG 5500 56 Installing the AG 5500...
Page 73: ...AG 5500 System Administration 61...
Page 106: ...AG 5500 94 System Administration IPSec Tunnel Security Policies...
Page 110: ...AG 5500 98 System Administration...
Page 115: ...AG 5500 System Administration 103...
Page 126: ...AG 5500 114 System Administration...
Page 174: ...AG 5500 162 System Administration...
Page 203: ...AG 5500 System Administration 191 The Internal Billing Options Setup screen appears...
Page 205: ...AG 5500 System Administration 193 Sample of Internal Billing Options XoverY Plan Setup Screen...
Page 210: ...AG 5500 198 System Administration...
Page 231: ...AG 5500 System Administration 219 4 Repeat Steps 1 3 for page 2 of 2 see following screen...
Page 234: ...AG 5500 222 System Administration 5 Repeat Steps 1 3 for page 3 of 3 see following screen...
Page 268: ...This page intentionally left blank AG 5500 256 The Subscriber Interface...
Page 299: ...AG 5500 Quick Reference Guide 287 Here is the output of cakey pem...
Page 301: ...AG 5500 Quick Reference Guide 289 Here is the output of server csr...
Page 316: ...This page intentionally left blank AG 5500 304 Troubleshooting...
Page 318: ...This page intentionally left blank AG 5500 306 Appendix A Technical Support...
Page 338: ...This page intentionally left blank AG 5500 326 Index...


