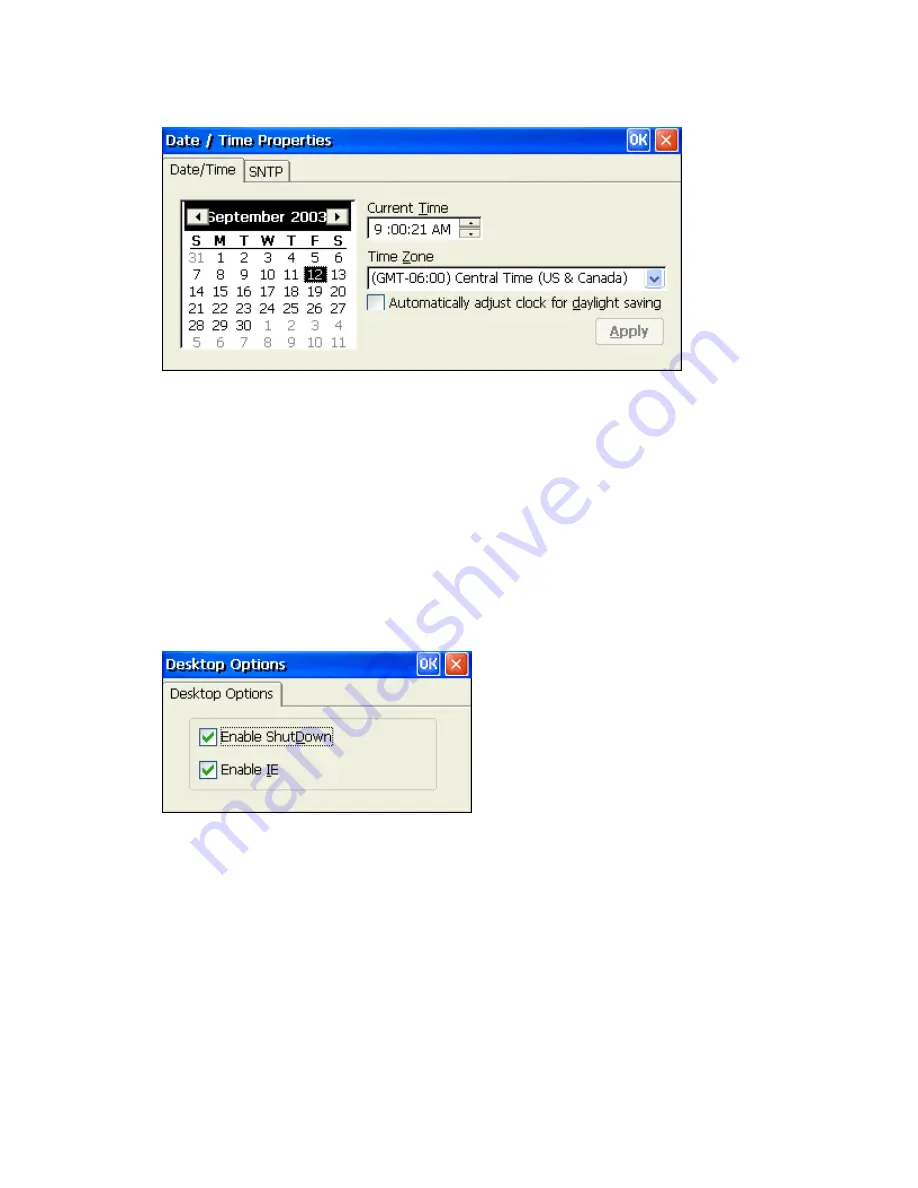
Date / Time
1. Click on the Date / Time icon to bring up the properties window.
2. To set the month, select the arrows on either side of the month shown to step through the months, or
select the month label to choose from a list of months.
3. To set the year, click on the year label to open an editing box and type in the correct year.
4. To set the date, select it in the calendar.
5. To change the time, enter it in the
Current Time
box, type in the correct time or click on the up/down
tabs to select t he correct time. Click in the
Time Zone
box and then use the mouse or the up/down
arrow keys to select the appropriate time zone. Place a check in the
Daylight Savings
check box if it
applies. Finish by clicking on the
Apply
button or selecting
OK
for your setting to take effect.
Note: You can also enter the Date/Time setup window by clicking on the time indicator on the taskbar
(lower right hand corner of the screen).
Desktop Options
Enable ShutDown
Selecting this option allows a user to power down the unit from the software. The " ShutDown"
option then appears in the " Start" menu. Disabling this requires one to use the power button to
power down the unit. This is set by default.
Enable IE
Selecting this option enables " Internet Explorer" to be available for the user. This is set by
default.
Summary of Contents for MinIT6000
Page 1: ...MinIT6000 User s Manual...
Page 16: ...EULA End User License Agreement Please read the license agreement carefully IP Address...
Page 18: ...Note The default in all fields is unselected Display Settings Printer Setup...
Page 20: ...Select the Manufacturer and Model number of your printer Printer Name Set Printer Default...


