85
Thumbn
ai
l S
e
le
c
t M
o
de
/
Uploading
Imag
e
s
Using the WT-4 with a Computer
Uploading Images
1
Connect the WT-4 as described above and select [Thumbnail
select mode] for [Wireless transmitter] > [Mode]. Thumbnail
Selector will start automatically.
2
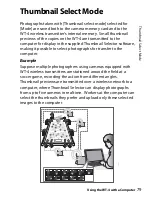
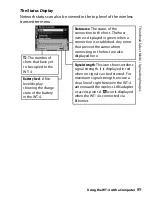
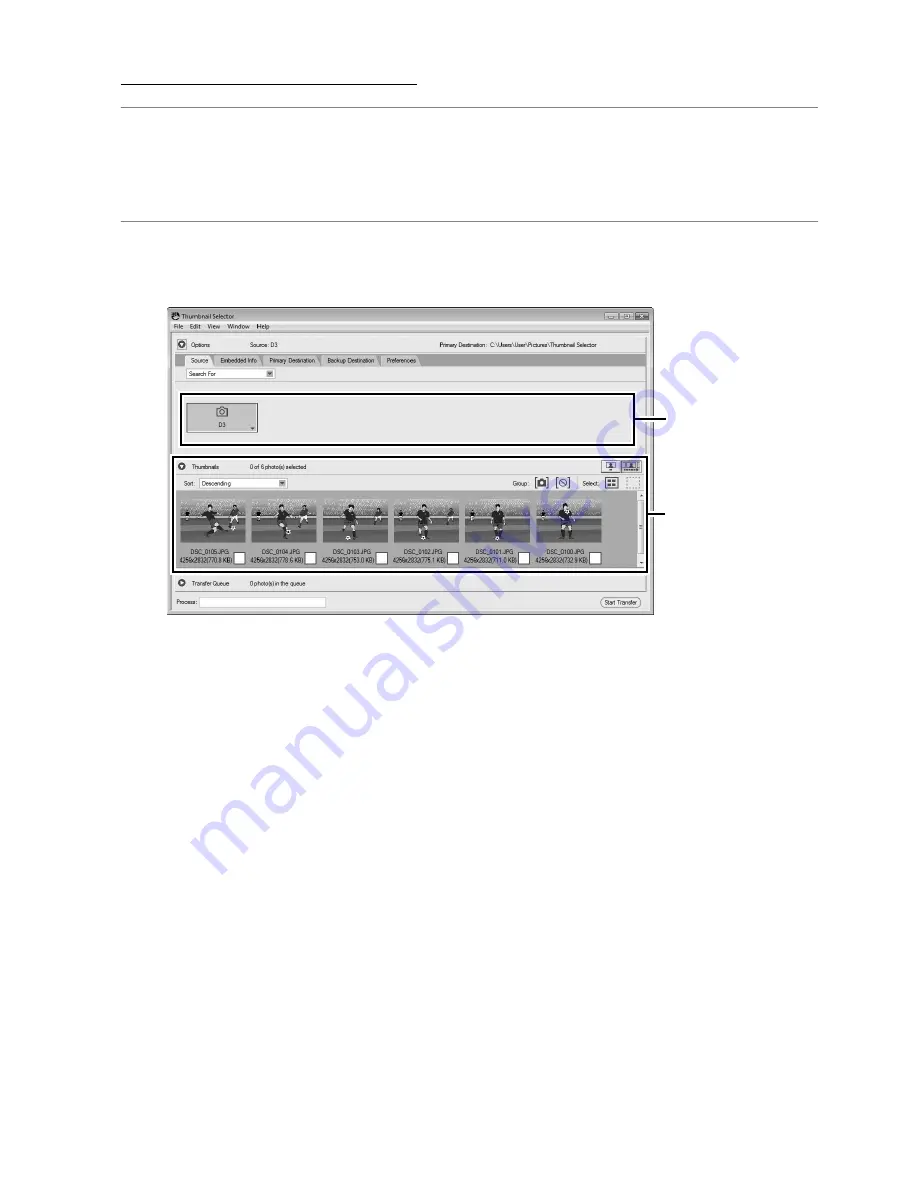
Choose a camera in the [Source] panel. Small previews of the
pictures on the WT-4 will appear in the thumbnail area.
A
Starting Thumbnail Selector
To start Thumbnail Selector manually:
•
Windows
: Double-click the [Thumbnail Selector] shortcut on the desktop
or display the Start menu and select [Thumbnail Selector] from the
program list.
•
Macintosh
: Click the [Thumbnail Selector] icon in the Dock (if available) or
open the “Applications/Nikon Software/Thumbnail Selector” folder and
double-click the [Thumbnail Selector] icon.
A
The Camera Clock
At default settings, the computer and camera clocks will be synchronized
then the host computer detects the camera. To prevent the camera clock
from being reset, open the [Preferences] panel and remove the check
from [Synchronize camera date and time to computer when camera is
connected (supported cameras only)].
[Source] Panel
thumbnail
area
Summary of Contents for WT-4
Page 1: ...Wireless Transmitter En User s Manual ...
Page 41: ...Configuring the Network Windows XP Creating an Ad Hoc Network Introduction 29 5 Click Add ...
Page 67: ...55 Copying Network Profiles to the Camera Ad Hoc Networks Using the WT 4 with a Computer ...
Page 136: ...124 Copying Network Profiles to the Camera Ad Hoc Networks Uploading Images to an ftp Server ...
Page 156: ...Connecting to the ftp Server Uploading Images to an ftp Server 144 4 Click Close ...
Page 162: ...Uploading Images Uploading Images to an ftp Server 150 ...
Page 186: ...174 Device Settings Format Transmitter s Memory Menu Guide ...


