C
o
nf
ig
ur
in
g t
he
Ne
tw
o
rk
/ M
a
ci
nto
sh / Creat
ing
an
A
d
Ho
c Ne
tw
o
rk
Introduction
41
6
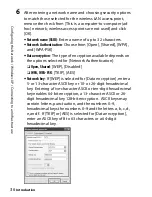
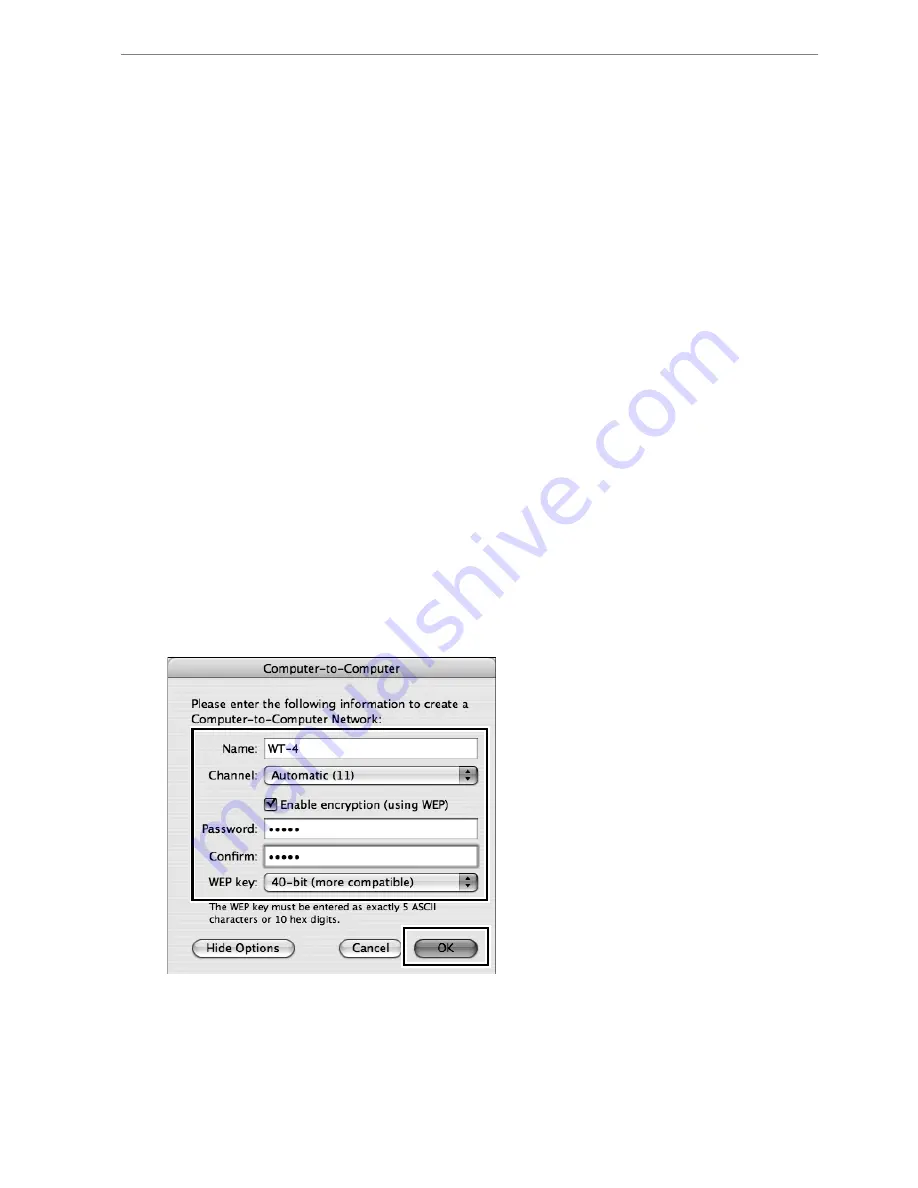
After choosing a network name and channel and adjusting
encryption and password options as described below, click
[OK].
•
Name
: Enter a name of up to 32 characters.
•
Channel
: Choose a channel.
•
Enable encryption (using WEP)
: Select this option to enable WEP
encryption.
•
Password
: If WEP encryption is enabled, enter a security key.
The length of the key depends on the option selected for
[WEP key]:
❏
[40-bit (more compatible)]
: Enter a five-character ASCII or ten-
digit hexadecimal key.
❏
[128-bit]
: Enter a 13-character ASCII or 26-digit
hexadecimal key.
ASCII keys may contain letters, punctuation, and the
numbers 0–9, hexadecimal keys the numbers 0–9 and the
letters a, b, c, d, e, and f.
•
WEP key
: Choose the length of the WEP key.
Network setup is now complete. Proceed to “Using the WT-4 with
a Computer” (pg. 47), “Uploading Images to an ftp Server” (pg.
107).
Summary of Contents for WT-4
Page 1: ...Wireless Transmitter En User s Manual ...
Page 41: ...Configuring the Network Windows XP Creating an Ad Hoc Network Introduction 29 5 Click Add ...
Page 67: ...55 Copying Network Profiles to the Camera Ad Hoc Networks Using the WT 4 with a Computer ...
Page 136: ...124 Copying Network Profiles to the Camera Ad Hoc Networks Uploading Images to an ftp Server ...
Page 156: ...Connecting to the ftp Server Uploading Images to an ftp Server 144 4 Click Close ...
Page 162: ...Uploading Images Uploading Images to an ftp Server 150 ...
Page 186: ...174 Device Settings Format Transmitter s Memory Menu Guide ...

