45
PC
Mod
e
/ C
o
nt
ro
ll
in
g
th
e C
a
mer
a
Using the UT-1 with a Computer
Controlling the Camera
1
Complete the steps in “Connecting to the Computer” (
0
42).
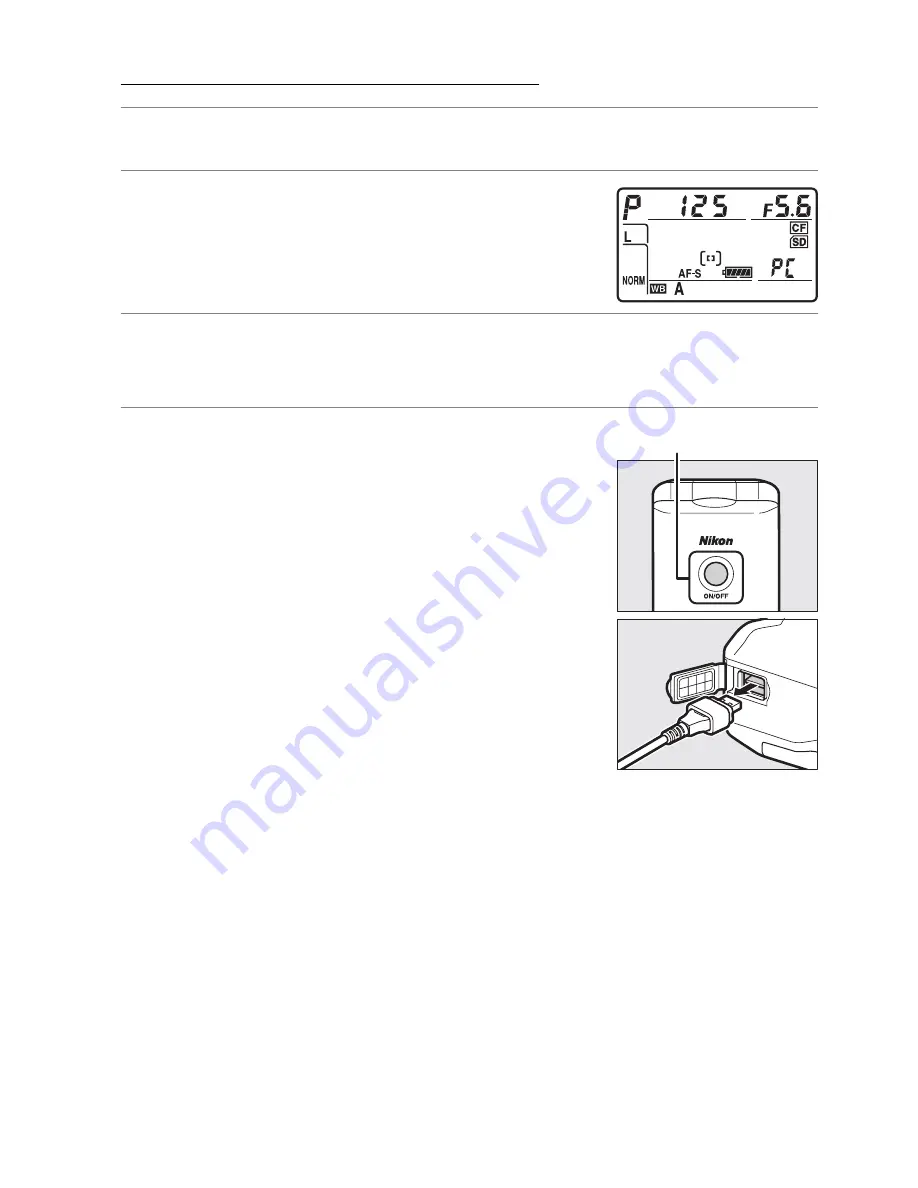
2
Start Camera Control Pro 2 on the host
computer and confirm that “PC” is
displayed in the camera control panel.
3
Control the camera as described in the Camera Control Pro 2
manual or online help.
4
When transfer is complete, press the
power switch for about a second to turn
the UT-1 off and then disconnect the
USB cable.
D
Wireless Networks
More time may be required to complete operations on wireless networks.
D
Ethernet Networks: Do Not Disconnect the Ethernet Cable
Do not disconnect the Ethernet cable while the camera is on.
A
Wireless Networks: Loss of Signal During Transfer
A loss of signal may interrupt the connection while pictures are being
transferred to Camera Control Pro 2. If the
ERROR
LED on the UT-1 is
flashing (
0
2), turn the UT-1 off and then on again. Transfer will resume
when the connection is re-established.
Do not turn the camera off
.
Transfer can not be resumed once the camera has been turned off.
Power switch
Summary of Contents for UT-1
Page 1: ...Communication Unit User s Manual En ...
Page 30: ...18 Installing the Wireless Transmitter Utility Introduction ...
Page 41: ...Copying Network Profiles to the Camera Using the UT 1 with a Computer 29 ...
Page 60: ...PC Mode Using the UT 1 with a Computer 48 ...
Page 69: ...57 Copying Network Profiles to the Camera Uploading Pictures to an ftp Server ...
Page 82: ...70 Uploading Images Uploading Pictures to an ftp Server ...
Page 103: ...Print Menu Guide 91 Print PrintModeOnly The UT 1 does not support this option ...
Page 106: ...Device Settings Menu Guide 94 ...
Page 138: ...126 ...
Page 139: ......

