


TriCaster Mini
Go Make Your Show Guide
16
Now, if you had clicked the Program row 1 button with your mouse instead of TAKE, you would still have
made Camera 1 the new, live source on Program. However, people make fewer on-air mistakes when they
use TAKE, because they only have to move their mouse around on the Preview row—and they don’t have to
worry about hitting the wrong button on Program!
Also, if you were to only click buttons on Program, you might be tempted to ignore Preview—but Preview is a
powerful tool for staying on top of your sources and setting up what you want to show next.
AUTO
You’ve used a TAKE – which is just a cut. Now use the
AUTO
button to transition to Camera 2 (if you don’t
have a second camera, that’s okay – you can still do this exercise).
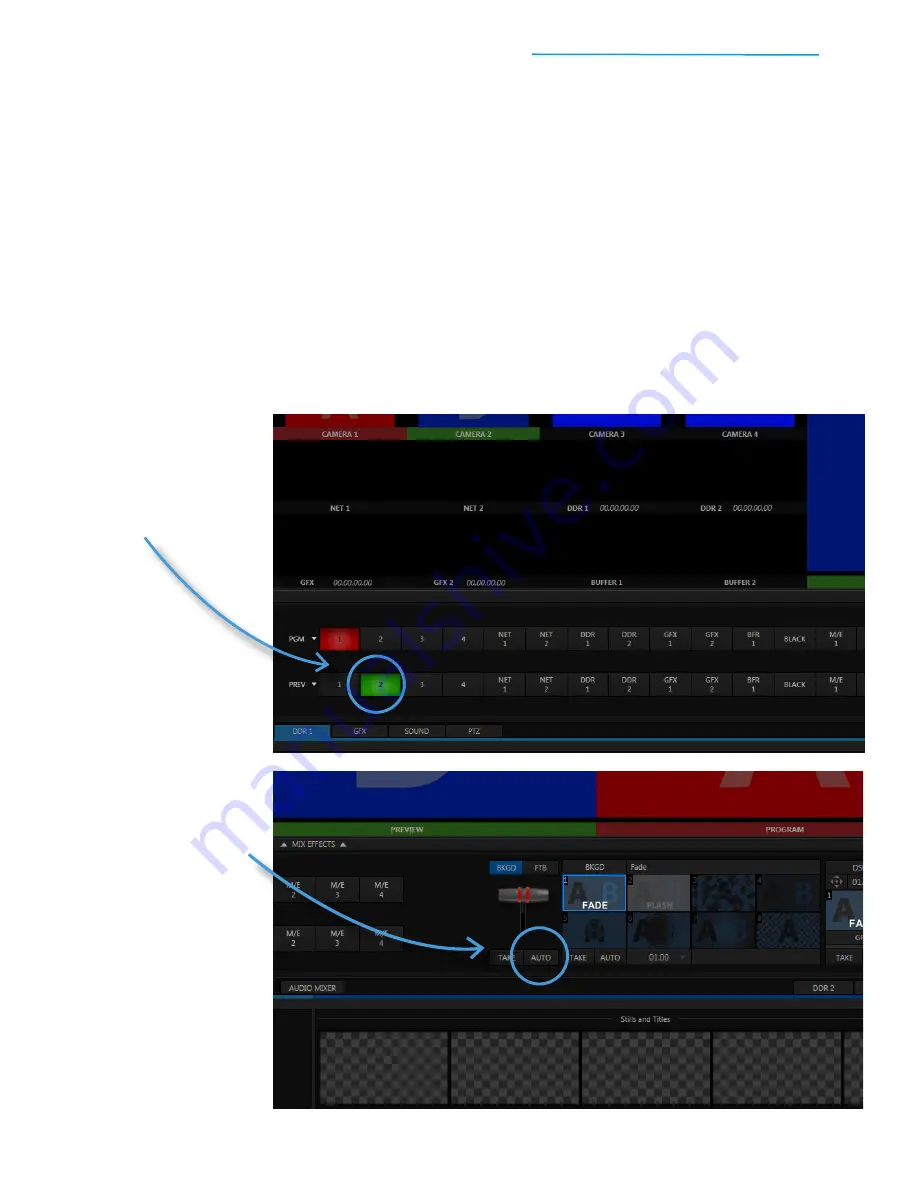
#1
Click the
Preview row 2 button
to cue up Camera 2 and use the
large Preview window to make
sure it’s ready for air
#2
To the right of the
switcher,
locate the AUTO
button
beneath the T-Bar
#3
Click the AUTO button
to
perform a Fade
between
Camera 1 and Camera 2