


Maintenance
29
The
OAE probe check
window appears (Fig. 17).
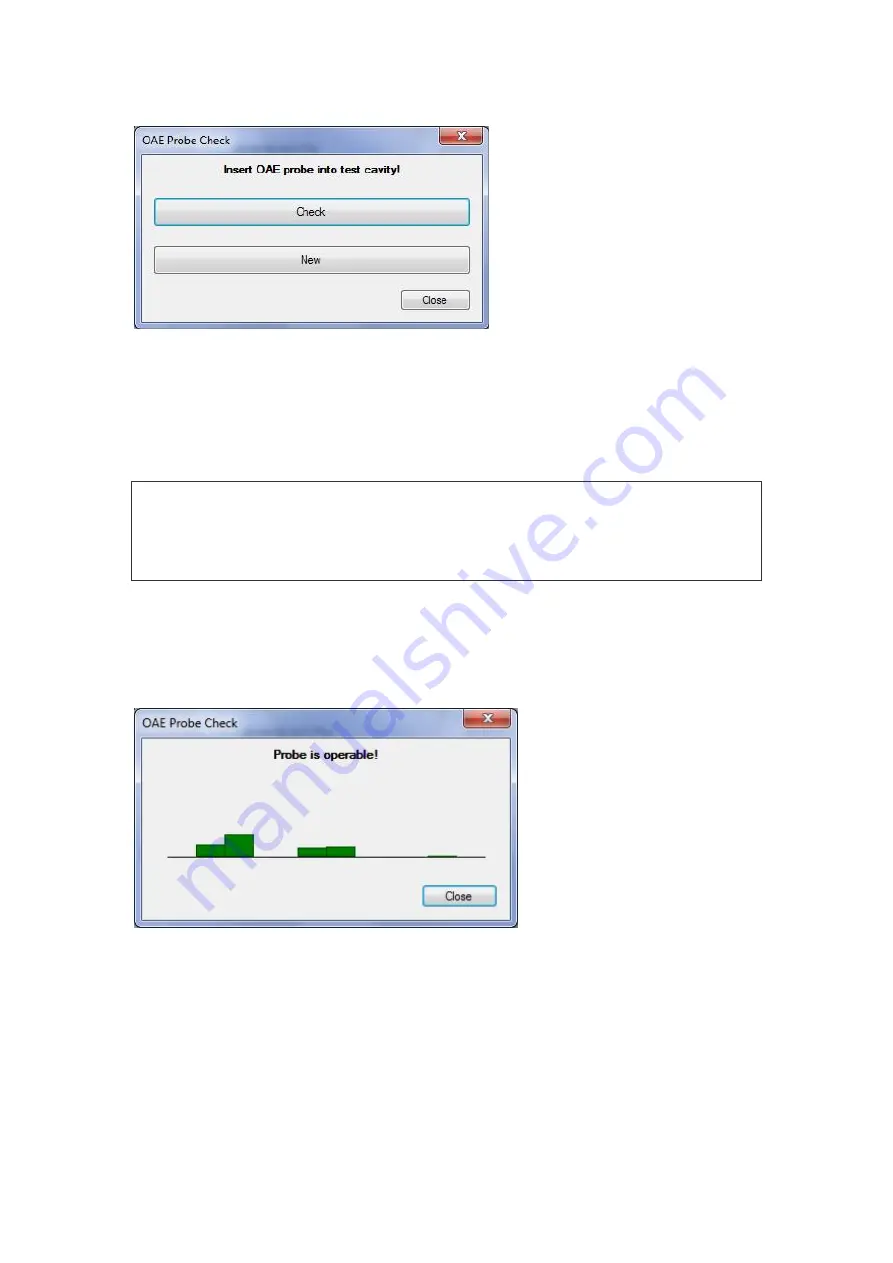
Fig. 17. The
OAE probe check
window
Connect the OAE probe to the system, take off the OAE probe tip and insert the OAE
probe into the test cavity as far as it can go.
Press
Check
to start checking.
Do not press New as it can lead to the loss of data concerning OAE probe
responses and you will not be able to check the probe. The New button
is used only for the new probe as described below.
The results are displayed as several pairs of bars. The probe check is performed
on several frequencies; each bar pair (for each probe loudspeaker) corresponds
to one frequency. If the colour of bars is green, the OAE probe is operable. If even
one bar in the pair is red, the probe is defective (Fig. 18).
Fig. 18. Result of OAE probe check
If the OAE probe failed to pass the check even for one frequency and the message
to replace the probe appears, perform the following:
·
Try to extract the probe from the test cavity and insert it again. Then, run the check
once again. If it is passed, the probe was inserted incorrectly.
·
Try to clean the probe tip. If the OAE probe passes the repeated check, the OAE
probe tip was clogged.