


10–34 Troubleshooting
Unexpected
Font in PCL
Mode
If you are using a screen-only font, one that does not
download fonts to the printer the way TrueType does
or Type 1/ATM does, you may see an unexpected
font substitution.
One solution is to select another font. Another is to
install a font that has a similar appearance but works
with PCL, as TrueType and Type 1/ATM fonts do.
The Windows 3.1 user documentation has additional
information on fonts and their usage.
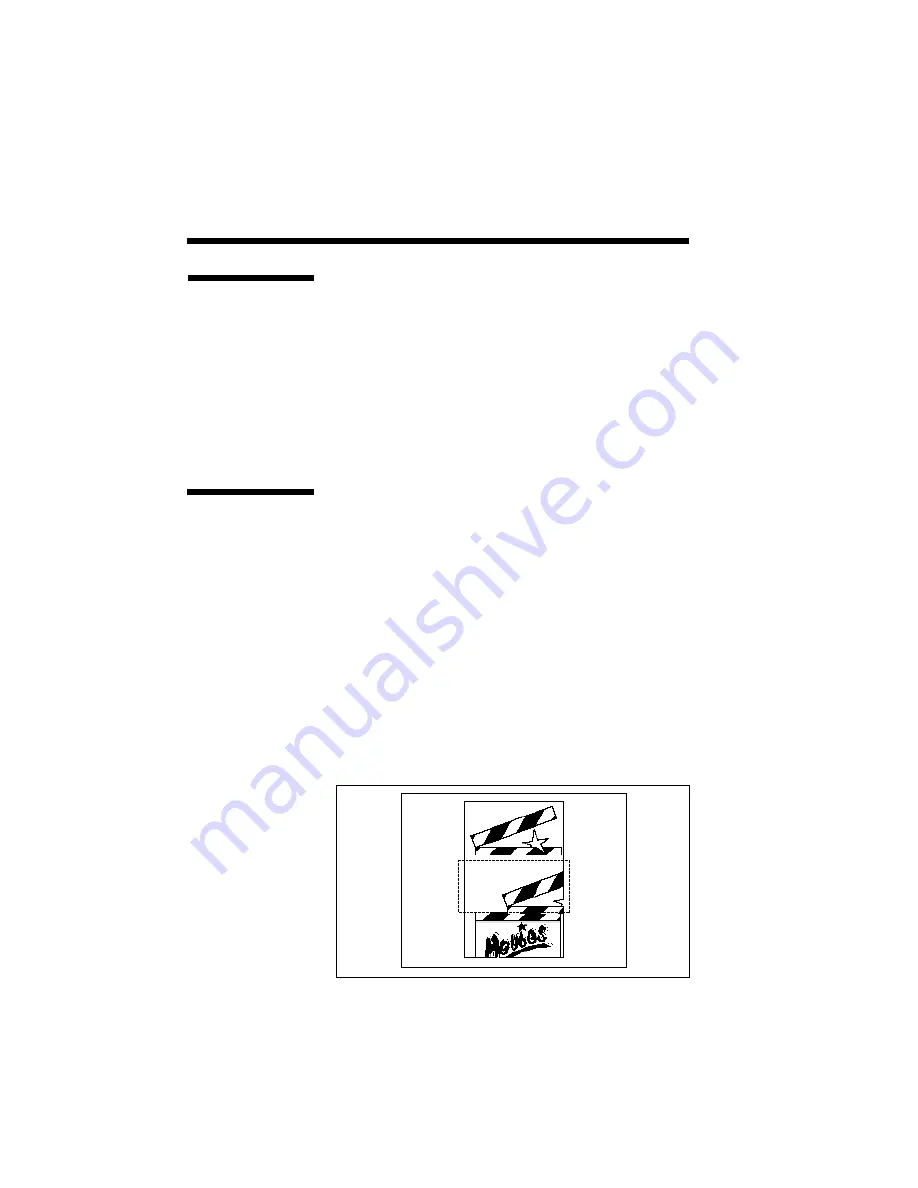
Shifted or
Broken Image
This problem is most likely caused by a faulty cable.
The SuperScript software sends data to your printer
at very high speeds via a standard parallel cable.
Unfortunately, many inexpensive parallel cables on
the market are not manufactured according to stand-
ards. They may still work fine at the low speeds
common to many printers, but their defects may
cause output problems when data is transmitted at
high speeds.
The best solution is to replace your parallel cable
with one that meets SuperScript standards.
If your PC has more than one parallel port, you
might try using a different port. (See Chapter 5,
Print Status Window, for information on setting
SuperScript to a different parallel port.)
Summary of Contents for SILENTWRITER SUPERSCRIPT 660
Page 1: ...Silentwriter SuperScript 660 User s Guide ...
Page 8: ...vi Contents ...
Page 10: ...viii ...
Page 11: ...Introduction 1 1 1 1 Introduction ...
Page 20: ...1 10 Introduction ...
Page 21: ...Setting Up 2 1 2 2 Setting Up ...
Page 26: ...2 6 Setting Up ...
Page 64: ...2 44 Setting Up ...
Page 65: ...Printing with Your SuperScript 660 3 1 3 3 Printing with Your SuperScript 660 ...
Page 95: ...NEC SuperScript Print Manager 4 1 4 4 NEC SuperScript Print Manager ...
Page 104: ...4 10 NEC SuperScript Print Manager ...
Page 105: ...Print Status Window 5 1 5 5 Print Status Window ...
Page 117: ...Selecting Paper and Media 6 1 6 6 Selecting Paper and Media ...
Page 133: ...Using Fonts 7 1 7 7 Using Fonts ...
Page 137: ...Using Fonts 7 5 31 Additional TrueType Fonts ...
Page 138: ...7 6 Using Fonts ...
Page 139: ...Choosing Print Options 8 1 8 8 Choosing Print Options ...
Page 155: ...Maintaining Your Printer 9 1 9 9 Maintaining Your Printer ...
Page 181: ...Troubleshooting 10 1 1 10 0 Troubleshooting ...
Page 190: ...10 10 Troubleshooting ...
Page 220: ...10 40 Troubleshooting ...
Page 221: ...Getting Service and Support 11 1 1 11 1 Getting Service and Support For U S only ...
Page 230: ...11 10 Getting Service and Support ...
Page 233: ...Character Sets and Code Sequence Commands for HP LaserJet 4P A 3 ...
Page 234: ...A 4 Character Sets and Code Sequence Commands for HP LaserJet 4P ...
Page 235: ...Character Sets and Code Sequence Commands for HP LaserJet 4P A 5 ...
Page 236: ...A 6 Character Sets and Code Sequence Commands for HP LaserJet 4P ...
Page 237: ...Character Sets and Code Sequence Commands for HP LaserJet 4P A 7 ...
Page 238: ...A 8 Character Sets and Code Sequence Commands for HP LaserJet 4P ...
Page 239: ...Character Sets and Code Sequence Commands for HP LaserJet 4P A 9 ...
Page 240: ...A 10 Character Sets and Code Sequence Commands for HP LaserJet 4P ...
Page 241: ...Character Sets and Code Sequence Commands for HP LaserJet 4P A 11 ...
Page 242: ...A 12 Character Sets and Code Sequence Commands for HP LaserJet 4P ...
Page 243: ...Character Sets and Code Sequence Commands for HP LaserJet 4P A 13 ...
Page 244: ...A 14 Character Sets and Code Sequence Commands for HP LaserJet 4P ...
Page 245: ...Character Sets and Code Sequence Commands for HP LaserJet 4P A 15 ...
Page 270: ...A 40 Character Sets and Code Sequence Commands for HP LaserJet 4P ...
Page 271: ...Optimizing Printer Performance B 1 B B Optimizing Printer Per formance ...
Page 275: ...Specifications C 1 C C Specifications ...
Page 279: ...Interface Cable Specifications D 1 D D Interface Cable Specifications ...
Page 284: ...D 6 Interface Cable Specifications ...
Page 287: ...Installing the Memory Expansion Module F 1 F F Installing the Memory Expansion Module ...
Page 302: ...Glossary 10 ...


