


Upgrading Your Server 9-57
6.
Push the 5.25-inch device to the device bay carefully.
NOTE:
Make sure that the cables are not caught while the 5.25-inch
device is pushed into the slot.
IMPORTANT:
If a 5.25-inch device occupying two slots cannot be
inserted easily, push the device to the slots with it lifted a little.
7.
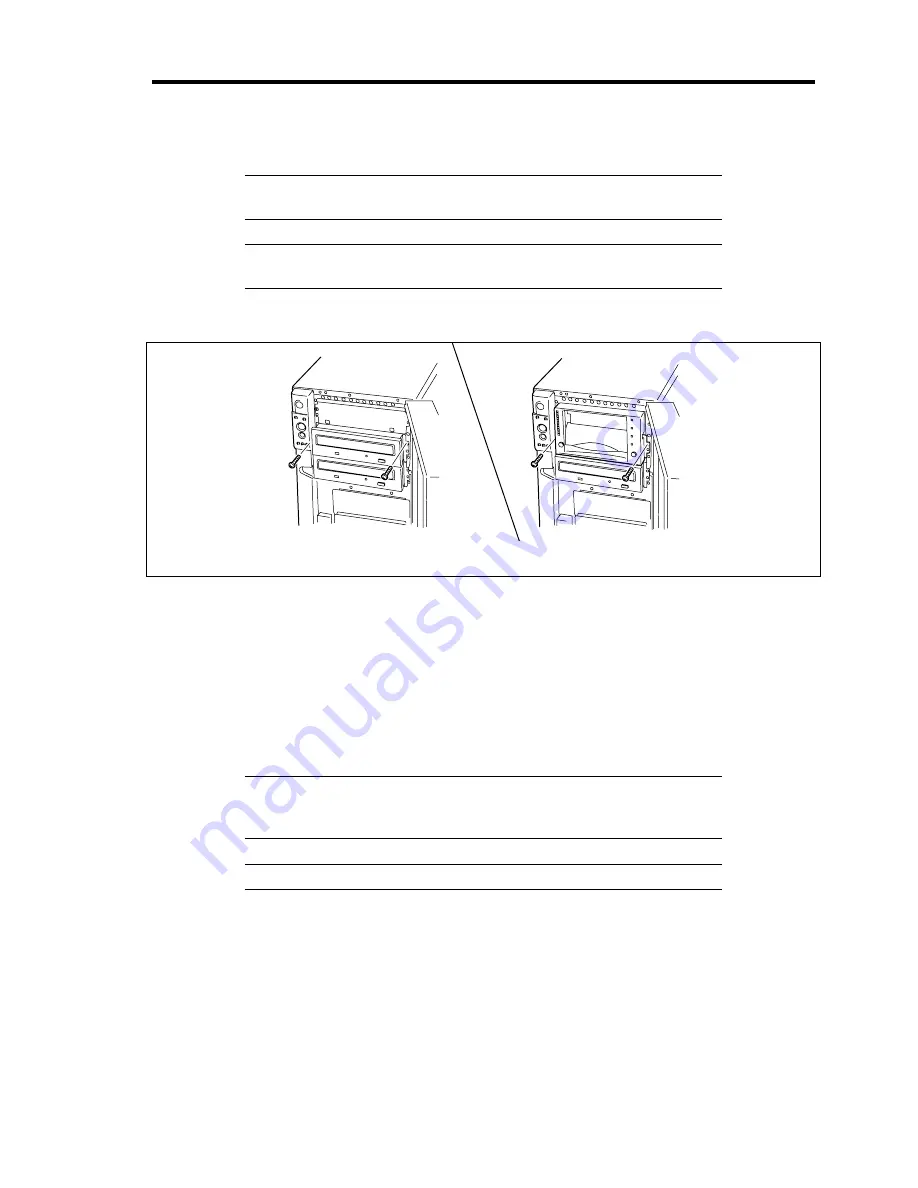
Fix the rails by using the screws removed in step 3.
Single-height device
Double-height device
8.
Check whether the installed 5.25-inch device is projected too much from the front of the
server.
Check the device installed in a 5.25-inch device bay based on the factory-installed optical
disk drive.
9.
Connect the interface and power cables to the 5.25-inch device installed from the left side
of the server.
See Chapter 10 for cable connection.
IMPORTANT:
Connector pin bending or incomplete connection may
cause a malfunction to occur. Provide the connection securely watching
the 5.25-inch device and cable connectors.
NOTE:
Make sure that the cable is not caught.
10.
Install the removed components.
11.
Setup the SCSI BIOS for the SCSI device according to the manual that comes with the
SCSI controller.
12.
Install the device driver according to the manual that comes with the device.
Summary of Contents for Express5800/120Lj
Page 16: ...x This page is intentionally left blank ...
Page 36: ...2 8 General Description Rear View 1 2 3 4 5 6 7 8 9 10 11 12 13 1 14 12 14 12 14 13 3 13 2 15 ...
Page 143: ...Configuring Your Server 4 75 3 Setting menu for VD 0 is displayed ...
Page 220: ...7 12 Maintenance This page is intentionally left blank ...
Page 352: ...9 94 Upgrading Your Server This page is intentionally left blank ...
Page 353: ...Chapter 10 Internal Cabling Diagrams Internal cable connections of the server are shown below ...
Page 360: ...10 8 Internal Cabling Diagrams This page is intentionally left blank ...
Page 362: ...A 2 Specifications This page is intentionally left blank ...
Page 370: ...C 2 IRQ This page is intentionally left blank ...
Page 426: ...F 2 Using a Client Computer Which Has a CD Drive This page is intentionally left blank ...
Page 430: ...G 4 Product Configuration Record Table This page is intentionally left blank ...


