4-14
Peripheral Configuration
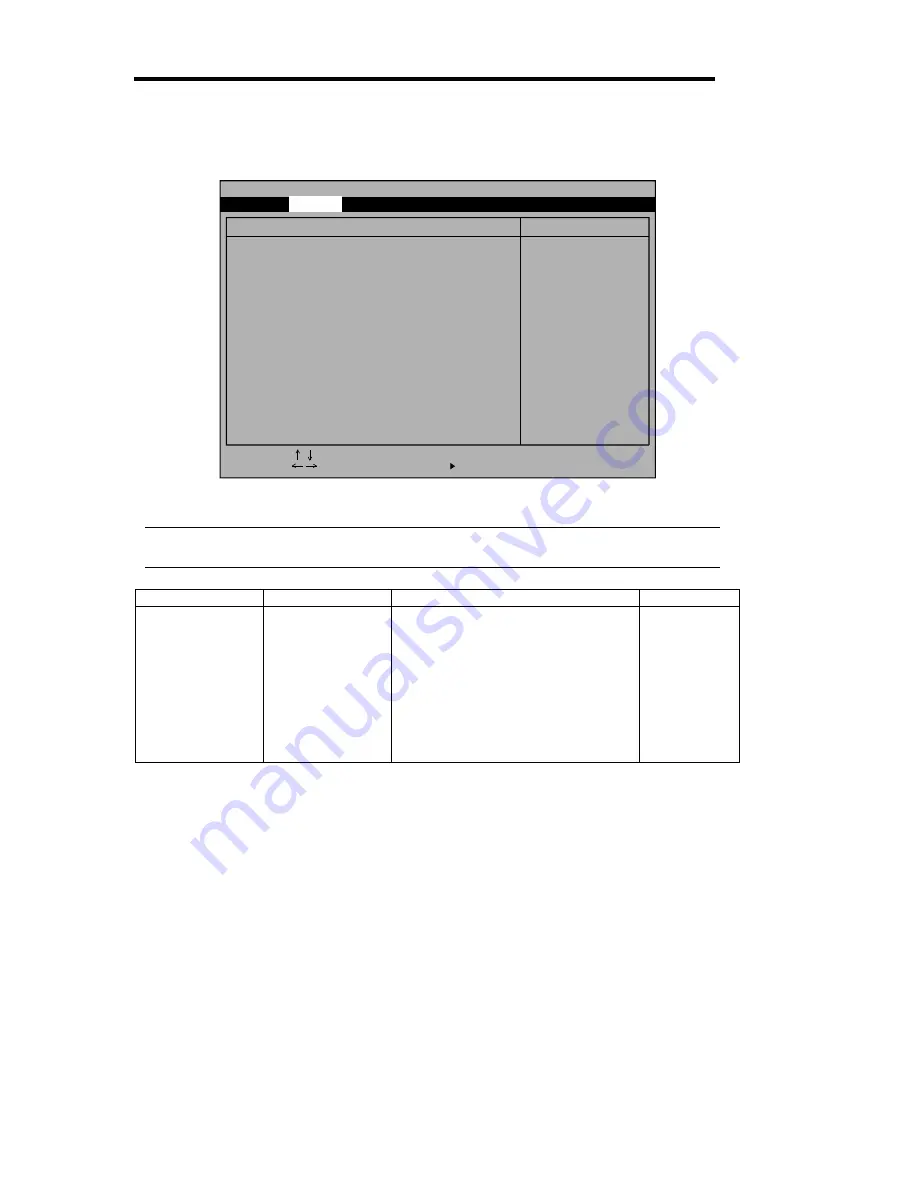
Select "Peripheral Configuration" on the Advanced menu to display the following screen.
See the table below for setup options on the screen.
IMPORTANT:
Make sure to avoid any conflict in the interrupt requests or the base I/O
addresses.
Option Parameter
Description
Your
Setting
Serial Port A
Serial Port B
Disabled
3F8, IRQ 3
[3F8, IRQ 4]
*1
[2F8, IRQ 3]
*2
2F8, IRQ 4
3E8, IRQ 3
3E8, IRQ 4
2E8, IRQ 3
2E8, IRQ4
Auto
Enable or disable the serial port A and
B, or specify a base address and
interrupt.
*1 Factory setting for the serial port A
*2 Factory setting for the serial port B
[ ]: Factory-set
Serial Port A:
Serial Port B:
Disables serial port 1
or sets the base
address/IRQ of
serial port 1.
Item Specific Help
Peripheral Configuration
[3F8, IRQ 4]
[2F8, IRQ 3]
Phoenix BIOS Setup Utility
Advanced
F1 Help
-/+ Change Values
F9 Setup Defaults
F10 Save Changes & Exit
Sub-Menu
Enter Select
Esc Exit
Select Item
Select Menu
Summary of Contents for Express 5800/320Lb-R
Page 10: ...iv This page is intentionally left blank ...
Page 17: ...1 3 Label D Label C Label B Label A Label E ...
Page 18: ...1 4 Rack mount Model Label A Label D Label E Label C Label B ...
Page 19: ...1 5 Label D Label C Label B Label A Label E ...
Page 21: ...1 7 Label A Internal View Label B Label B ...
Page 36: ...1 22 This page is intentionally left blank ...
Page 44: ...2 8 Front View inside Tower model Rack mount model ...
Page 83: ...3 9 This page is intentionally left blank ...
Page 84: ......
Page 177: ...5 49 Not support ...
Page 191: ...5 63 This page is intentionally left blank ...
Page 192: ......
Page 254: ...8 12 Check the disk status to confirm that the disk is added successfully ...
Page 273: ...8 31 Chapter 7 Troubleshooting ...
Page 283: ...8 41 18 Use cable ties to fasten the extra length of cables Cable ties included with cabinet ...
Page 297: ...8 55 This page is intentionally left blank ...
Page 298: ......


